Christmas Dining Table Decor with a Village Centerpiece
Today we’re Celebrating Christmas with some wonderful bloggers.
Here at The French Blue Cottage, I’m sharing a tablescape with a winter village centerpiece.
But before we get to the Christmas dining table decor….
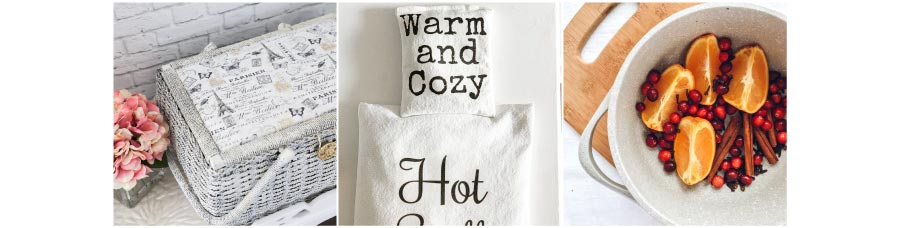
If you’ve just come from visiting Leigh at The Little by Little Home, “Welcome! I’m so glad you’re here.” And doesn’t her Christmas potpourri look divine!
Also, a great big thank you to Leen at Sand Dollar Lane for hosting this wonderful blog hop that’s just full of inspiring Christmas ideas!
Be sure to check out all of the amazing Christmas home tours, DIY gifts, and tablescapes at the end of this post.

![]()
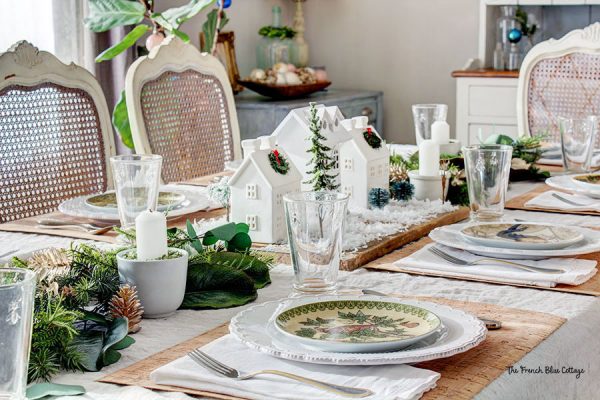
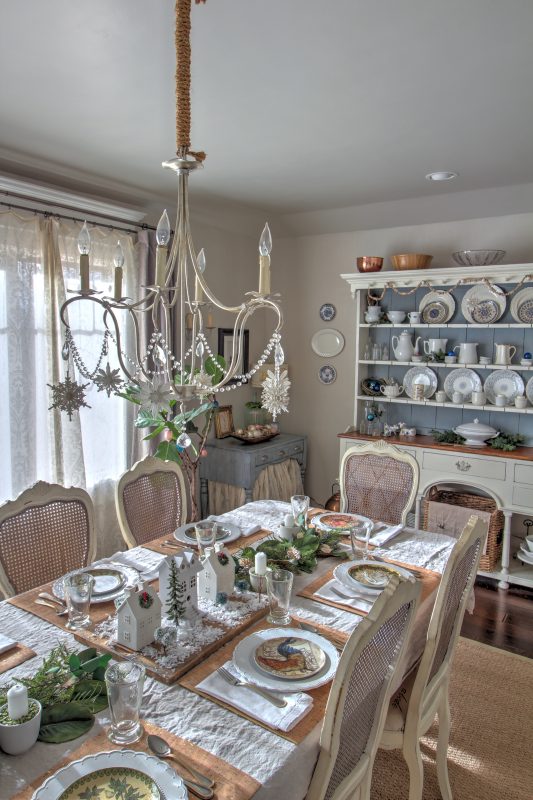
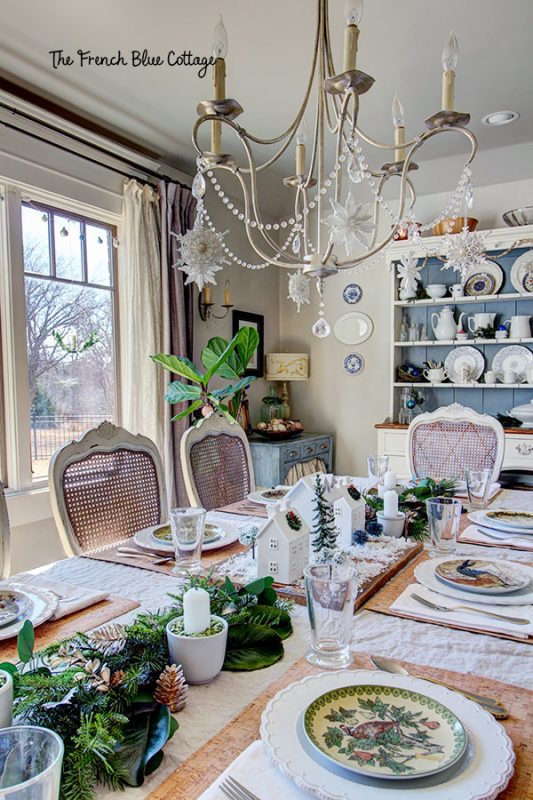
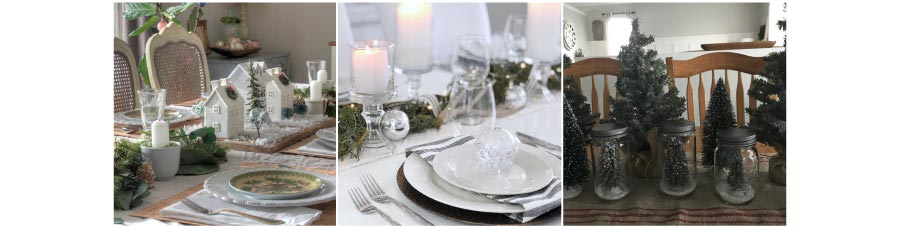
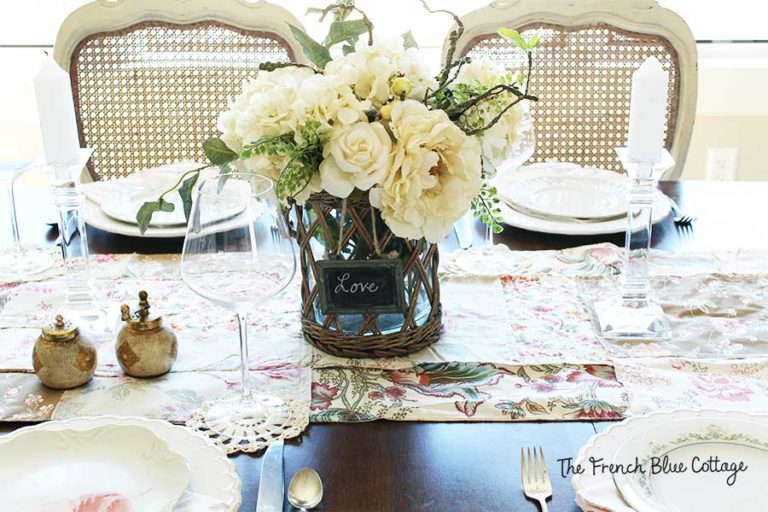
For this year’s Christmas dining table decor, I decided to go with a neutral color palette. I had white and green in mind and knew I wanted to include several types of greenery.
For the focal point, I went in a completely unexpected direction and created a Christmas village-inspired centerpiece.

*Some affiliate links are used below. See my full disclosure here.
![]()
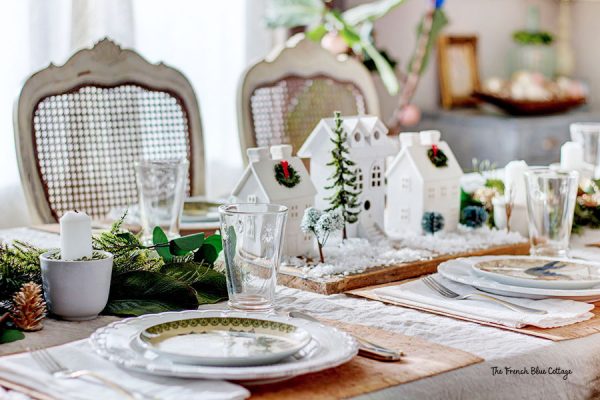
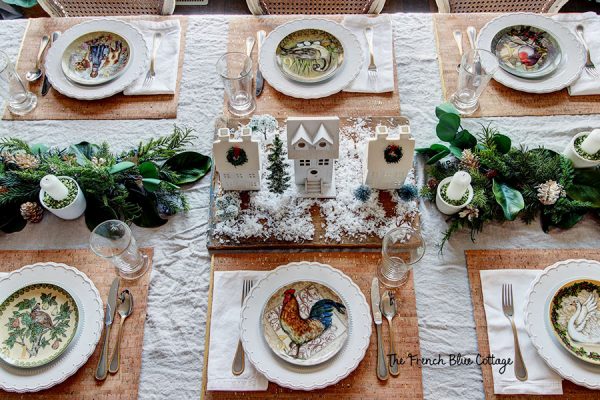
The Christmas Village Centerpiece:
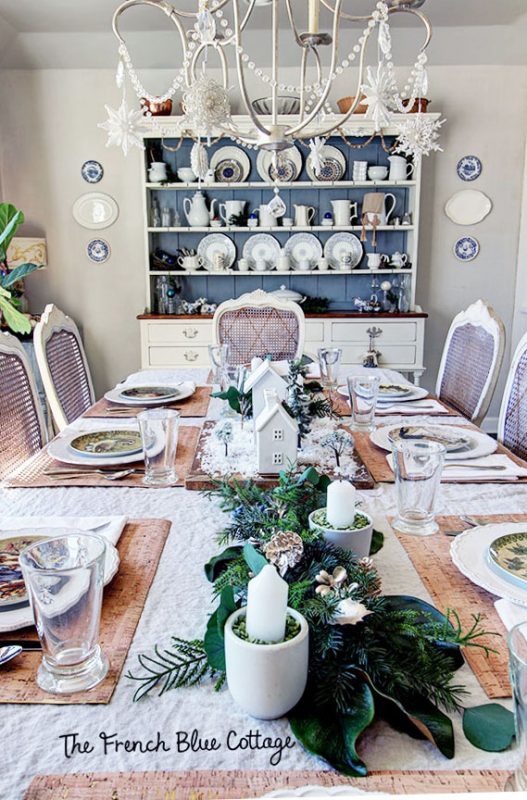
The base layer of this tablescape is a linen tablecloth. This one came from Target (similar here if you can’t find the Target one). Next came the centerpiece. I began by placing a large wooden cutting board in the the center of the table. This would help make the centerpiece more of a focal point and would also make it easy to move if necessary.
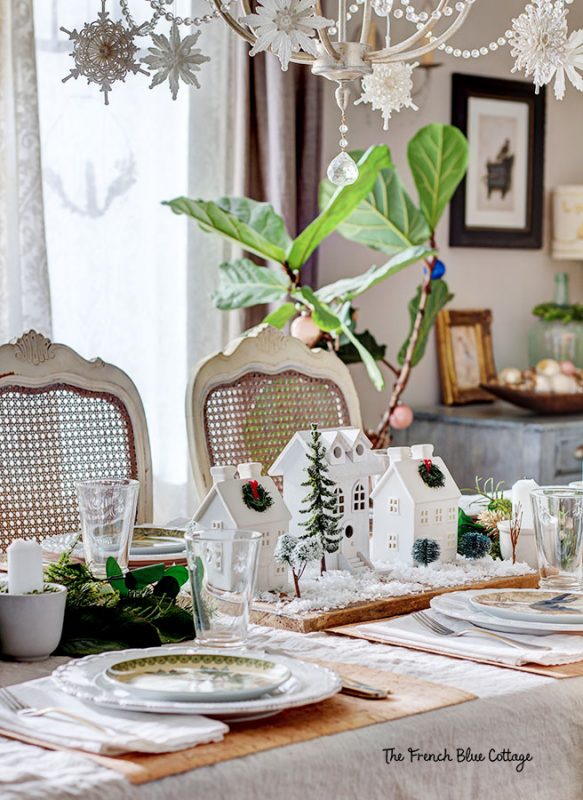
For the Christmas village, I found two ceramic houses and one wooden birdhouse at Michael’s. I spray painted the birdhouse solid white to match the ceramic ones. Then, I placed one remote-controlled, battery-operated candle light inside of each house. I can’t find the lights I originally bought from Michael’s, but here’s something similar to give you an idea about what I used.
I asked my husband to cut a hole in the bottom of the wooden birdhouse first. In addition, one of the ceramic houses had too small of an opening for my candle light to fit. So, he used our Dremel to make it a smidge larger.
The only other thing I added to the houses was a tiny wreath and bow (made from a small piece of garland and a couple of snips of red ribbon).
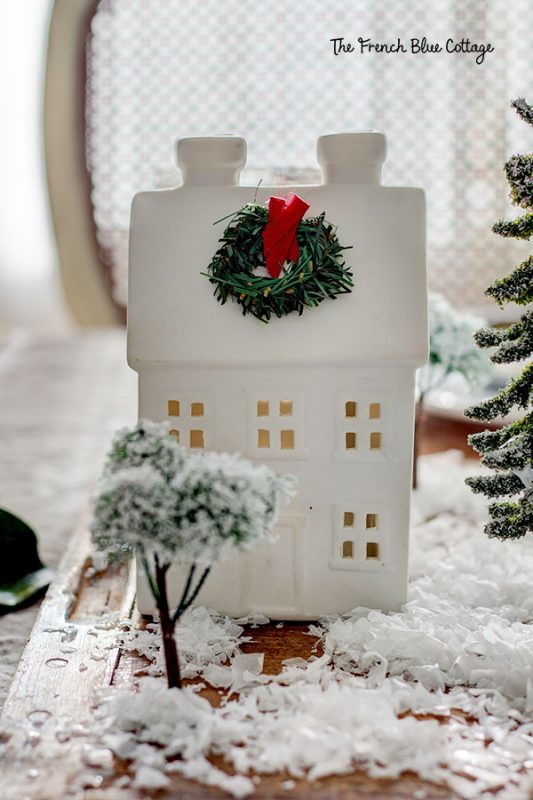
After the light were in, I placed some trees and shrubs around the houses. The tall tree was sold by itself, but all the others were in a single kit. I can’t seem to find the kit online, but it came from Michael’s. The hobby section in a craft store is a great place to find trees and other little items to use in a Christmas village. The last step was to sprinkle some faux snow all around. I didn’t think it was necessary to cover the cutting board completely and I left some of the wood showing through.

The Greenery and Candles:
The next part of my Christmas dining table decor was the greenery. I used some faux evergreen stems as the first layer. Then I layered some pieces of a second type of evergreen, some dried eucalyptus, and some magnolia leaves. For a little shine, I used a couple of gold Christmas picks that I pulled apart and placed here and there into the greenery.
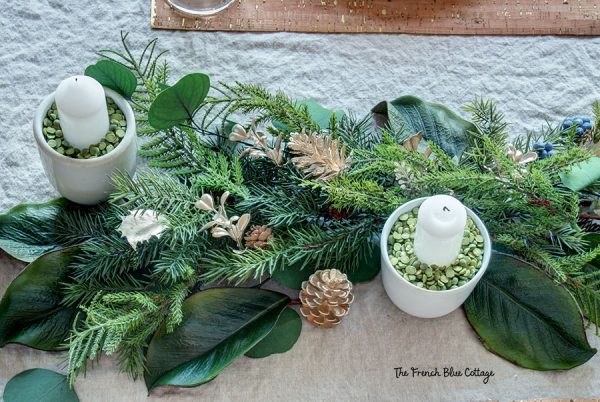
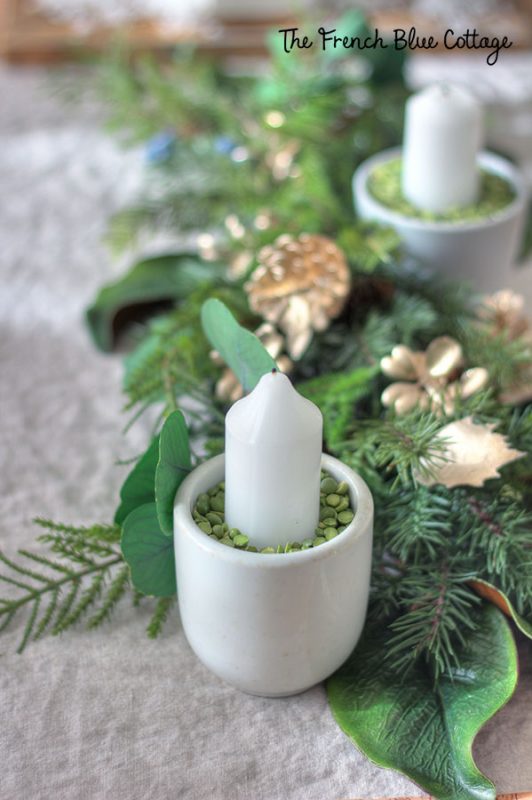
I’m always on the lookout for interesting ironstone china pieces. I love these little handle-less cups. For this tablescape, I used these ironstone cups as candle holders. I put these candles inside and then used one of my favorite decorating tricks to hold them up….split peas! A bag of dried split peas is a super cheap way to hold up candles. You can cover them with moss or something if you like, but I think they’re festive-looking on their own.
Related: easy Christmas candle gift for teachers or the hostess
The Placemats:
The Christmas village was unexpected idea number one. But then inspiration struck again while I was shopping at Hobby Lobby. I ran across this thick cork fabric and thought, “Hmmm, I’m thinking placemats!”
I bought 1 & 1/2 yards, cut it into approximately 14″ x 18″ rectangles, and ended up with 12 placemats. By using my 40% off coupon, I ended up with 12 placemats for less than $30. Not bad, right? And if you end up with leftover fabric, you could always make some of those cork earrings:)
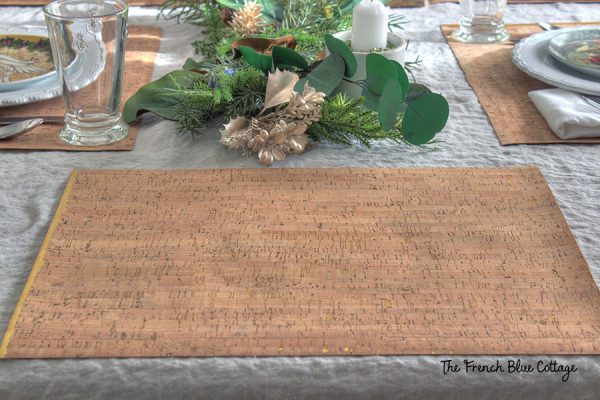
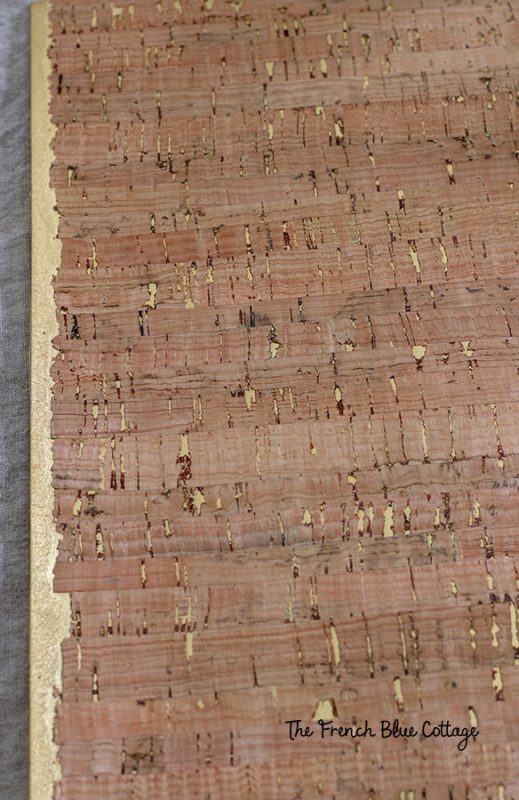
The cork fabric has bits of gold throughout…
The Place Settings:
For the place settings, I went super simple. I used a white dinner plate (these came from Kohl’s, but they don’t seem to sell them anymore). Then, I layered on a smaller plate (any small Christmas plate will look good). I picked up these “12 Days of Christmas” plates at Pottery Barn a few years ago and I just love them!
Since I don’t have 12 place settings at this table, I decided to choose my favorite plates. I picked all of the animal plates (there sure are a lot of birds in the 12 Days of Christmas song!) and my most favorite plate…
8 maids a’milking….
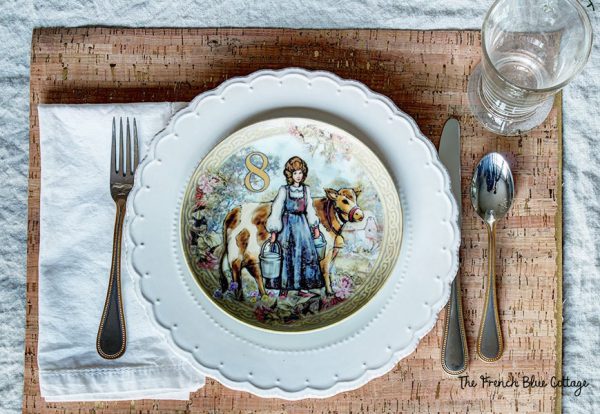
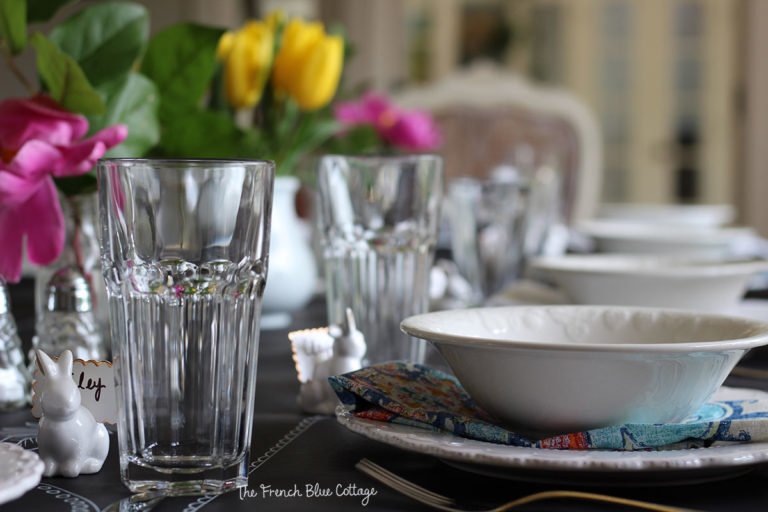
A simple white napkin, my bee glassware, and my grandmother’s gold trimmed silverware round out the place settings.

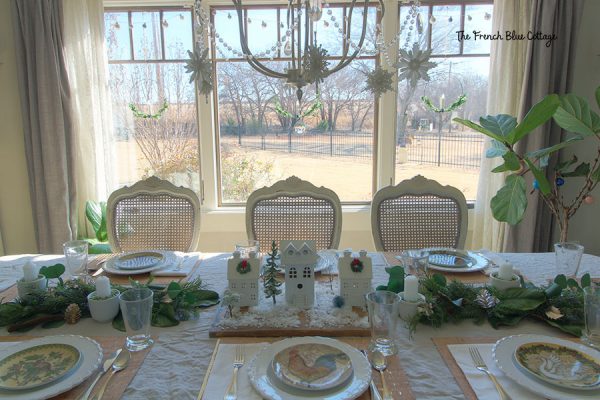
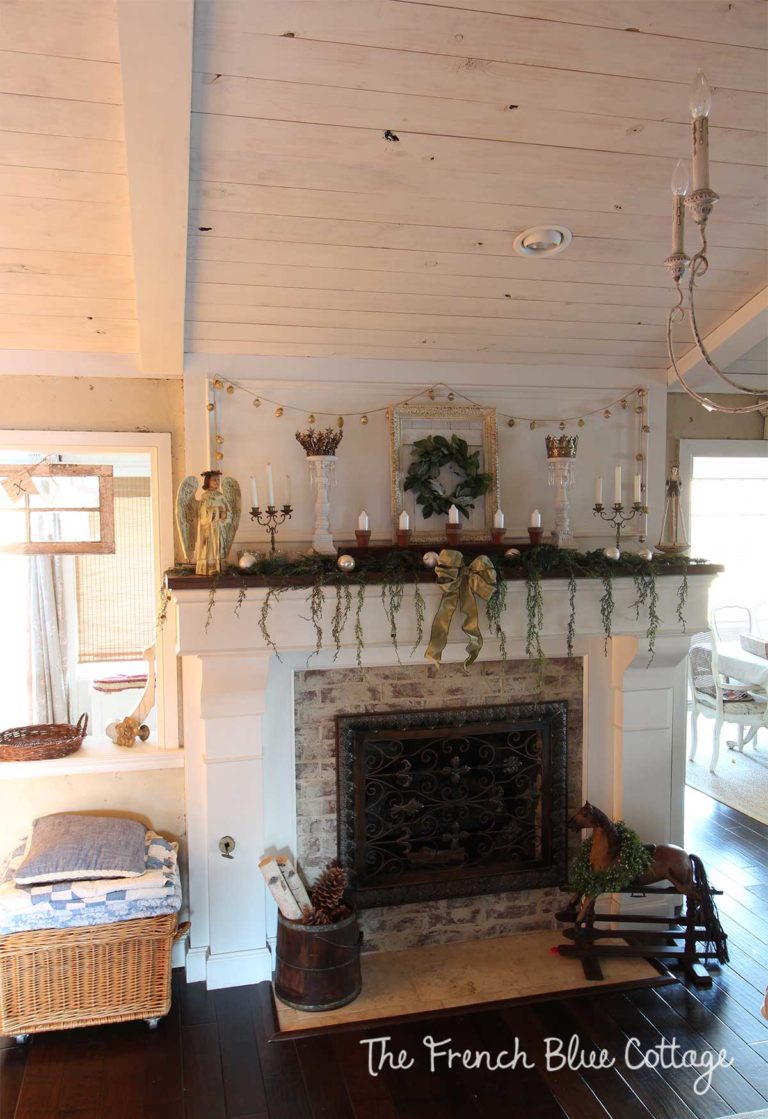
Here are a few pictures of what the rest of the dining room looks like all dressed for Christmas this year….
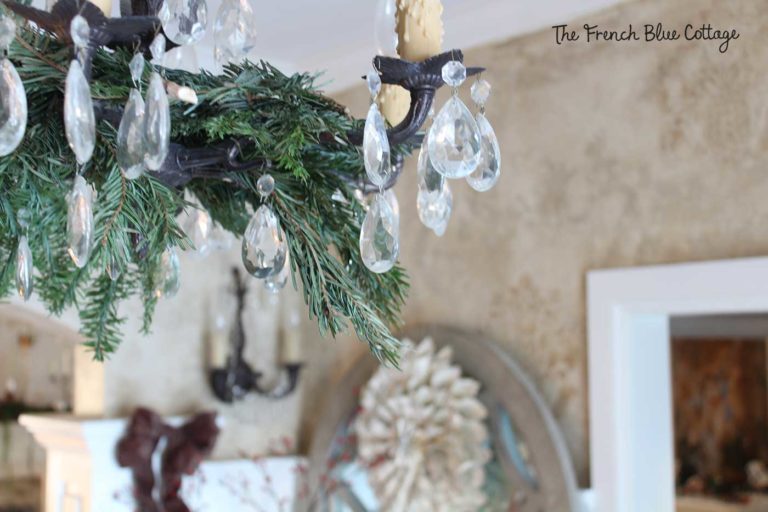
Snowflake ornaments add some sparkle to my chandelier…
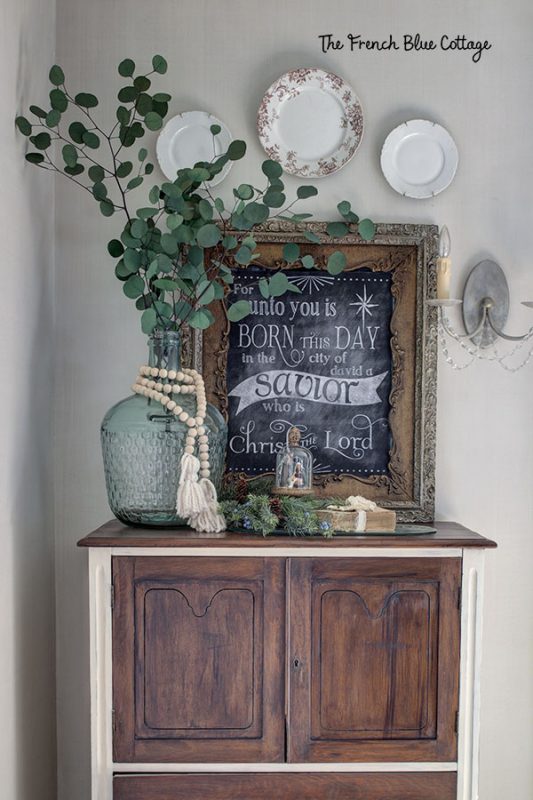
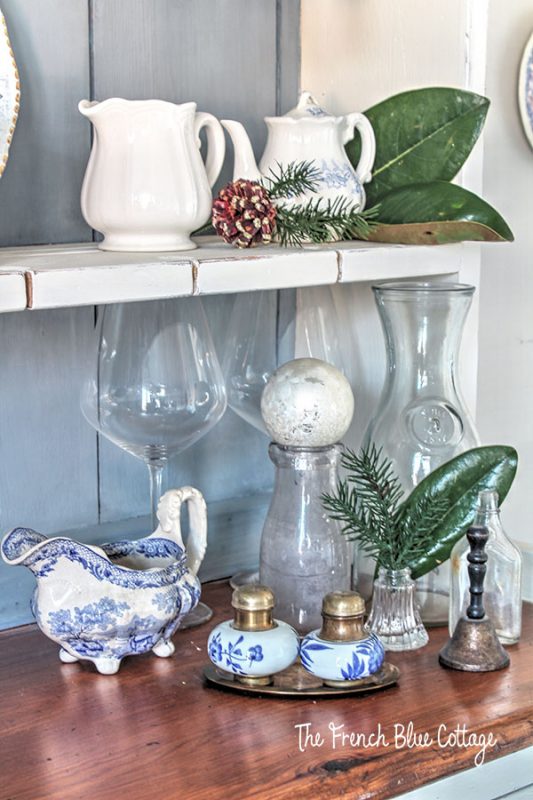
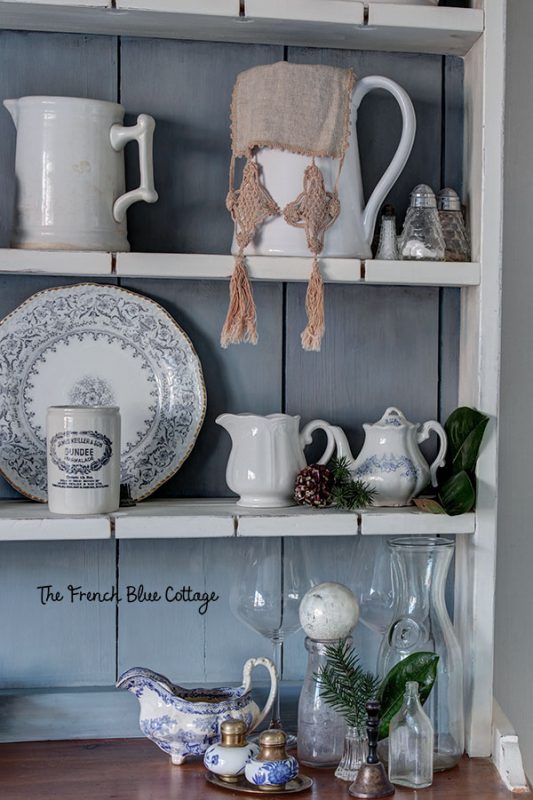
I don’t do much to the china cupboard with the changing seasons. I find that just a few additions of greenery and a couple of vintage ornaments is just about enough for me…
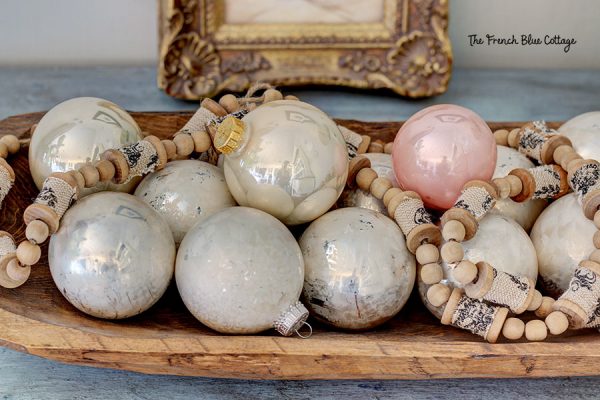
More vintage ornaments and a wooden garland in the dough bowl….
Even the fiddle leaf fig got a little dose of Christmas cheer:)

Here’s what the little houses look like at night with the candle lights lit….
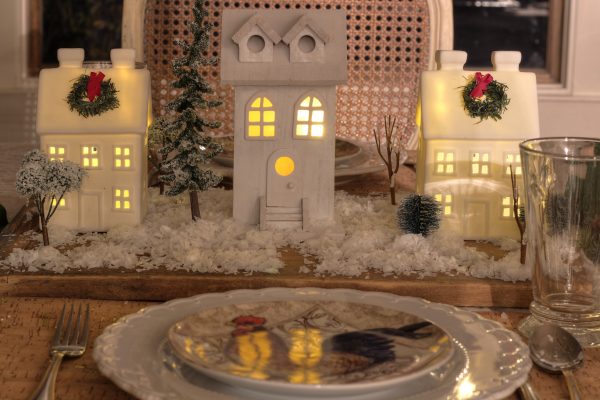
My daughter loves to use the remote control to turn on the lights in the evening.
I also have some of these candle lights in the wreaths in the window….
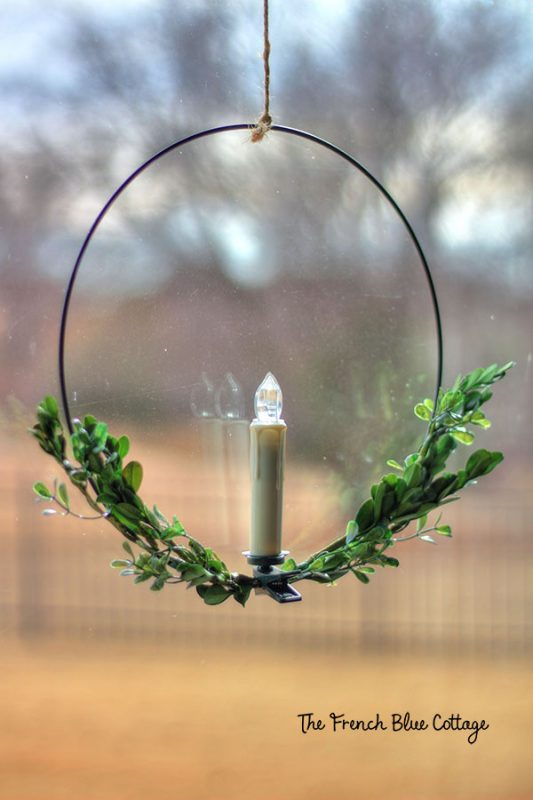
I’m planning to show an easy tutorial next week on making these wreaths. Be sure to check back or subscribe to the French Blue Cottage if you are interested in learning how to make this wreath.
![]()
And now I’m looking forward to visiting Erin at Elizabeth Joan Designs to see her beautiful Christmas tablescape inspiration!
Have a wonderful weekend and happy decorating!

P.S. If you’re new to the French Blue Cottage, here are a few favorites:
A favorite Christmas decor post
A favorite family post: a letter to my daughter

Sand Dollar Lane // Aratari at Home // Postcards From the Ridge // Sweet Pea
Worthing Court // Atta Girl Says // Sonya Burgess // Kippi at Home
White Arrows Home // Cribbs Style // Dabbling & Decorating // One House 2 Barns

My Family Thyme // The February Fox // A Life Unfolding

My Wee Abode // The Tattered Pew // Thistlewood Farms
Artsy Chicks Rule // 2 Bees in a Pod // Zucchini Sisters (not shown) // The Little by Little Home

The French Blue Cottage // Elizabeth Joan Designs // Joy in Our Home

Thistle Key Lane // Noting Grace

I love this tablescape! Those cork placemats are so cute! But I think I love the ornaments hanging from your fiddle leaf most of all! Jk Your hutch stopped me in my tracks – what a gorgeous piece and it’s the definitely hero of the room!
Thanks for sharing and have the happiest of holidays!
Thank you so much, Jen! The hutch is one of my favorite estate sale finds. It was orange-y pine when I got it, though:) Merry Christmas to you!
This is so beautiful! It is elegant yet so warm and festive for any decor. I can even use this in my simple farmhouse decor! I love that the beautiful Christmas village is just the right height that your guests can enjoy it as well as their conversations with each other. Thanks for these great ideas!!
Thank you so much! I didn’t even think about the height, but yes, this smaller centerpiece would work with table conversation:)
I love every detail of your table, from the village centerpiece, to your glassware, to your plate collection. Adding the greenery arrangement and candles on each side of the village is the crowning touch. Everyone around the table will enjoy a pretty view.
Thank you, Michelle! This one was fun to put together. I so appreciate you for taking the time to comment; it makes my day!
What a beautiful table! I love the centerpiece you created with the houses and its wonderful that they light up. Making your own placemats with the cork fabric was a great idea and you’ll be able to use them year round. I’ve never seen candle wreaths like yours and I really like them.
Thank you, Paula! My candle wreaths are super easy, but there’s just something about their simplicity that I really like. Thanks so much for taking the time to leave me a sweet comment.
The cork placemats and split peas are genius ideas! You did a fabulous job.
Thank you, Sarabeth! Like with the cork placemats, you just never know when inspiration will strike! For me, it seems to often happen in the aisles of Hobby Lobby:) Thanks for taking the time to leave me a comment. It makes my day!
Oh my gosh, I love your entire dining room! I really enjoy the little added touches like the wreath on the house and the ornaments on the fiddle leaf fig.
I’m absolutely going to be making cork placemats!
Thanks, Leen! I love that cork fabric, too. I’m sure if I think long enough, I could come up with another use for it!
Your vintage charms on your table are perfect friend. Just luv it!
Thanks, Ann! I love to mix vintage and new in just about all my decor:)
Your whole dining room looks lovely, Carrie… and great photos. I especially like your split pea filler trick and your cork placemats. Lovely! Pinned!
Thank you so much, Julie! This tablescape was really fun to put together:)
I love everything on here today!! You are so creative and I found so much inspiration from your photos!!
Have an amazing week!!
karianne
Thanks, Karianne! I really had fun putting this tablescape together. I so appreciate you for taking the time to leave me such a sweet comment! You have an amazing week, too:)
So very pretty!! The whole dining room looks just amazing! xo
Thanks, Nancy! I so appreciate your kind comment!
I love your tablescape especially those little White House’s with the tiny wreaths, such a sweet little touch.
Thank you, Sonya! I always love the little details, too:)