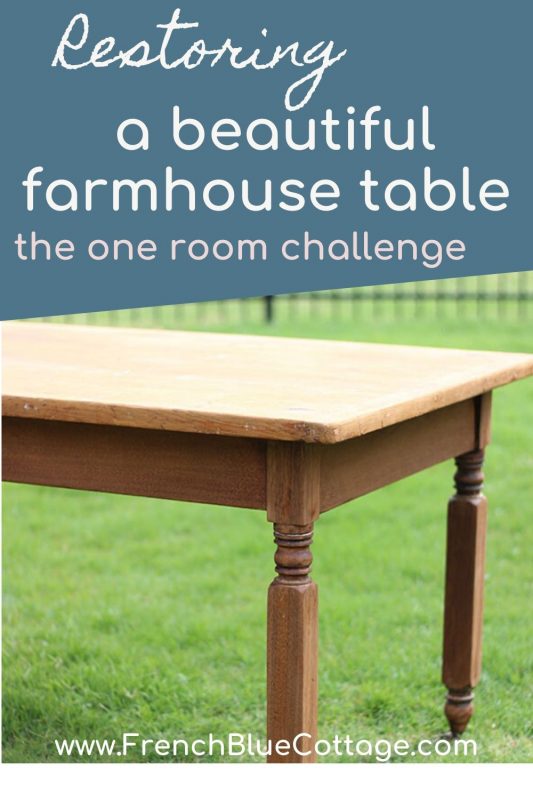
Refinishing a Pine Table and a Sewing Basket – One Room Challenge {week 3}
Refinishing a Pine Table
Refinishing a pine table and repainting a sewing basket….making the utilitarian a bit more beautiful.
![]()

Welcome back for week 3 of my art studio and crafting room renovation!
Week 1 | Week 2
I wanted an old table for my new art and crafting studio. But not just any old table.
Specifically a pine table….with a good sized, plain table apron…..and simple, farmhouse-style legs….between 48 and 55 inches….and hopefully casters.
Something like the one in this mood board…
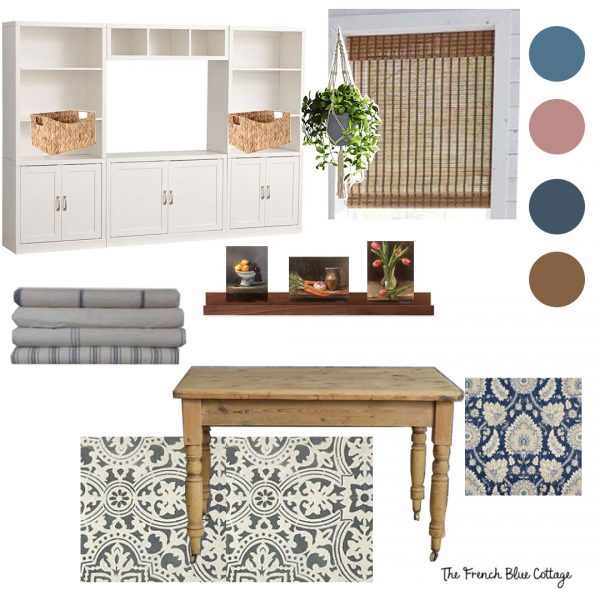
Is that asking for too much?
I hoped not, so I started the search. In full disclosure, this search started a few months ago, before all the quarantining and social distancing began. I went to estate sales and antique stores and scoured the Marketplace and Craigslist. But nothing was ever quite right.
Refinishing a Pine Table
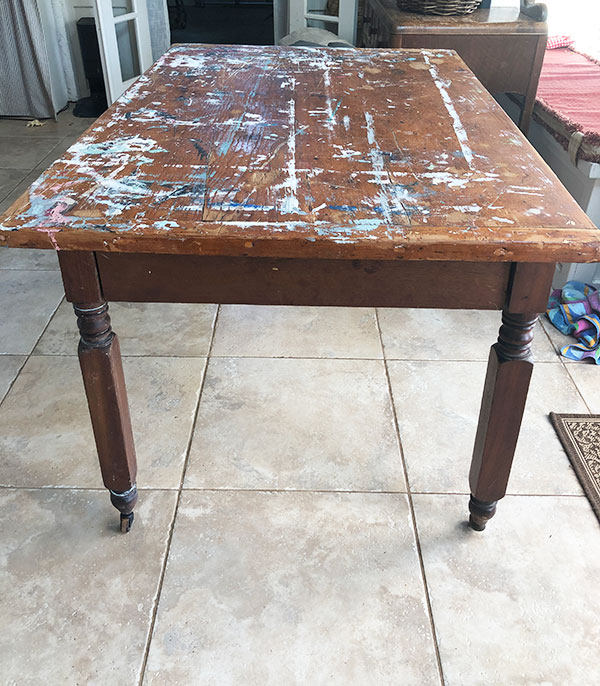
Then finally, at one of my favorite local shops, I spotted this “beauty” and it was on sale for $135.
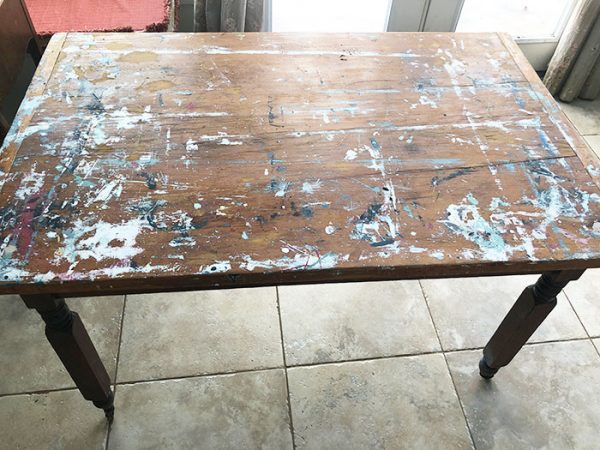
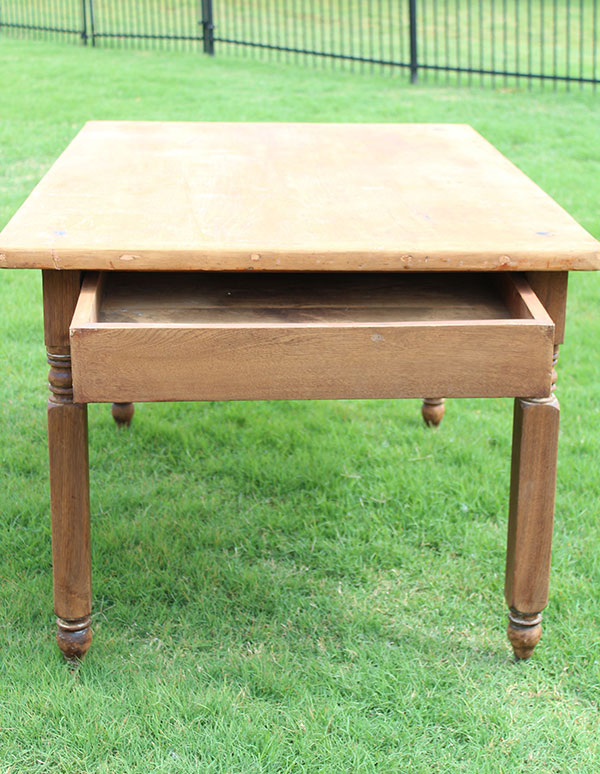
It was covered in paint, but it was old and pine, with a good sized, plain table apron, simple farmhouse-style legs, 52 inches long, and with original casters. And it had breadboard ends on the tabletop and a drawer on each side. Perfect!
We brought it home and it sat for a little while. Then the ORC started and I got myself in gear and gave it a makeover.
Some affiliate links used below, which means that I may receive a small commission, at no additional cost to you, if you purchase through one of my links. See my full disclosure here.
Stripping the Table
The first step in refinishing this pine table was to strip the tabletop. It was actually kind of cool with all of it’s paint streaks on top, but was not the look I was going for in the space.
Awhile back, I found a paint stripping technique on Pinterest that requires trash sacks or some kind of plastic sheets. Then I remembered that I had had a GIANT roll of plastic wrap (probably left over from my mom’s homemade bread-baking days) that has been sitting in my laundry room for years and years. Every time I cleaned or reorganized the space, I’d see that plastic wrap and think, “I really should get rid of this”. But then the hoarding/frugal side of me would think, “but I might be able to use that someday!” Aha, now I can put it to good use! ?
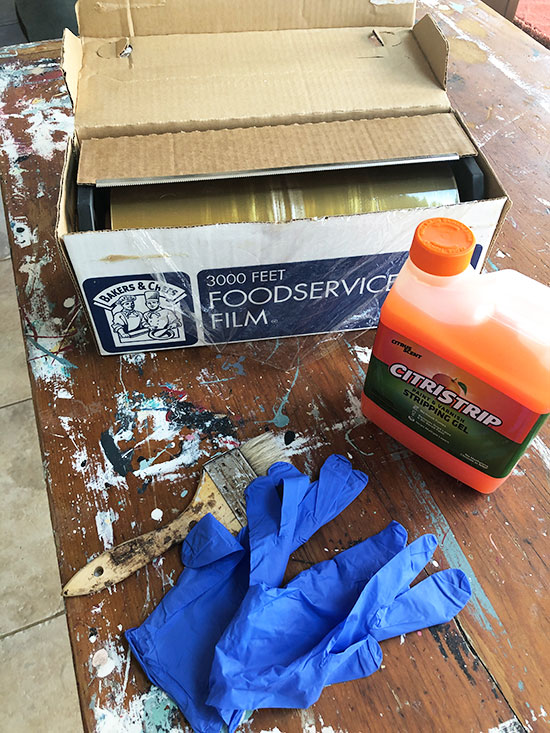
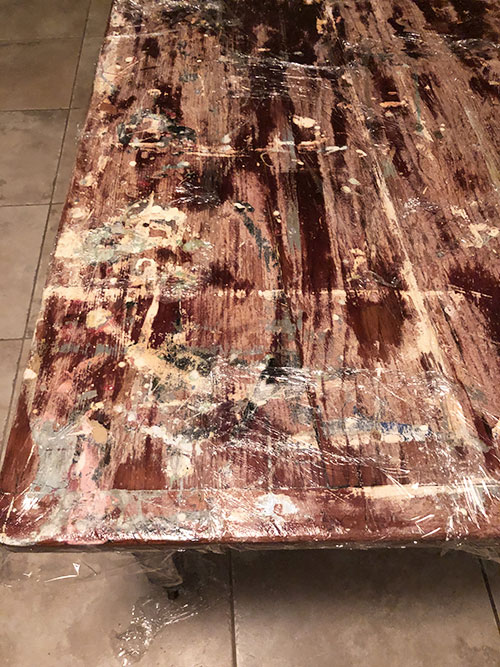
First I poured some stripping gel on the top and spread it around with an old chip brush. I laid it on really thick. Next, I covered the entire thing with strips of the plastic wrap and pressed down to get rid of any air bubbles.
This picture is a little dark because I did this project at night, but the paint stripper really does bring all of the colors out and makes them look extra vibrant…
Then I applied it as thickly as I could to the table’s apron and legs and then covered them in plastic wrap, too. Thanks to gravity, it was not as easy to get it to cover as thickly on the legs and apron.
I originally planned to let it sit for a couple of hours and then scrape it off. But I applied it at night and then ended up going to bed awhile later, so it sat overnight.
Cleaning up the Table
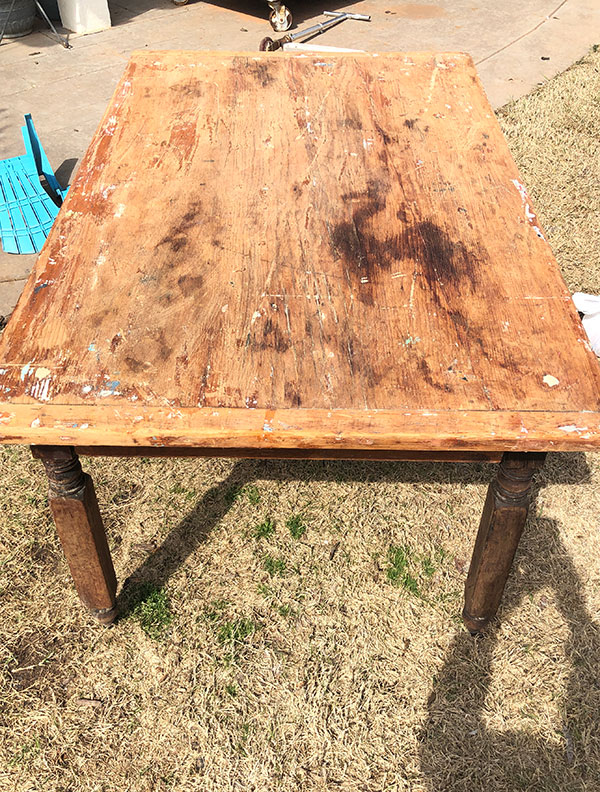
The next morning, I took the table outside and used a paint scraper to begin scraping off the old finish. It came right off of the table top. The sides and legs were a different story. Because it was not applied as thickly there and then sat for a little longer than it should have, it was a bit dried out. It still came off, just not quite as easily as the top.
Once I had the bulk of the stripper and the old finish off of the table. I used mineral spirits and an old rag to remove most of the rest. A bit of steel wool and it was complete. I started with size #00 steel wool and finished with size #0000.
Sanding the Table
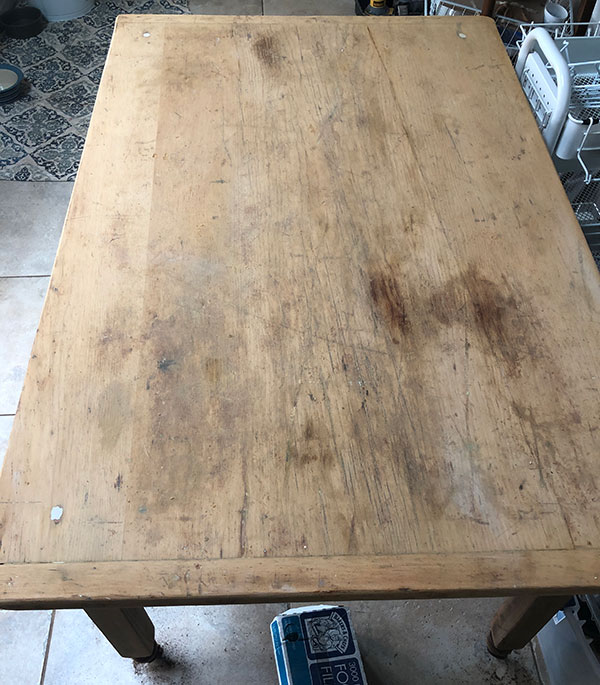
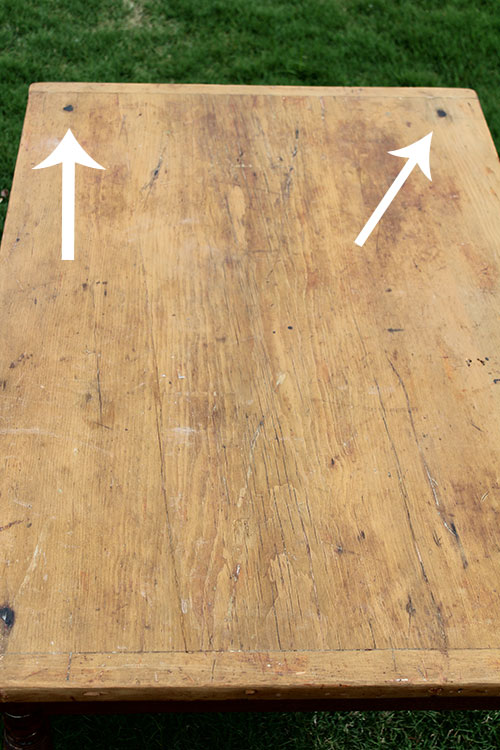
As you can see in the photo above, there was a rather large stain that just would not come off.
So, after it was completely dry, I used an orbital sander on the top to help remove as much of the stubborn stains as possible and then smooth the whole thing out. I used a sheet of sanding paper to touch up the legs and sides. After I got as much of the original finish off (without damaging the wood), it looked like this….
Re-staining the Table
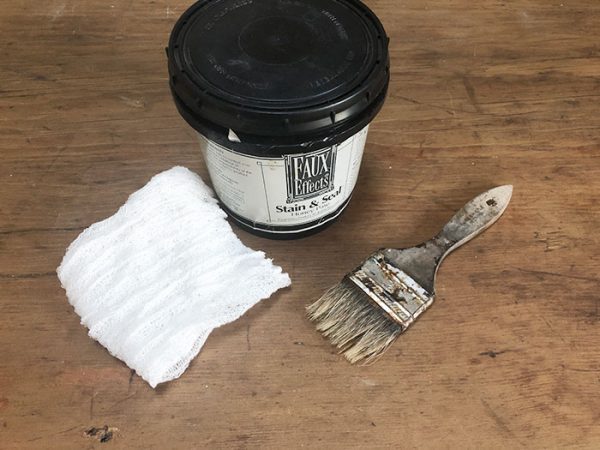
I liked the base color at this point, but the couple of dark stains were still too much of a contrast. So I decided to give it a quick (and very light) coat of my favorite water-based stain. I used Stain and Seal in the color Honey Pine mixed with a little bit of FXThinner and then wiped off with cheesecloth. Both of these products are made by Faux Effects.
After it was stained, I could see that someone had previously used some kind of filler in the four corners of the table. I could also see that the filler was not stainable because I was left with 4 white circles on the stained tabletop. ?
So, if it wouldn’t go darker with the stain mix, I’d have to take it really dark with an almost full strength stain. They are not any less visible than before, but now it looks more purposeful to me.
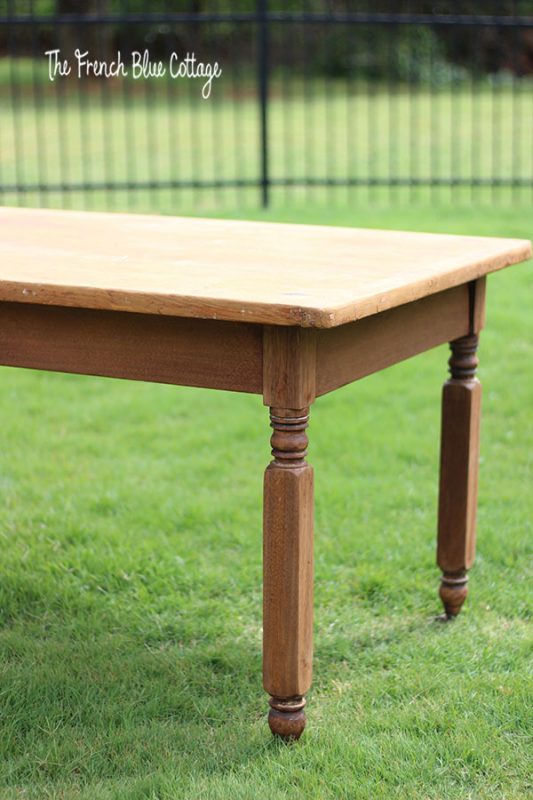
I love this new table! And it’s really close to my original inspiration piece!
![]()
We brought the table into the room and started placing a few things on it.
Ho-Hum Sewing Basket
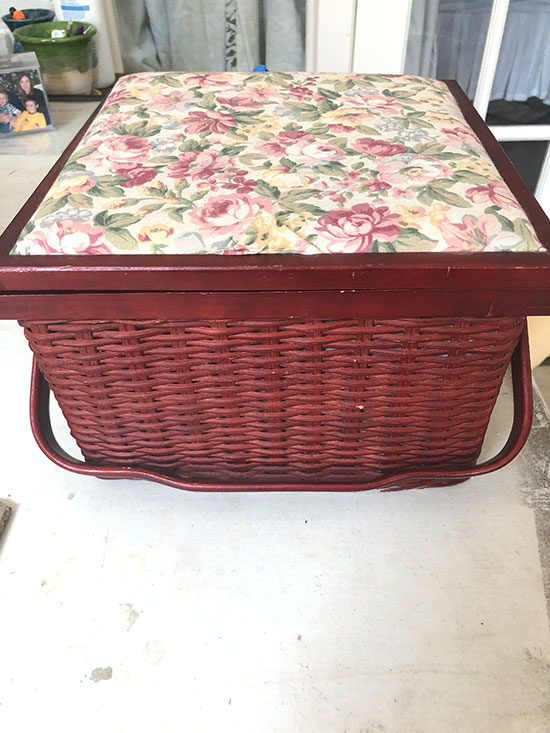
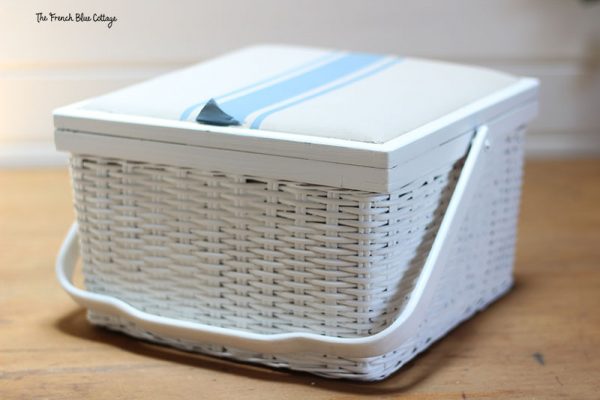
I have a small sewing basket that I use fairly frequently and I set it on the table. This sewing basket is stained a bright cherry red and has a floral, chintz fabric on top. Not my style at all, but I never cared before because it was always stored inside a cabinet. But I want to be able to keep it out and it just was not going to work in the new space at all.
So, of course, I decided to paint the basket.
Prime and Paint
First, I taped off the fabric top and primed the basket part with spray primer….
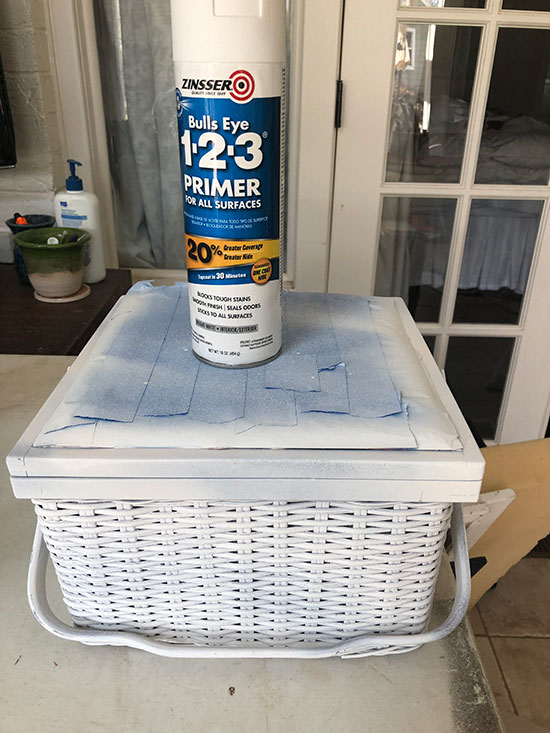
Then I painted it with the same Sherwin Williams color (Alabaster) that I used on the studio walls and bookshelves.
And then I decided that I really didn’t want to rip off and replace the top fabric.
So, of course, I decided to paint the fabric, too. ?
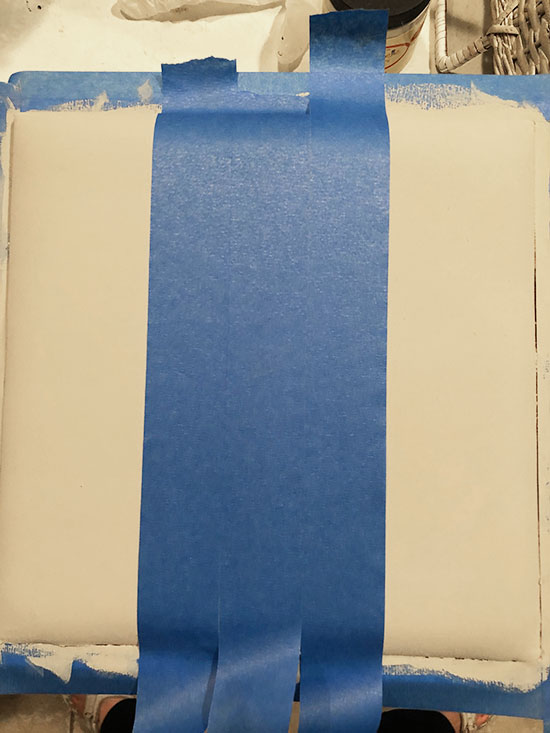
I began by painting the fabric with Dixie Belle chalk paint in the color “Sandbar”.
Some people might use the top of the basket as a pincushion and painting it would prevent that. I never used my sewing basket that way, so painting it was a good compromise for me.
Tape Off for the Pattern
After it dried, I ran three lengths of painter’s tape down the center of the lid.
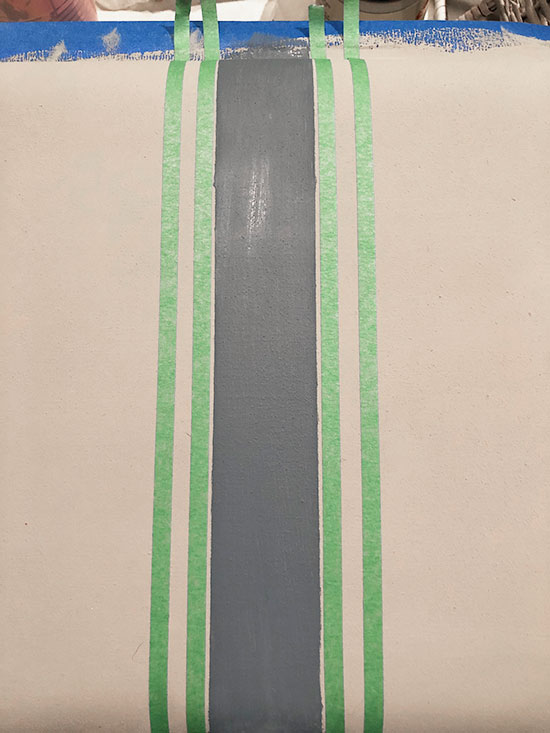
Next, I removed the center strip of tape and painted the space between the outer strips. I used one of the blue chalk paint mixtures from my stenciled floor.
Then I did the same technique next to this blue stripe, but with narrow, 1/4 inch tape.
Ta da! From a 1980’s chintz sewing basket to a French blue, striped cutie!
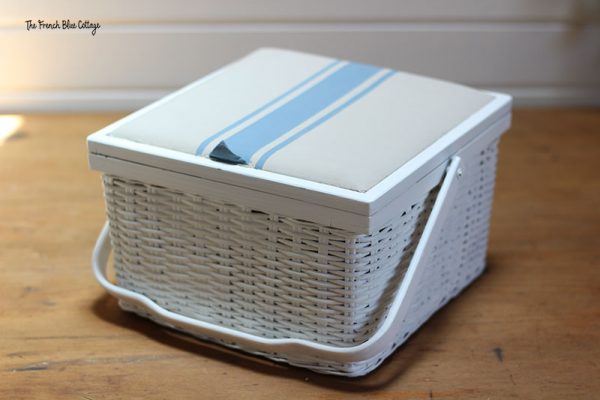
I know it’s such a little thing. But if it’s going to sit out and I’m going to have to look at it often, I might as well make it a little more pleasing to the eye.
![]()
Refinishing my pine table took about 2 1/2 hours (not including the time allowed for the paint stripper to soak in). It is going to be a workhorse in my new studio. I’ll be doing all kinds of sewing and crafting projects here. And I won’t have to leave all my supplies on the dining room table anymore. Yay!
Art and Crafting Studio To-do List:
paint walls and (possibly) ceiling (decided against painting the ceiling)paint colorful, stenciled concrete floor- re-paint desk area
- address lighting and ceiling fan (give it a DIY makeover!)
order window shadefind and buy a pine table(refinishing pine table)- figure out storage needs,
buy baskets that fit,& then organize - buy office chair
- decide on a rug
- make art ledges
- make open shelves
get new cabinet hardware- cover plastic storage drawers
- figure out oil paint storage
- decor items
I have already found some great ideas from the other ORC participants for an upcoming project or two. Be sure to go check out some of their challenge spaces here.
See you next week!


That table is gorgeous the lines are beautiful and you are just making it even prettier. The basket is also a nice touch as well!
Thanks, Jen! I just couldn’t set that ugly basket on my newly refinished table?
That table turned into such a beauty!
Thank you, Tina!
I absolutely love the way that table turned out – way to bring a treasure back to life
Thanks Lindsey! I think old treasures are the best kind:)
New basket ? new table ?
Thanks, Jenna!
Oh my goodness! So much fun process in one week! I LOVE the table!
Thanks, Jewel! The progress feels great; don’t you love gettin’ stuff done? ?
Carrie, I absolutely love the table! It looks like it could have been in grandmas kitchen and to me that is the highest compliment. I think your blue stripe in your basket is so cute! I wish we were neighbors, maybe some of your talent would rub off on me! I can’t wait to see your finished room.
Thank you, Ranell! I know just what you mean; I remember all the beautiful and well-made furniture in my great-grandmother’s house. It was built to last:) And I just know you are talented. Find something you love to do and let it shine through!
That table is going to be a gorgeous addition! Love the sweet basket update too.
Thanks Libbie! The table is definitely going to be put to good crafting use:)
Both projects are wonderful! I love the idea of updating the sewing basket – I have a few that are in great need of a good update.
Thank you, Joy! Sometimes just a little update makes me smile:)
What a beautiful find! All that work paid off with a gorgeous piece! Love the cute basket makeover too!
Thanks, Denise! I love a good furniture rescue:)
Ooooh that table is so neat! Such great character to it!