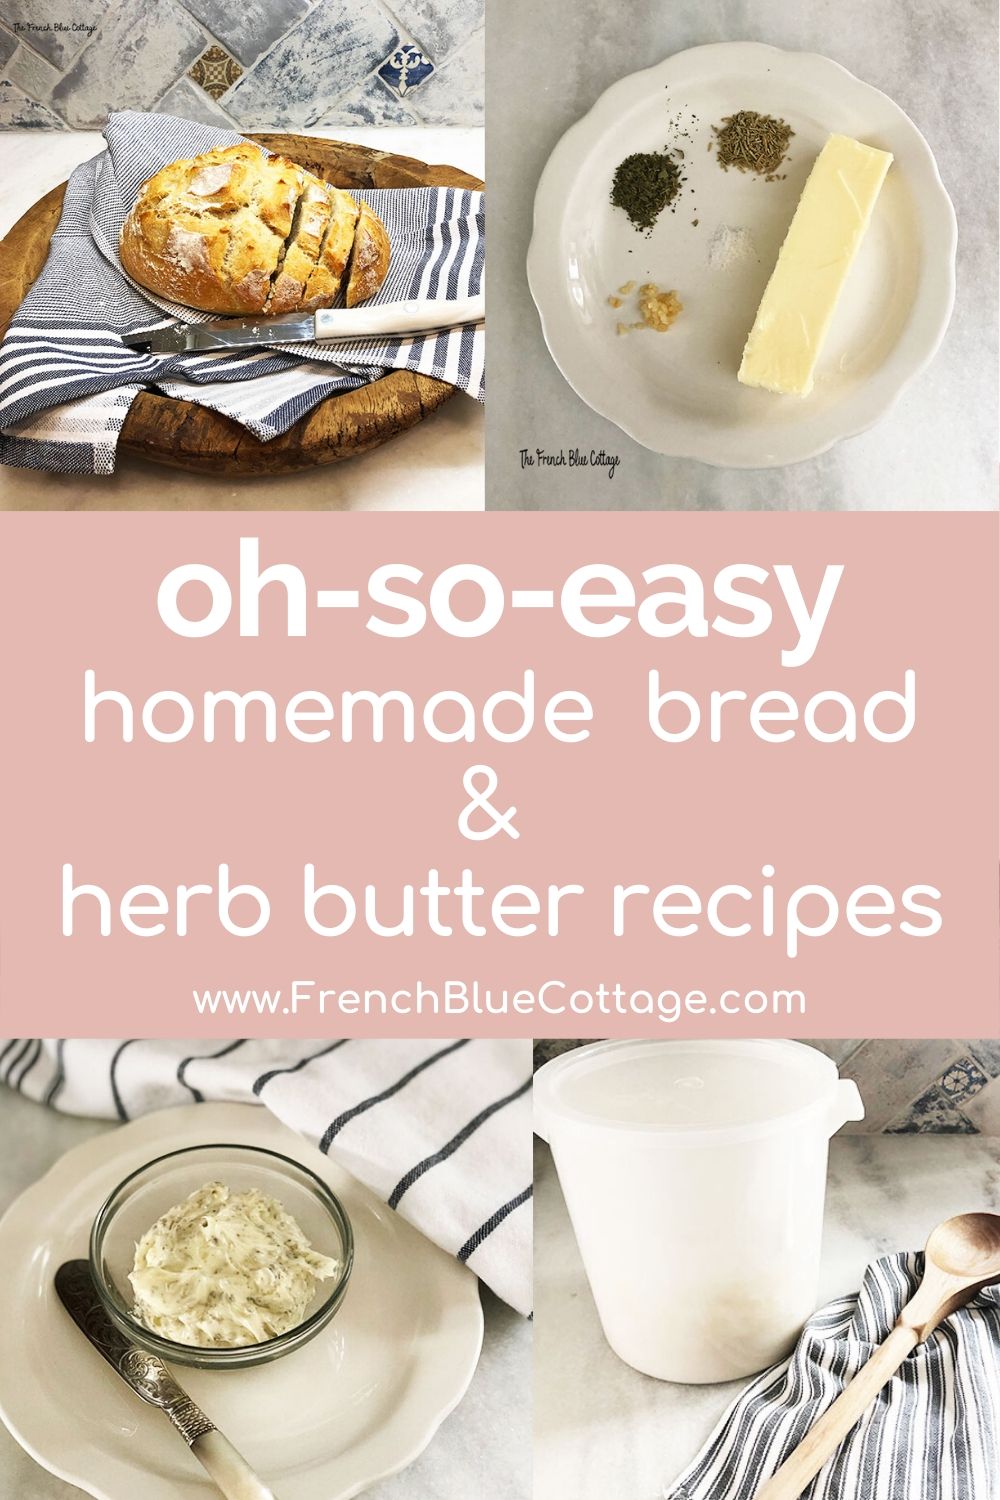
Easy Bread Recipe with Herb Butter
Do the words “easy + bread + recipe” sound like an oxymoron to you?
When I was younger, my mother used to make homemade wheat bread and cinnamon rolls. She had a wheat mill and would grind organic wheat berries into flour and then use a Bosch machine to make the most delicious homemade wheat bread.
The mouthwatering scent of fresh bread is about as good as it gets in my opinion!
My mom’s bread was amazing, but I wouldn’t really consider it “easy” or “fast”.
The recipe I’m sharing with you today is both easy and fast and you still get the aroma of fresh bread in the house to tempt your family’s taste buds. 😋
This recipe is very quick to whip up, but it does still require a couple of hours to rise when you first make it. The batch makes enough for three loaves, so the second and third time you bake a loaf, it will be much faster because there won’t be the original rising time.
*Affiliate links are used in this post, which just means that I may earn a small commission at no additional cost to you, if you purchase through one of my links; full disclosure here.
How easy? The ingredients are flour, salt, yeast, and water…..no kneading is required…..one batch makes enough for three loaves of bread….and the dough keeps in the refrigerator for up to two weeks.
Sound good? Ok, coming right up.
It looks like a long recipe, but trust me, it’s super easy…
Recipe for easy bread:

Homemade Artisan Bread
An easy recipe for delicious homemade bread using only four ingredients and no kneading.
Ingredients
- 3 cups lukewarm water (100° F or below)
- 1 TB granulated yeast
- 1.5 TB kosher salt
- 6.5 cups all-purpose flour
- cormeal or parchment paper, for the pizza peel
Instructions
-
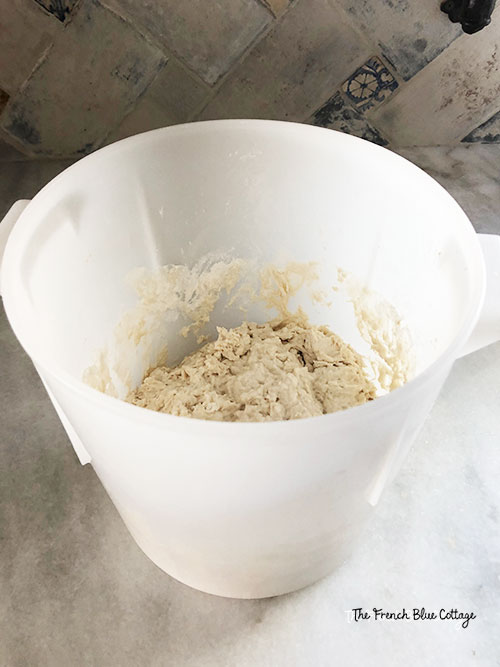
Put the water in a large (about 6 qt) plastic storage bucket with a lid. The water should feel just a bit warmer than body temperature.
-
Add the yeast and salt to the water and stir. Don't worry about getting all of it to dissolve.
-
Add all of the flour, cup by cup, without stirring in between. Use a scoop and sweep method of measuring the flour instead of pressing the flour down, which compresses it and will throw off the measurement.
-
Mix with a wooden spoon. If it gets difficult, you can also mix it with wet hands. Don't knead! The dough should just be uniformly moist, with no dry patches. It should be loose and should conform to the shape of the container. (You can also mix it with a heavy-duty stand mixer with a paddle or with a Danish dough whisk.)
-
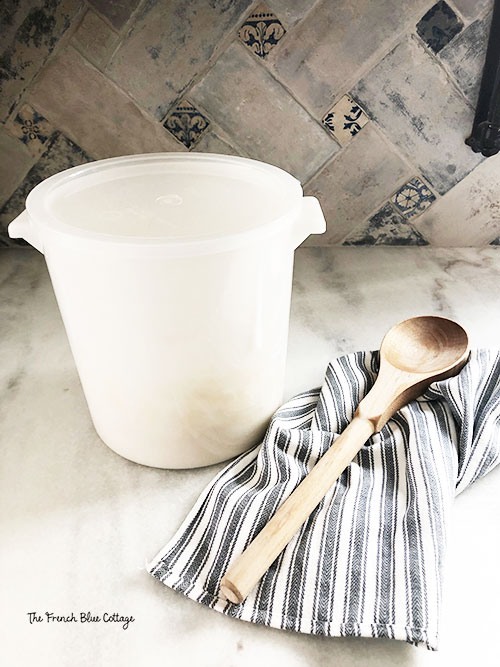
Place the lid on the top of the container, but leave it cracked open. Allow dough to rise at room temperature until it begins to flatten or collapse (about 2 hours). Then refrigerate and use within 14 days.
-
You can bake the bread right after the rising process or save it for another day.
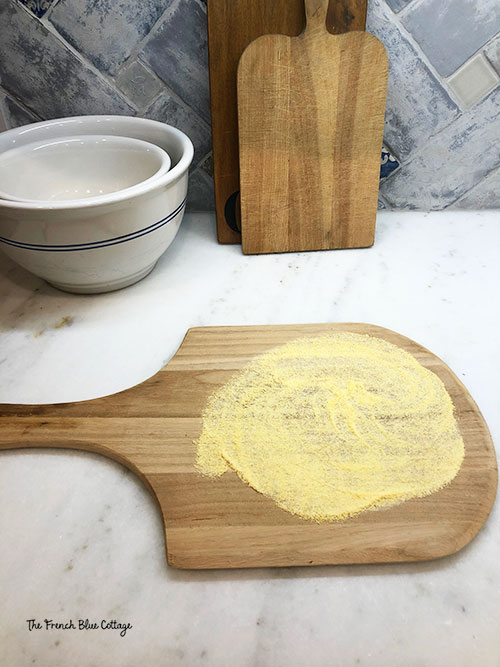
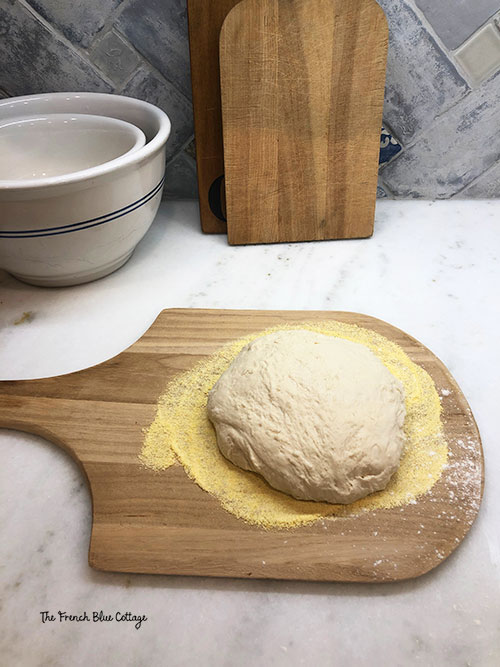
To bake, sprinkle a pizza peel with cornmeal or add a piece of high-heat parchment paper. Dust the surface of the dough with flour and pull off a piece about the size of a large grapefruit.
-
Cloak the dough by gently stretching the surface of the dough around to the bottom on all four sides, rotating the ball as you go. The bottom of the loaf will not be smooth, but will flatten as it bakes. The cloaking should take about 30 seconds - don't overwork the dough.
-
Place it on the prepared pizza peel and let it rest for about 40 minutes. I like to put the dough toward the edge of the peel to make it easier to slide off.
-
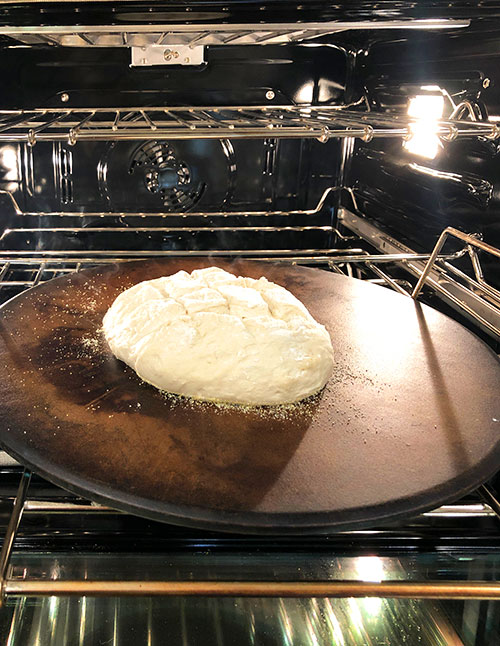
Pre-heat a baking stone in the center of the oven at 450° for about 20-30 minutes. Place a metal (never use glass because it could shatter) broiling pan on the oven rack that is below the rack the pizza stone is on.
-
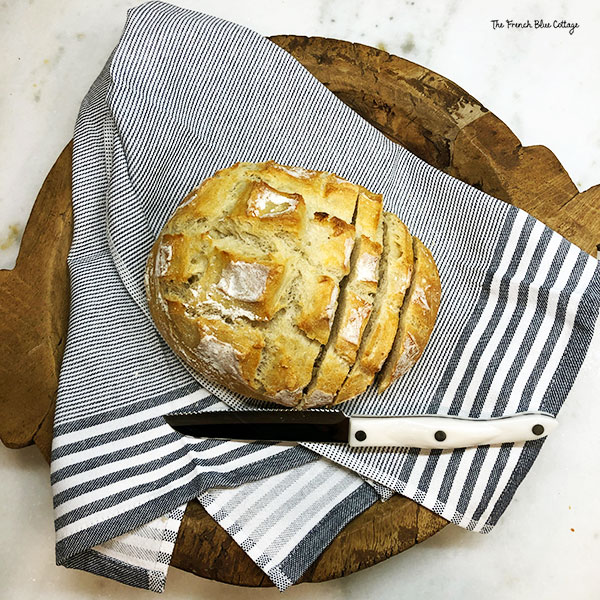
When the bread has rested, sprinkle the top with flour and use a serrated knife to slash a couple of lines (1/2 inch deep cross lines or tic-tac-toe lines). Slide the dough from the pizza peel to the hot baking stone in the oven. Just jiggle it a bit and then pull back sharply.
-
Quickly pour 1 cup of very hot water from the tap into the broiler tray and close the oven to trap the steam.
-
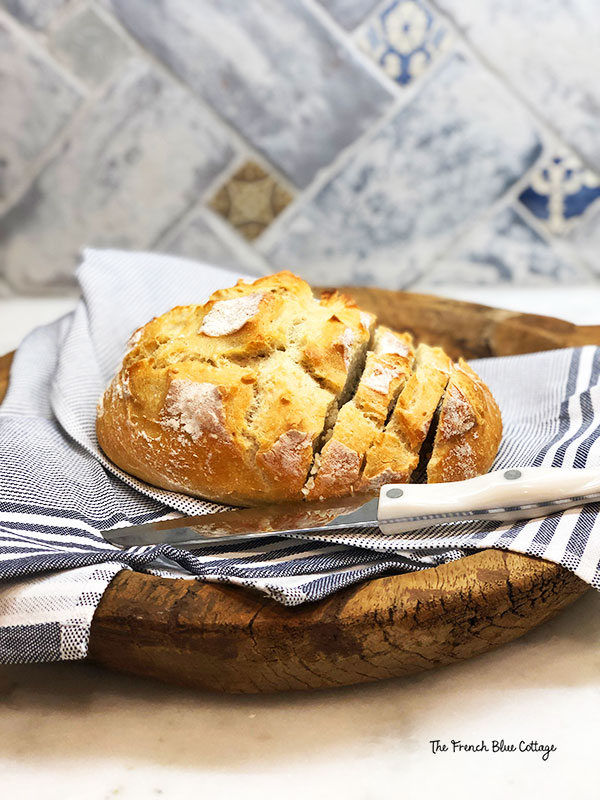
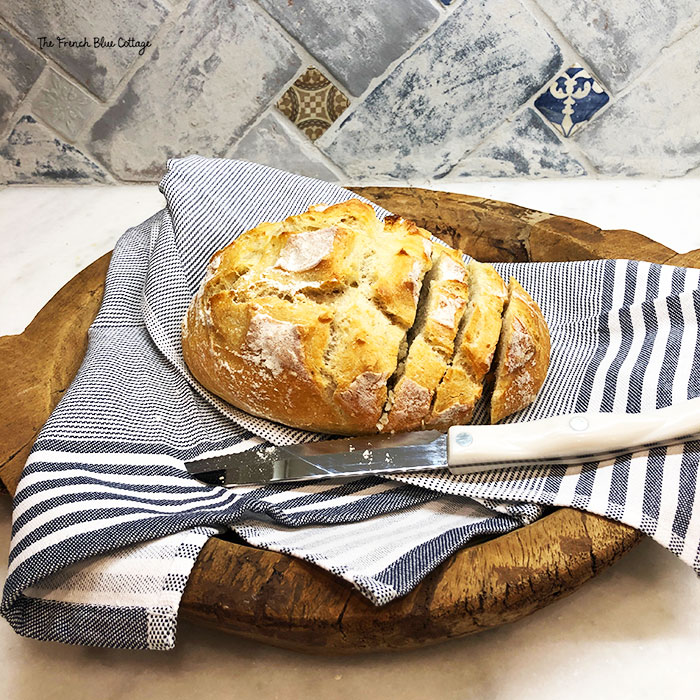
Bake for 30-35 minutes, until the crust is richly browned. Allow to cool completely on a wire rack for best texture and slicing.
-
Store the remaining dough in the refrigerator and use over the next 14 days. The dough becomes more flavorful as it is stored for subsequent days.
And now for the easy bread recipe in pictures….
- Mix the ingredients in a large storage tub.
2. Let dough rest for about 2 hours.
3. Prepare a pizza peel or thin breadboard.
4. Cloak a section of dough with flour (don’t knead or overwork it) and place on prepared pizza peel to rest for 40 minutes. While it’s resting, pre-heat a baking stone in the oven and place a metal broiling pan on the rack underneath it.
5. After dough has rested, slash the top a couple of times and slide onto baking stone. Quickly pour the hot water into the broiling pan and close the oven to trap the steam. Bake for 30-35 minutes.
This recipe comes from this book, The New Artisan Bread in Five Minutes a Day.
They share the basic recipe that I described above on their website, Artisan Bread in Five, and you can find even more details here.
The book has many, many more recipes that are based on or very similar to this basic recipe. Recipes for flatbreads, pizza crusts, pretzels, even chocolate breads!
Here’s the extra equipment that I use:
metal broiler tray
pizza stone (mine came from Pampered Chef, here’s a similar round stone & a rectangular stone)
large plastic storage bucket with a lid
The one tool that I don’t have yet, but want to try is:
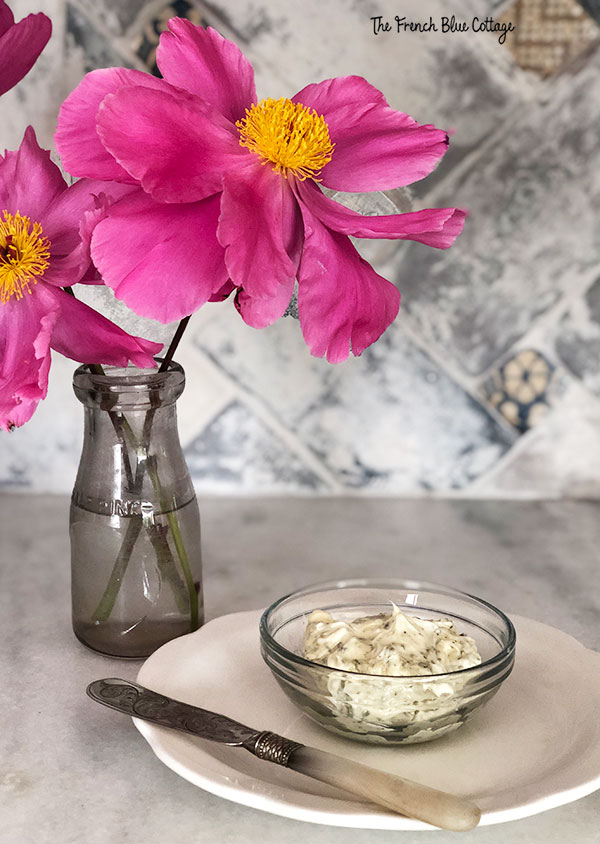
This recipe is delicious on its own, but my family sometimes likes to kick it up a notch with some herbed butter!
There are many ways to make herb butter, but this is how I usually make it….
Herb butter recipe:
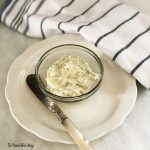
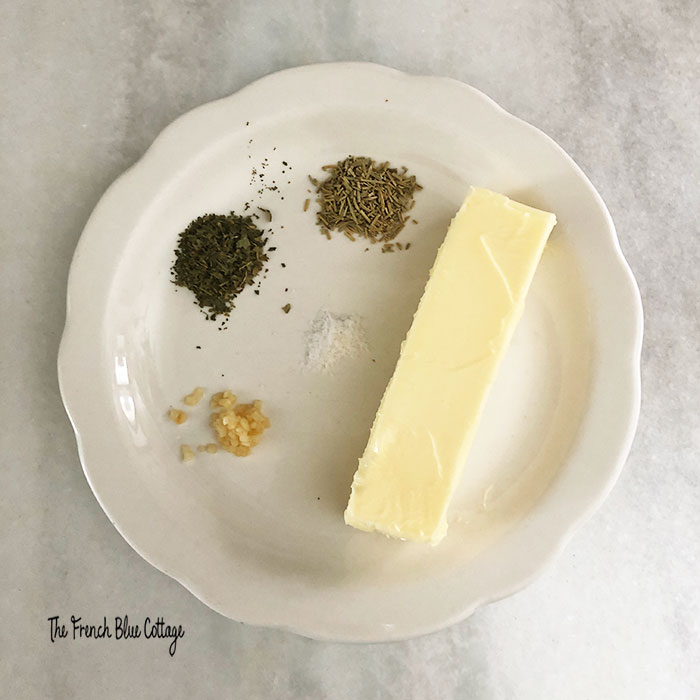
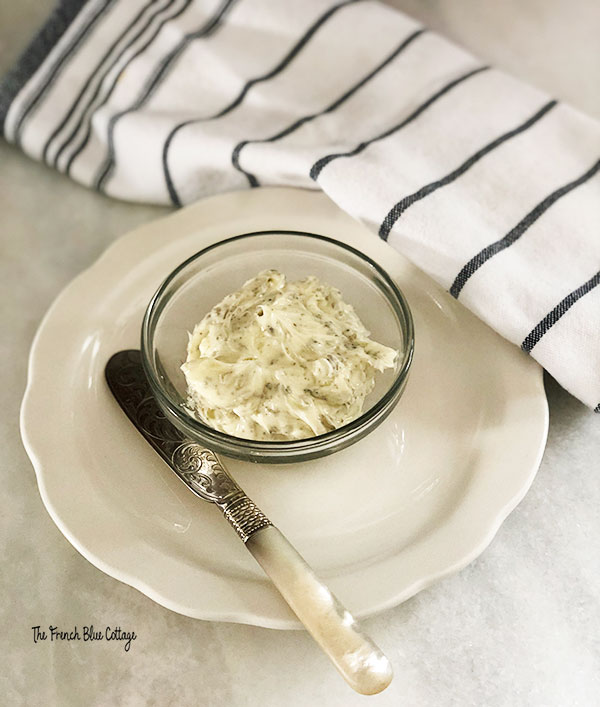
Herb Butter
Ingredients
- 1 stick butter (softened)
- 1/4 -1/2 tsp minced garlic
- 1 tsp dried rosemary
- 1 tsp dried parsley
- 1/2 tsp kosher salt, to taste
Instructions
-
Soften butter to room temperature and then stir with a spoon until creamy.
-
Stir in garlic, herbs, and salt to taste.
Recipe Notes
If you use salted butter, you might need a little less salt than the recipe calls for.
You can experiment with your favorite flavors such as, basil, chives, sage, dill, thyme, or lemon.
Herb butter can also be frozen. Just roll it into a log shape in a piece of wax paper or parchment paper and freeze. When ready to serve, slice it to use as butter pats. Try running a knife under hot water to cut the frozen butter easily.
And one of my peony plants is blooming, so I just had to include them in one of the photos!
I’d love to have a slice of my mom’s homemade wheat bread and a yummy cinnamon roll again, but for your average weeknight dinner, this easy bread recipe is my go-to.
I will say that going through the book again while writing this post, has me wanting to try more of their recipes! One of them might just end up on the menu next week. 😉


Oh, I love that you put the photographs, beautiful as they are, after the recipe. The majority of writers don’t do that and one has to print out multiple pages of photos. The recipe is so honest and simple that I think I will try it without owning a baking stone. I’m satisfied with some beautiful bread like that and cheese for lunch. In fact, I think it is one of my favorite meals. I really like that there would be dough left to mellow and cook the next day. I may have to get a baking stone. Thank you. ~Ginene
Hi Ginene! Without a baking stone, I might try a cast iron skillet or even a baking sheet. I’d still pre-heat it and use the steam method, though. If you try it and it works, let me know:) It was good to hear from you again. Hope all is going well for you!
-Carrie
Love their books and this looks amazing and easy. Can’t wait to try it and the herb butter, such a great addition to regular butter.
Thanks, Sonya! Their recipe is so delicious and the herb butter gives it that extra zest that my family likes:)
This looks wonderful, Carrie! I can only imagine how good it smelled as it baked.
Thanks, Paula! Yes, it does smell so delicious. The whole family starts getting hungry when it’s baking:)
This looks delicious! And your photos are amazing, too, Carrie!
Thanks, Julie! I’m always trying to improve on my photography skills:)