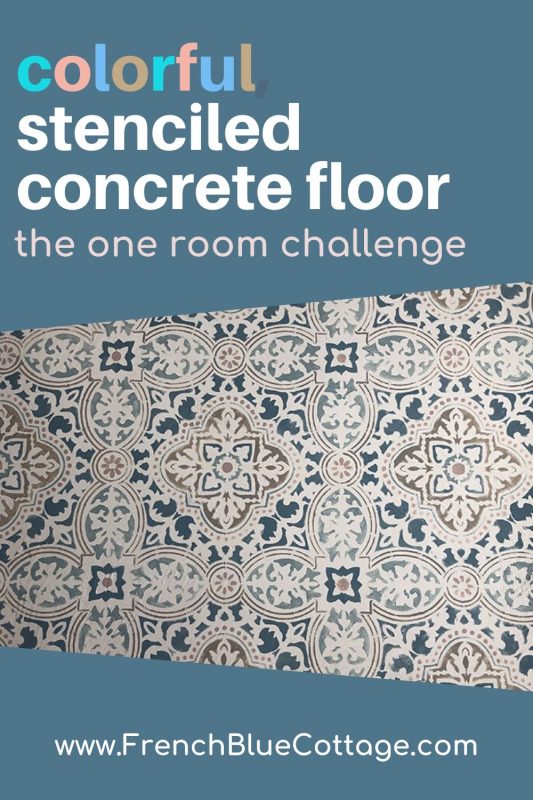
Colorful, Stenciled Concrete Floor – One Room Challenge {week 2}
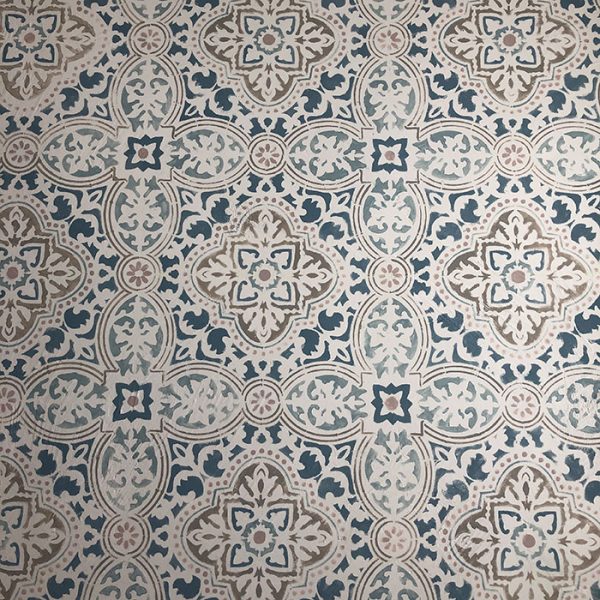
A colorful, stenciled concrete floor: the showstopper in my One Room Challenge space.


We had an unwelcome surprise when we moved into our house thirteen years ago. There was an office in the back of the house just off the master suite. It had a sliding glass door, stained wood planks on every wall and on the ceiling, and an unusually high floor covered in a very budget-friendly carpeting.
After a few months of living here, we kept noticing a decidedly musty smell coming from this office. So, one day my husband peeled back the carpeting to reveal that there were wood planks on the floor as well.
He peeled some of those planks back too and unveiled…..a giant sandbox.
You see, the rest of our home is on a concrete slab foundation. But in this room, nothing but musty, damp sand!
This office is my One Room Challenge makeover room. And it’s going to have a colorful, stenciled concrete floor as its centerpiece. ????
![]()
Welcome back to week 2 of the ORC!
I’m renovating our old home office into an art and crafting studio. You can take a look at how this room started in week 1, here.
*Some affiliates used in this post which means I may make a small commission, at no additional cost to you, if you purchase through one of my links (full disclosure here).
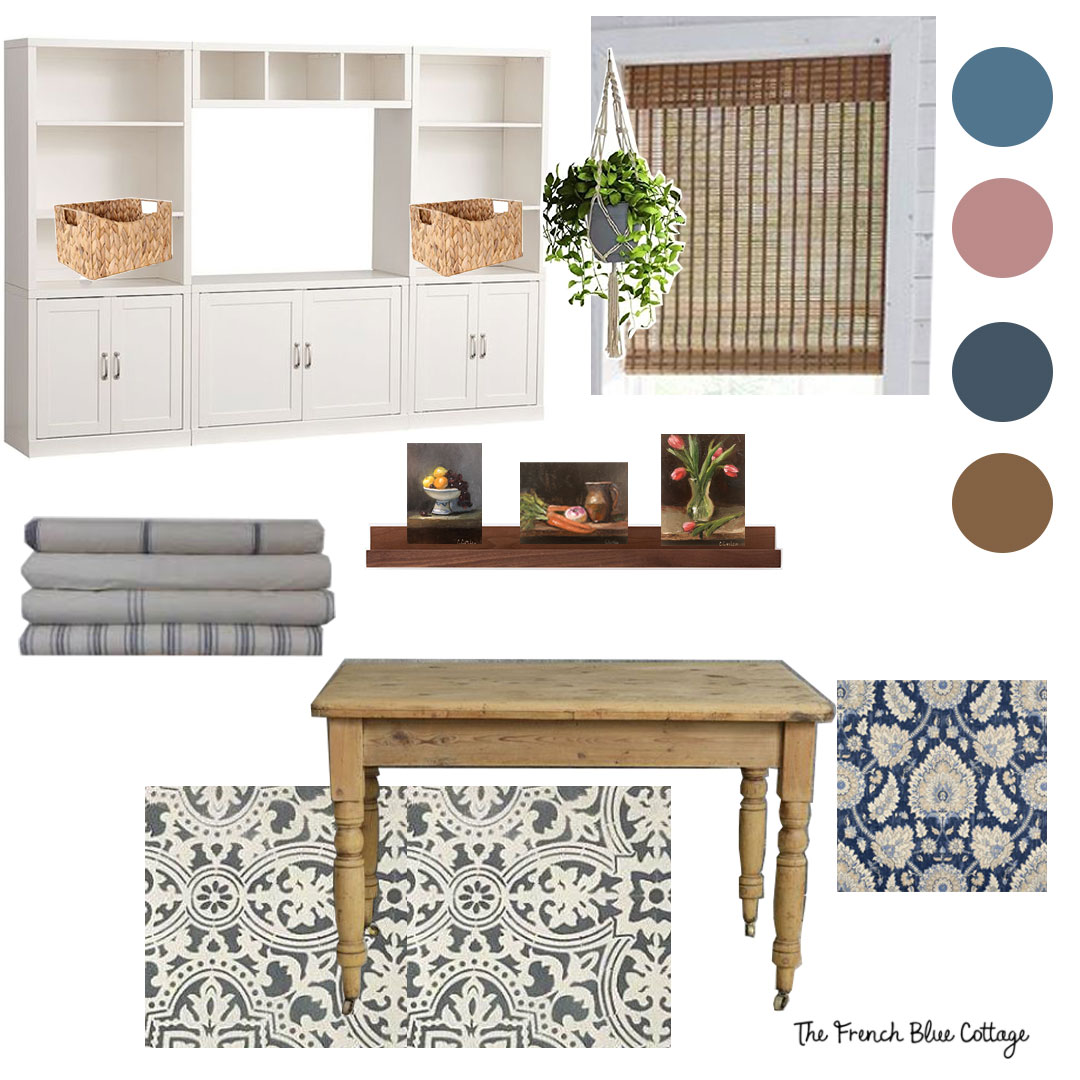
Here is the direction I’m heading with this room refresh….
The first thing I needed to do was to paint the dingy white walls a fresher, cleaner white.
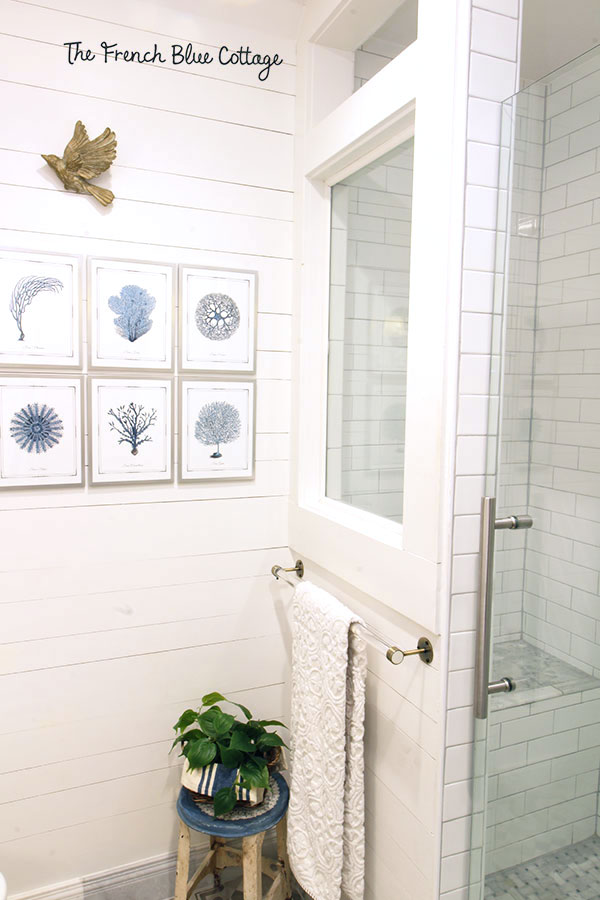
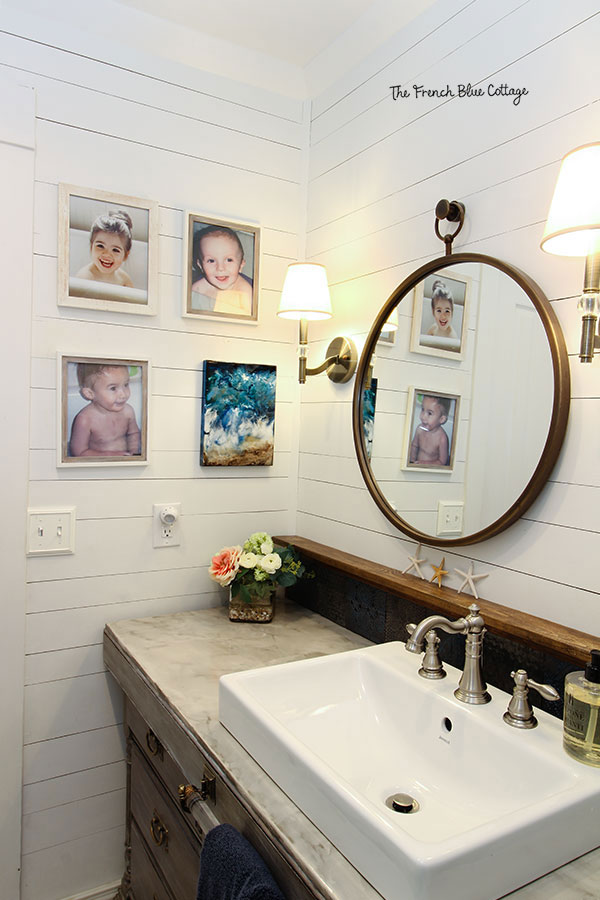
I ended up choosing the same color of white that I used in our coastal bathroom renovation…..
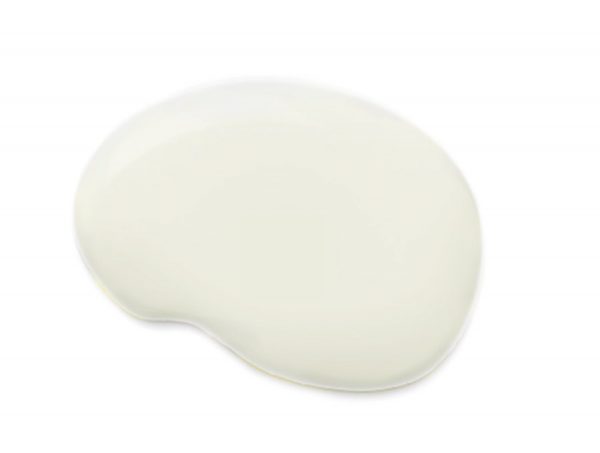
Alabaster – by Sherwin Williams
This part was pretty straightforward and was completed fairly quickly. I painted the walls and the baseboards and the casings all the same color, which made it so much easier….no cutting in around those!
The room looked bright enough after the new paint color was on, so I decided to leave the ceiling its original wood finish.
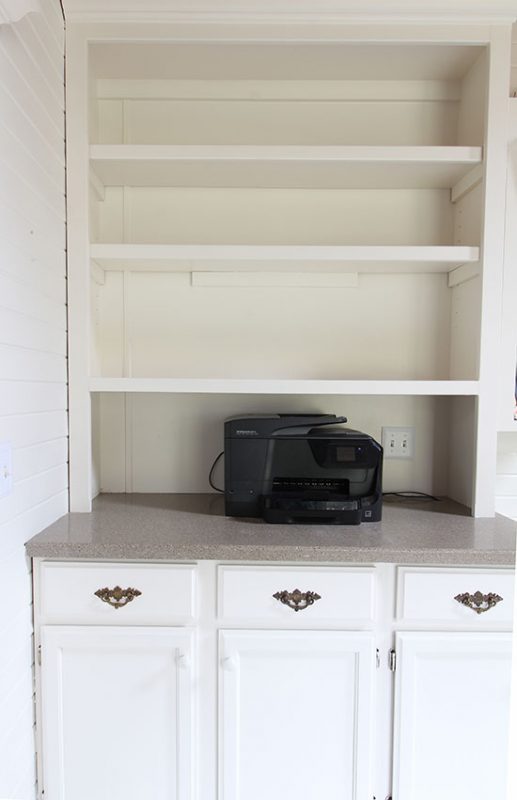
The bookshelves, however, looked pretty yellow compared to the new paint, so I went ahead and painted them in Alabaster, too.
My husband also cut and installed some extra bracing under the shelves to help them hold the weight of all of my books and craft supplies. I have a (possibly) irrational fear of things collapsing (like shelves, mantels, floors, etc.)
I know…it’s weird!
These shelves truly were sagging a bit but now they are quite sturdy.
This is not the greatest photo ?….but the bookshelves are a lot whiter and brighter.
I also replaced the hardware on the drawers with some pulls from Hobby Lobby in an antique brass finish…..
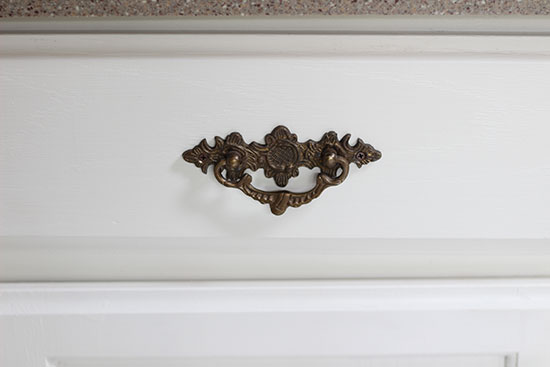
One of the best things about this hardware is that the backplates cover the original holes. The previous pulls were an odd size and I couldn’t find anything I liked that would fit. This is the perfect solution to keep me from having to fill nail holes. Yay!
So, what was up with the floor?
Well, apparently the initial owners built this room as a sauna. Then a later owner decided they did not want said sauna and proceeded to just cover it, giant gaps and all, with a layer of carpet.
Really, people?
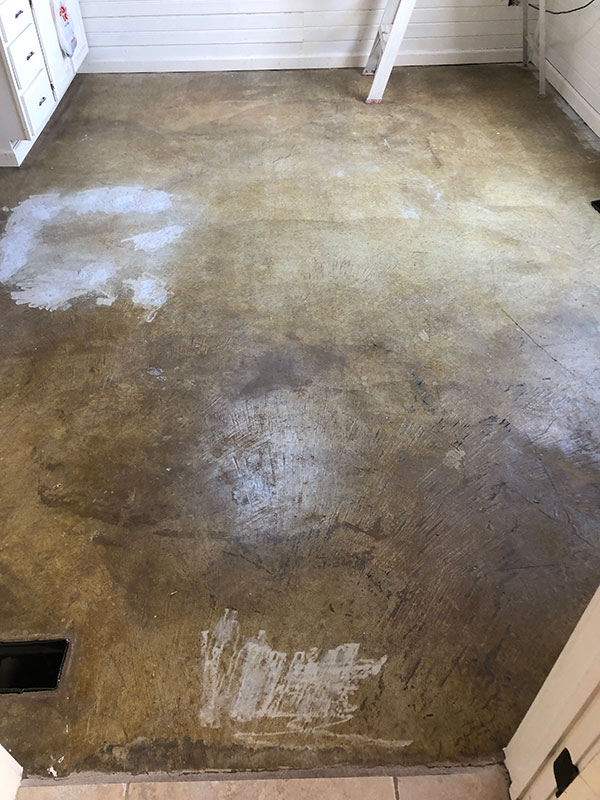
So we brought a cement truck into the backyard and had a proper slab poured through the window and into the office. We weren’t sure what to do with the flooring, so we grabbed a neutral colored concrete stain, applied it, and called it done.
I never liked the color of the stain and am soooo happy to see it changed.
Prep Work
For this makeover, the first thing I did was to repair a few shallow divots in the concrete floor with a patching compound. I used Quikcrete Concrete Patching Compound. It applied easily, but not very smoothly. After it dried, my husband used some kind of grinder to smooth it out a bit. This part was pretty messy. If I had to do it over, I’d probably try this instead.
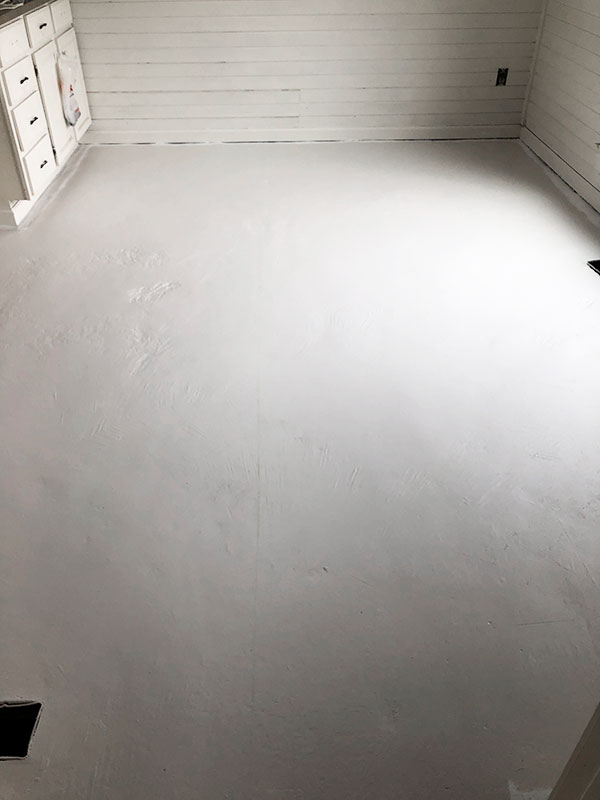
After it cured, I primed the floor with Behr White Acrylic Interior/Exterior Multi-Surface Stain-Blocking Primer and Sealer. I cut in the edges and then rolled on the rest. It dried super fast and was ready to topcoat in an hour. I like to do a scratch test on each coat with my fingernail. This stuff was stuck tight!
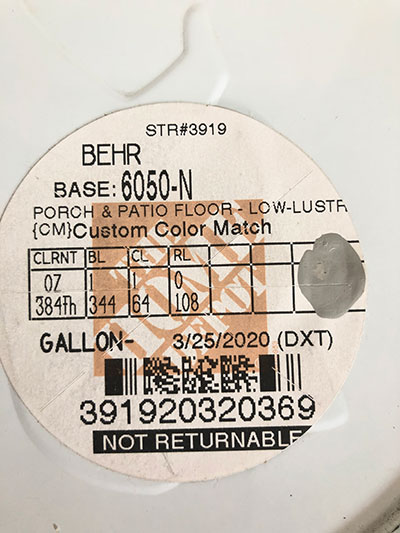
Once the primer was dry, I painted the floor with two coats of Behr Low-Lustre Enamel Interior/Exterior Porch and Patio Floor Paint. It was a custom mixed color and if you are interested, here is the formula on the top of the can….
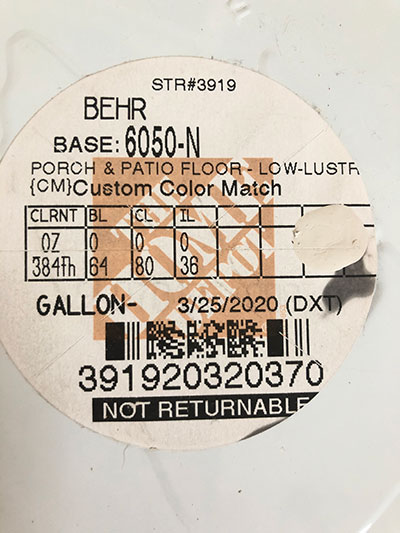
This porch and patio paint went on so easily and covered very well. It was ready for the next step in a few hours and held up great to my scratch test, too!
(You can still see the gouged areas on the concrete for now, but that gets camouflaged with the next step.)
This was the biggest change so far and the room looks so much brighter already….
A Colorful, Stenciled Concrete Floor
*This post started getting really long, so I will just give an overview of the stenciling here. I’ll do a full tutorial later.
Next, I began tackling the biggest and most visually important part of my design plan…the stenciled floor.
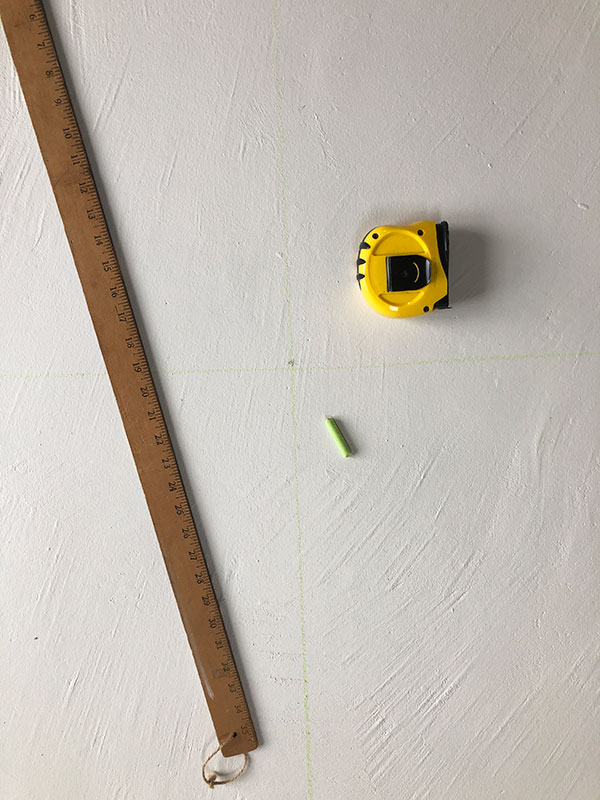
I began by finding the center of the room and marking it with a bit of chalk.
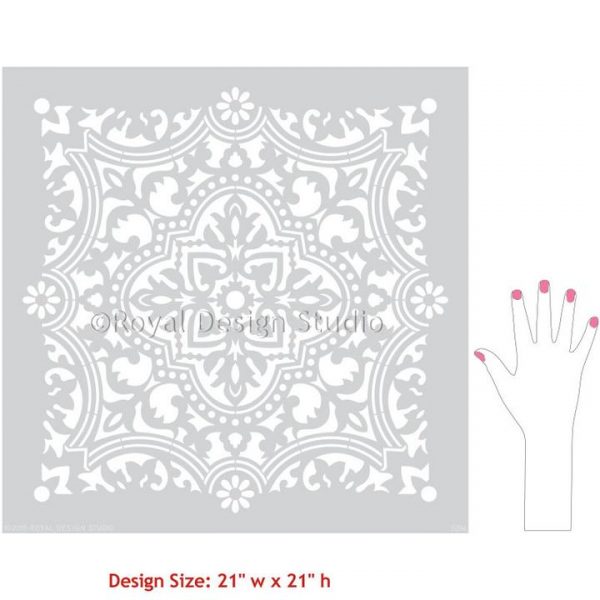
I used this stencil (the Anatolia Stencil) by Royal Designs Studio….
For the stencil paint, I went with Dixie Belle chalk paint. I used a few combinations of the following colors: French Linen, Chalky Blue, Tea Rose, Cotton, Stormy Seas, and Drop Cloth.
Stenciling
I started stenciling in the center of the room. After each square was complete, I immediately moved to the next square. After a few squares were painted, I was able to start going in more of a checkerboard pattern so that I didn’t have to lay the stencil right next to one that was still wet.
I eventually got into a rhythm and each square took me about 10 minutes to finish. I turned on some music and painted for several hours in order to complete half of the room in one day. It’s not difficult to do, but trust me, you are going to want a back massage afterwards!
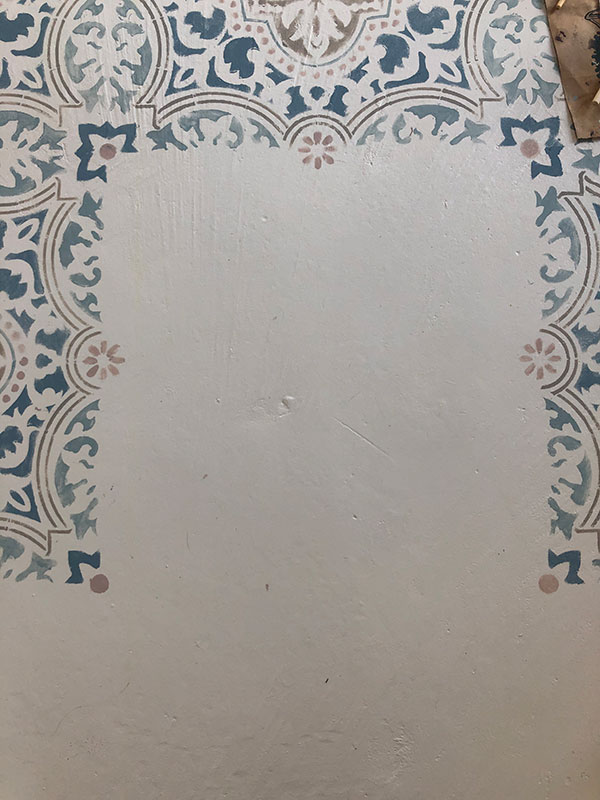
Finishing Touches
The next day, I finished the stenciling and then used the background color and an artist brush to clean up some rough edges and boo boos. I also had a few gaps where the stencil didn’t quite meet up with its neighbor. I just painted them in by hand at this point.
The last thing I did was to paint a border around the stenciled “rug” to clean up the edges and “anchor” it in the space.
Here’s how I “measured” for the border….
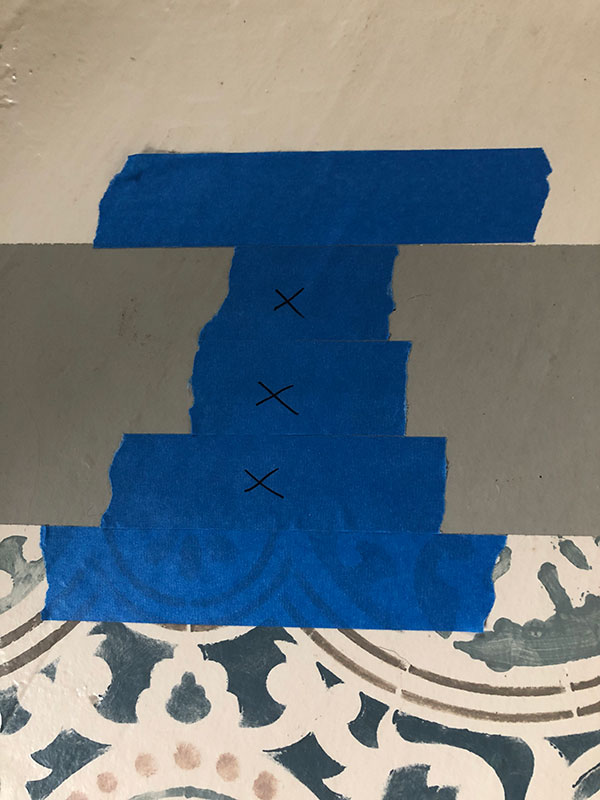
After the border was taped off, I carefully rolled on a couple of coats of the same Behr Low-Lustre Enamel Interior/Exterior Porch and Patio Floor Paint. The border is another custom color….
After everything cured for a couple of days, I sealed it with a coat of Faux Effects AquaGard Gloss and then a coat of Faux Effects Aquathane Satin. I think Annie Sloan and Dixie Belle both make a top coat that might work, too, but I’ve never used either of those products. In addition, I don’t think a top coat would be absolutely necessary of you only used the porch paint instead of the chalk paint.
This was a lot of detailed work but, wow, what a difference it made!
I’m not showing all of the floor in this post.
I’ve got to keep some suspense going for the whole room reveal, right?
But here is a short video with a bit of the process and a bit more of the floor…
https://www.facebook.com/frenchbluecottage/videos/555955605064885/
So this was a pretty big project and I did not actually complete all of this work in one week. With all the drying time, the walls and the floor took about 10 days to complete. I started these projects before the week 1 post went out, so that they’d have enough time to dry and cure.
I’d say this room makeover is off to a great start!
Art and Crafting Studio To-do List:
paint walls and (possibly) ceiling (decided against painting the ceiling)paint colorful, stenciled concrete floor- re-paint desk area
- address lighting and ceiling fan (new or makeover?)
order window shadefind and buy a pine table(needs to be refinished)- figure out storage needs, buy baskets that fit, & then organize
- buy office chair
- decide on a rug
- make art ledges
- make open shelves
get new cabinet hardware- cover plastic storage drawers
- figure out oil paint storage
- decor items
If you have time, be sure to go check out the other participants’ rooms here.
See you next week!


Wow this looks great you have totally inspired me on putting this on to a floor…. I may just have to try this in basement.
Stenciling a floor is a back and knee killer, but sure makes a big impact. Plus it stayed under budget:)
Looking good, Carrie! I can’t believe you used all those colors on the floor! Amazing!
Thanks, Julie! I seriously considered just doing a two color so I could roll it on, but I had my heart set on something colorful, so I just went for it:)
Absolutely gorgeous!! Your hard work really paid off. Can’t wait to see the reveal.
Thanks! It turned out how I imagined and that’s always a good feeling:)
Wow Carrie, that’s a crazy story about the sand under the office, and your stenciled concrete looks amazing!!!!! So much work, but you must be thrilled with the outcome!!
I know, right? I was also surprised that it wasn’t found in the house inspection. Thanks so much for your sweet compliment!
Oh my!! I know what I am going to do with my basement floor when I get around to it! This is GORGEOUS!
Thanks, Libbie! Floors are never easy, but I sure love the end result:)
Great idea!!! Wondering if you think this procedure would work on my small outdoor concrete patio? Thank you, can’t wait to hear from you as I hate the concrete patio! Adeline
Hi Adeline! Yes, I think it would probably work outside if you only used the Behr Porch and Patio Paint and had it tinted a couple of different colors. The chalk paint would not hold up outside. There’s another paint called FrenChic Al Fresco that is supposed to hold up outside too, but I’ve not used that product yet. The other thing you’d have to be mindful of is that it might be a little slick when it’s wet. I think it would look great!
Wow, Carrie! An incredible amount of work before you even started the beautiful floor stencil. Love where your project is going!
Thank you, Joy! The biggest job I had planned for this space is finished….whew!
Oh my gosh that floor! It looks incredible, fabulous job!
Thank you, Tina!
The floor looks so good – I love the colours you picked 🙂 Can’t wait to see the rest of the room come together!
Thanks, Casey! I’m pleased with how the floor turned out and really glad that the most difficult part of the makeover is done:)
That floor is a work of art! I didn’t know it was concrete when I first saw it but knowing that I like it even more
Thank you, Lindsey! “A work of art”…I love that! ☺️
Your floor looks amazing! The room must feel so much brighter with the new wall and shelf paint along with the stenciled floor.
Thanks, Paula! The room felt cave-like before and is definitely so much brighter now. It’s amazing what paint can do:) I’m going to really enjoy painting and crafting in here!
Wow Carrie! That floor is truly a showstopper! Using several colors in the stencil really put it over the top. Your arts and crafts room is off to an amazing start!
Thank you, Rebecca! Two colors in the stencil would have certainly made it easier:) But I agree, the multiple colors is what really makes it special.
I absolutely love that floor, what a difference that stencil made. Great choice of colors as well.
Thank you, Sonya! I was even a bit surprised at what a visual impact the stencil made:)
Wow! This is absolutely gorgeous! Your room is coming along beautifully!!
Thanks, Lynne! The floor made such a difference in this “cave” of a room:)
So amazed by this floor Carrie! I’ve stenciled a floor before and it is no joke. And I only used one color on my stencil! You are a superwoman!
Thanks, Denise! ☺️ My back wasn’t happy with me, but where there’s a will there’s a way:)
Oh my gosh Carrie the stencil looks so beautiful! I absolutely LOVE the colors. That’s such a nightmare about the floors. It can be so frustrating fixing things after previous owners do crazy things.
Thank you, Corinna! The colorful stencil is so much better than the dark stain we previously had….and a whole lot better than the carpet over the sand that we had before! ?