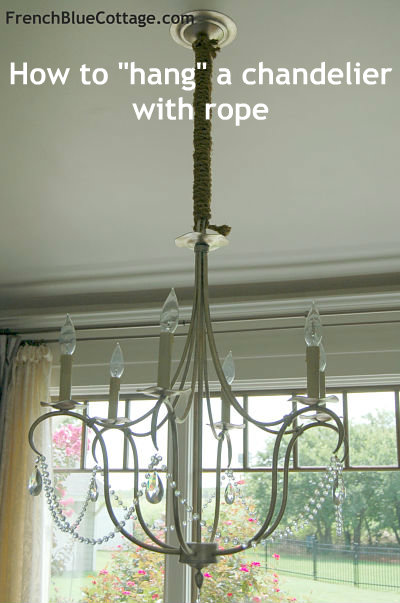
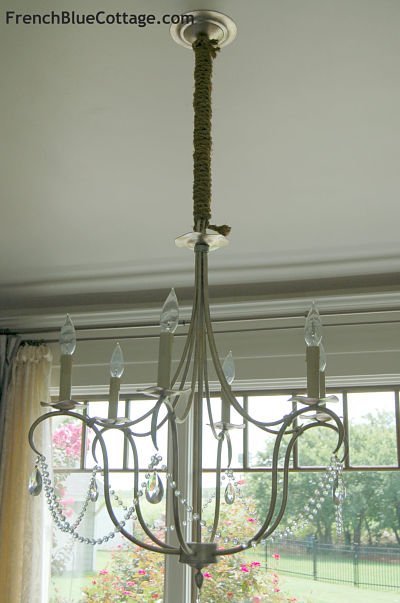
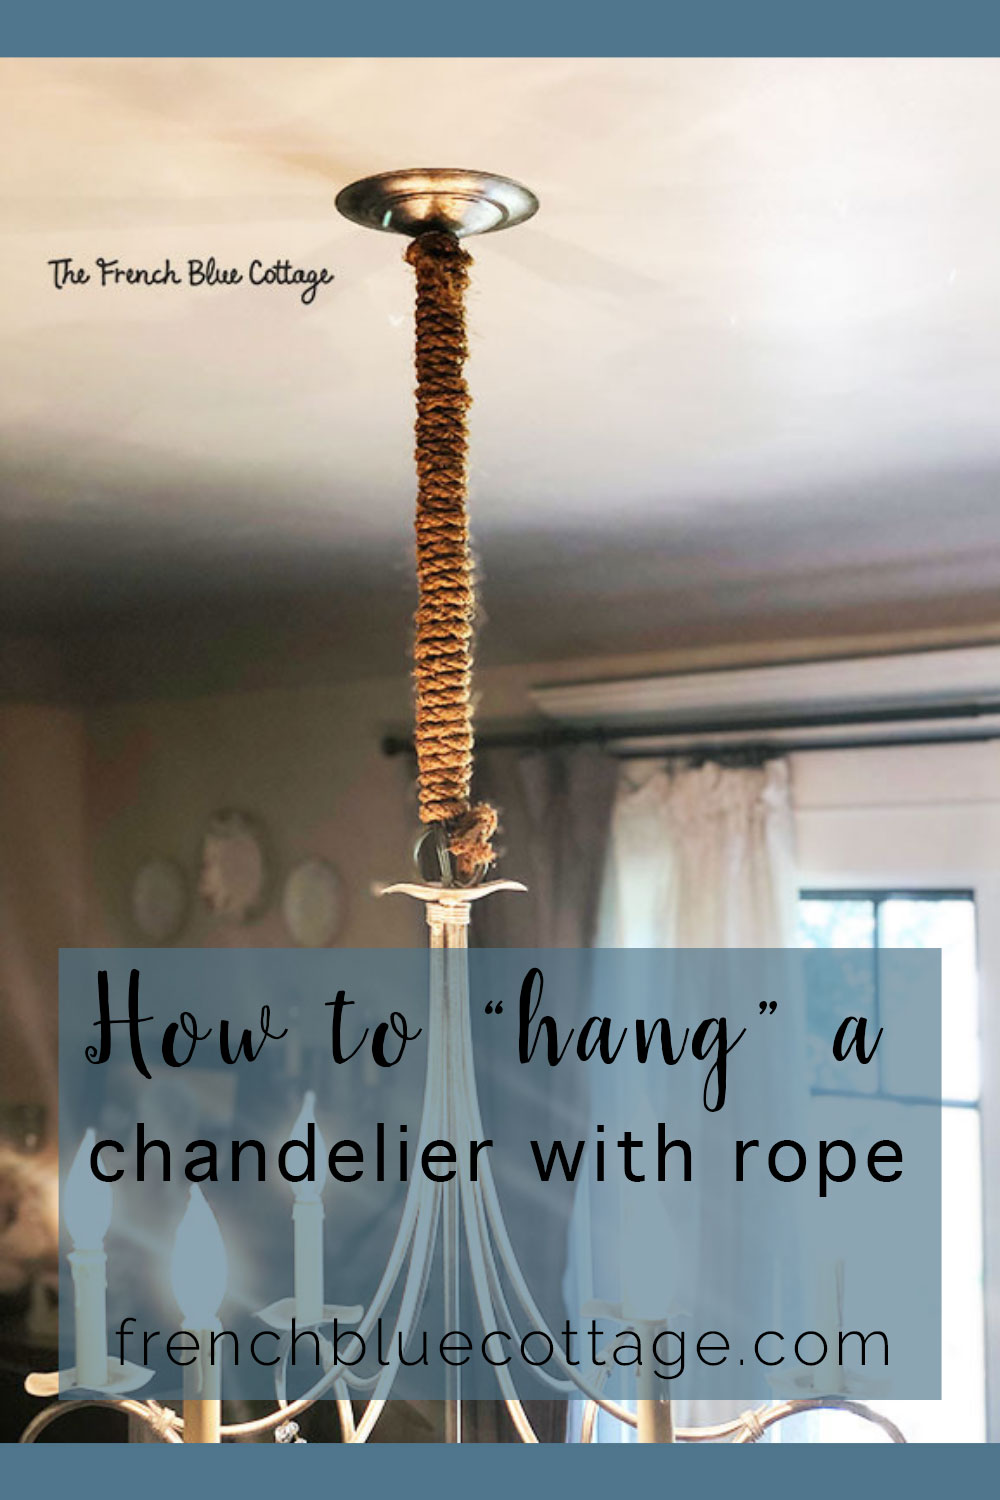
How to “Hang” a Chandelier with Rope
I saw an episode of HGTV’s Design Star, where the contestants hung a chandelier by a chunky length of rope. I loved the way it looked – the juxtaposition of the crystal chandelier with all its bling hung with the utilitarian rope. And I’ve been searching for a way to replicate this ever since.
Now, I know that there are other options. For instance, I found that you can buy a chandelier pole that is wrapped in jute, but I needed a different length than what was offered. Plus, you have to install the pole when you are hanging the chandelier. So, what if you want to add rope to an existing fixture? Well, this is what I came up with….
*Affiliate links used below. See my full disclosure here.
I found this rope at Lowe’s. It’s made by Blue Hawk, is 3/8 inch thick, and is apparently made for landscaping. I found something similar, here.
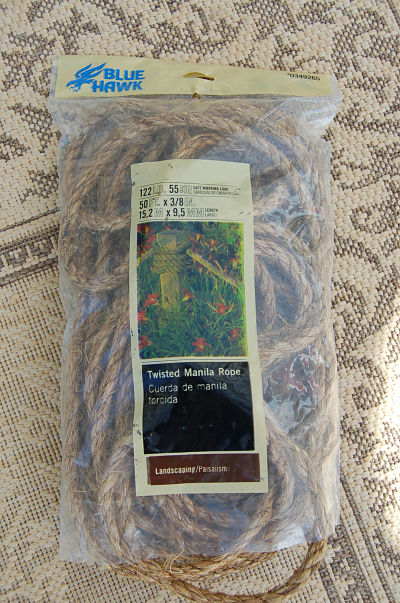
When I was searching online, I also found a lighter, cotton rope here. I can see that kind with a coastal style.
How to “hang” the chandelier with rope:
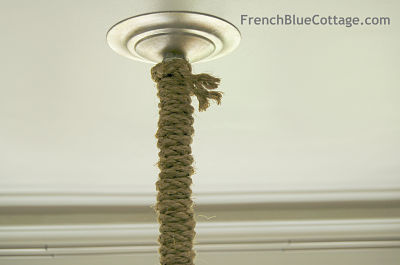
To hang the rope, I first tied a knot in the ring at the top of the chandelier chain like this….
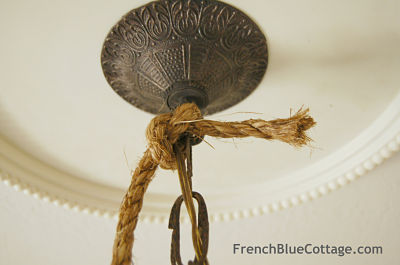
Then, just begin wrapping the rope around the chain. Keep the loops held tightly next to each other, but make sure they are even with each other. In other words, don’t make some loops really tight and some loose or your rope will look lumpy when you are done.
Now you will get a good arm workout with this project and you may or may not feel like you are in some kind of DIY version of the rodeo where you have to rope a chandelier!
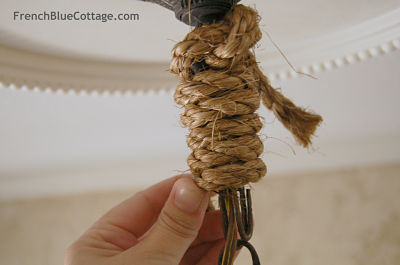
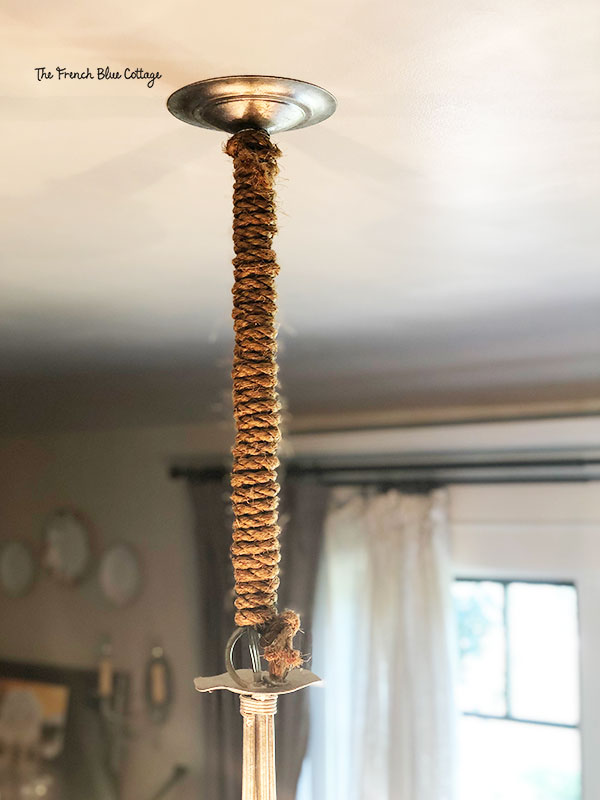
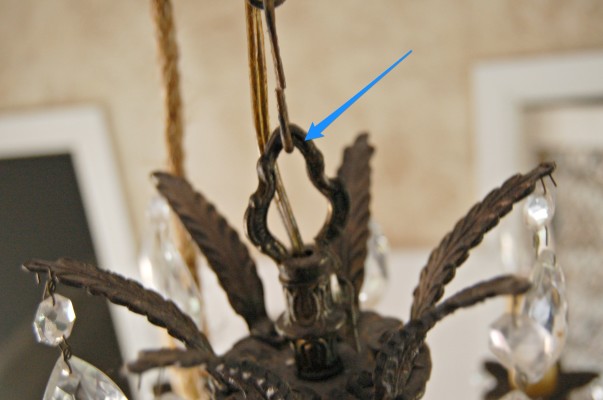
When you get to the end of the chain, cut the rope with a pair of your junkiest scissors, leaving some extra length. Then, tie a knot around metal loop that connects the chandelier to the chain.
How you finish the ends is up to you. You could cut it just past the knot and put a dab of hot glue to keep the knot from coming undone. I wanted a little “fringe” left on both ends of my rope. So I left a couple of inches of rope after each knot and then untwisted them a little so they look kind of frayed.
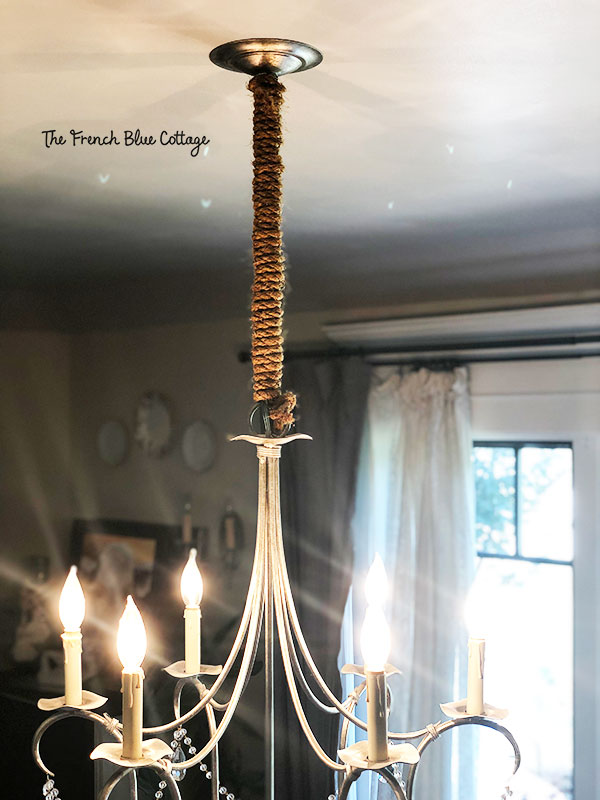
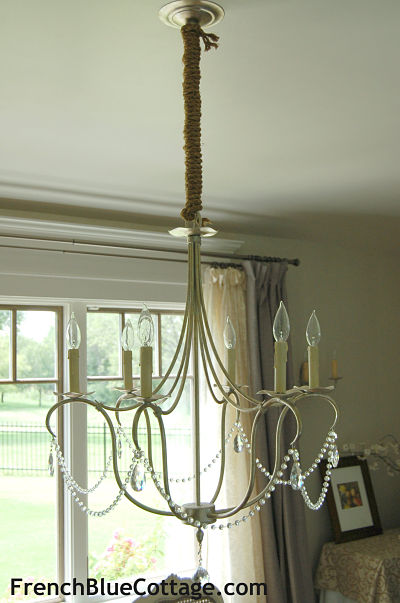
Some of the pics above are of the chandelier in my entryway. I took them for the purpose of this tutorial. The chandelier that I hung with rope is in the dining room and was done a few months ago. Unfortunately, I did not take any pictures at the time because I was too busy planning for a wedding in our home.
Here is the actual chandelier…..
I hope you enjoyed the tutorial. If you decide to rope a chandelier of your own, I’d love to see a picture!
Related: a DIY bead and crystal chandelier

Linking up with:


It is beautiful!
Wow this is impressive. I would have never thought of using rope to hang it!
Thanks Alicia!