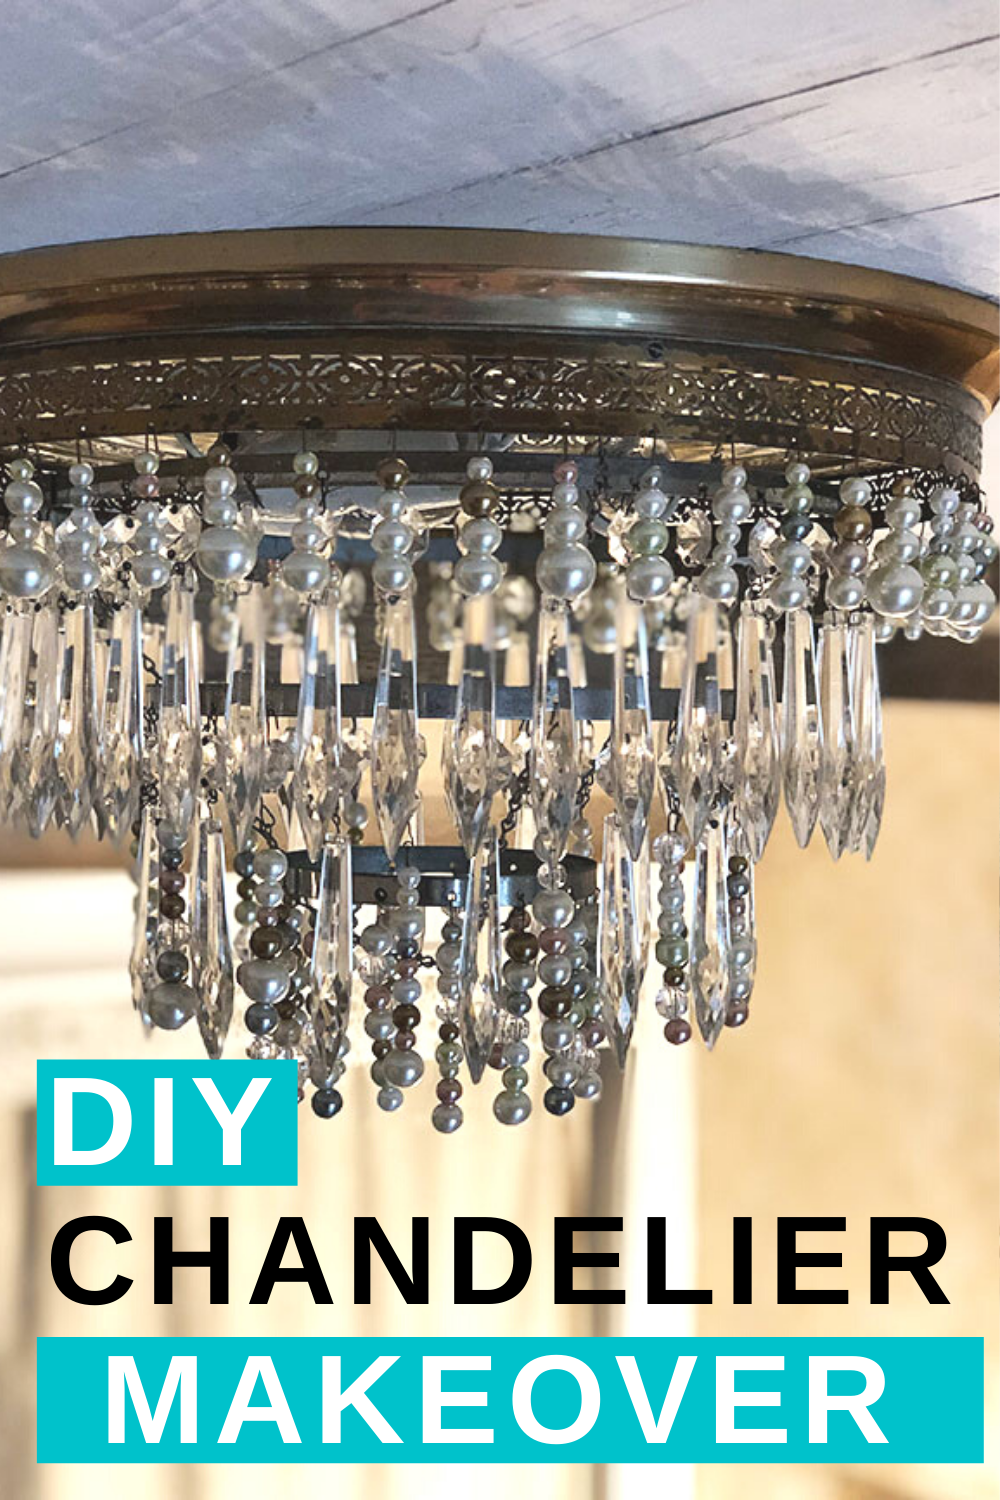
DIY Chandelier Makeover with Crystals and Beads
Oh, how many times I have bought something vintage or antique with little “flaws”, knowing full well that I’d have to find a way to fix them. ? Usually, I find that I enjoy the creative challenge. The one part that is not fun, is finding that the cost to repair it is higher than I estimated. Not good!
Which leads us to my chandelier makeover…
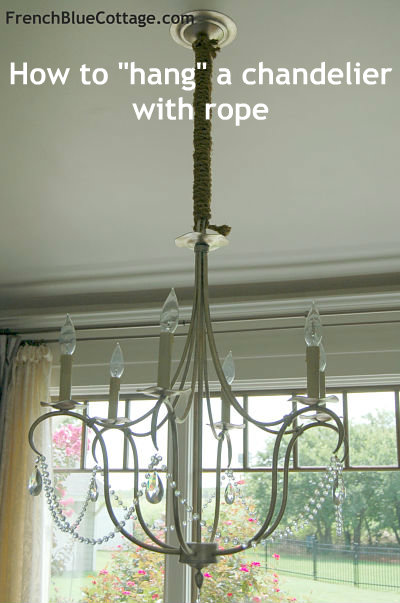
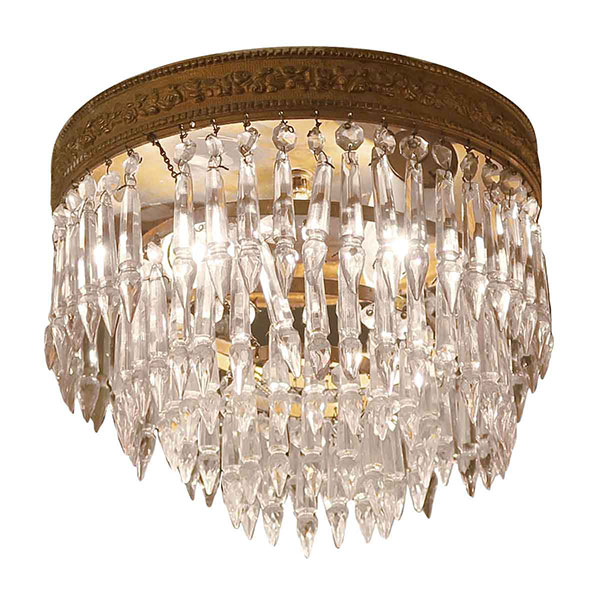
I bought a vintage light fixture for my daughter’s room. Oops, I forgot to take a ‘before’ picture of it, but it would have looked similar to this shape when it was new…
I only paid $10 for it at an estate sale, but it was missing some crystals. Once I got home, I quickly realized how many crystals were actually missing. I think it would have cost me at least $70-$80 to replace the crystals, which still isn’t bad for a light fixture, but I was trying to stay under budget as much as possible because I was making over an entire room. (You can see her room makeover here.)

Affiliate links used below. See full policy here.
Have the wiring checked and replaced:
The first thing I did was take the fixture to a local lighting store to have it re-wired. No good deal is worth a fire risk from old or faulty wires! Luckily, it only needed one part replaced and they charged me just $10.
Decide on a DIY fix and buy supplies:
Next, after thinking about my lighting dilemma with the missing crystals for awhile, I decided to try replacing them with something altogether different from crystals…beads!
I chose some clear acrylic beads and some pearl beads from Hobby Lobby…
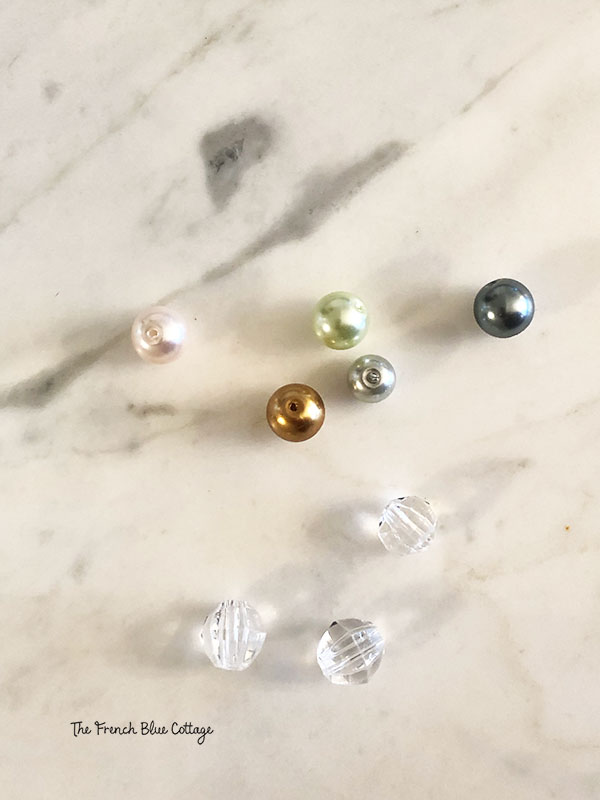
The only other things I needed to buy were two sizes of head pins.
Head pins look like this…

![]()
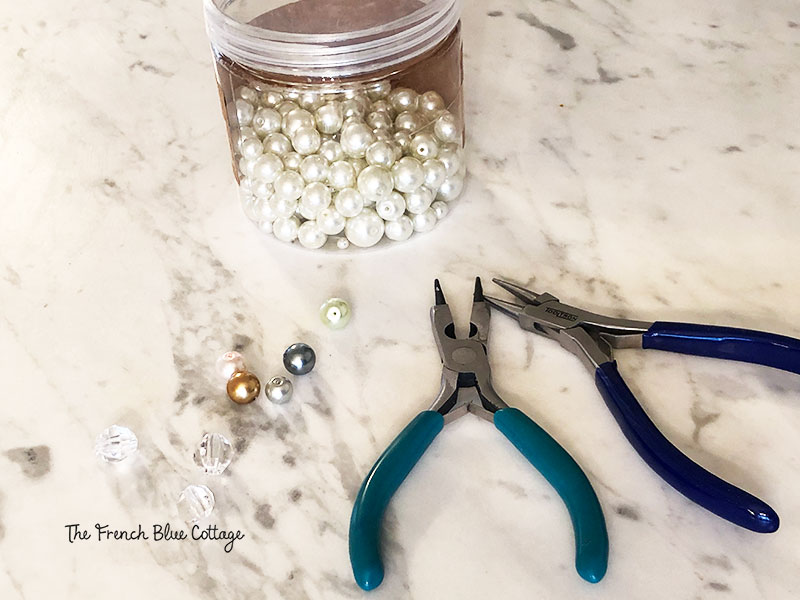
I got mine at Hobby Lobby in 2 and 3 inch sizes and I think they were either black or dark silver.
I also used my jewelry pliers, similar here. You will need to use two pairs of pliers, one to hold the wire and the other to bend it.
Clean crystals and decide on placement:
Before I got started with the beads, I took all the crystals off and cleaned them. Then I decided where I wanted to place them.
* On a side note, when I was writing this post, I discovered that the light fixture I bought is actually called a wedding cake crystal chandelier:) And I also discovered that some of them are verrry expensive.
There were actually four layers to my wedding cake chandelier. I decided to remove one of them altogether. Then I added up the crystals and found that I had enough to make one whole layer plus a few extras to add to another layer in combination with beads.
Make beaded drops for chandelier makeover:
To make the beaded drops, all I did was place beads on a head pin, hook the end, and hang it from the holes in the chandelier hoops. Easy!
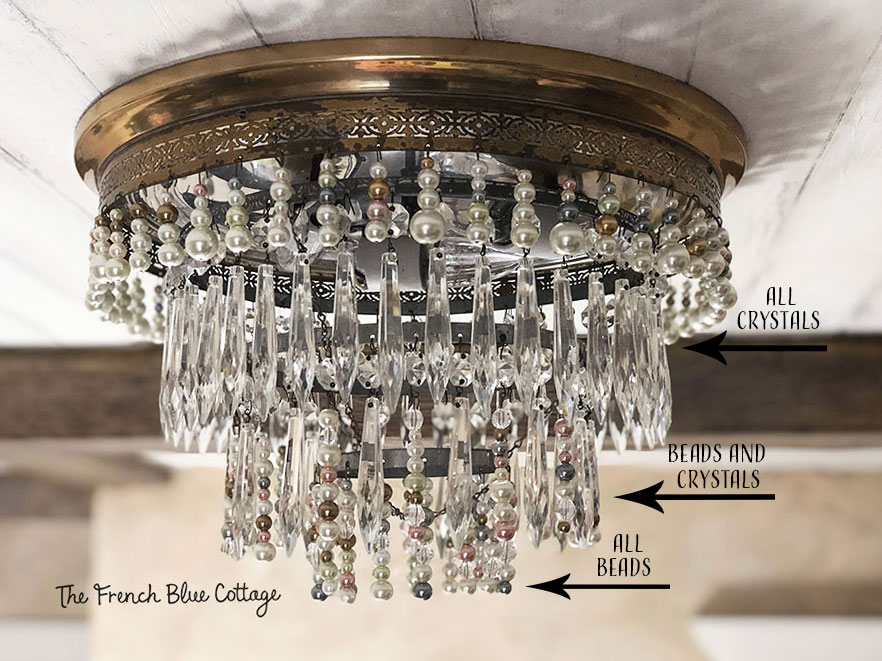
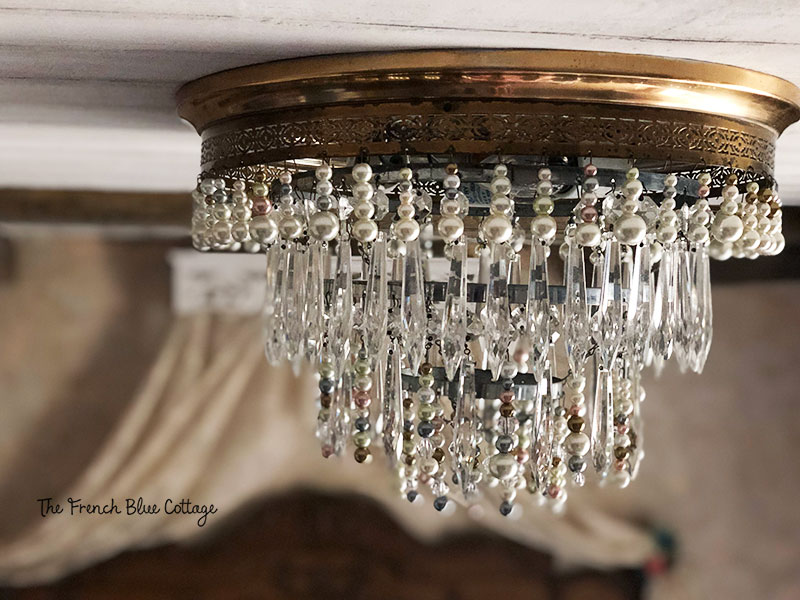
The first layer is all pearl beads…

The second layer is all original crystals;
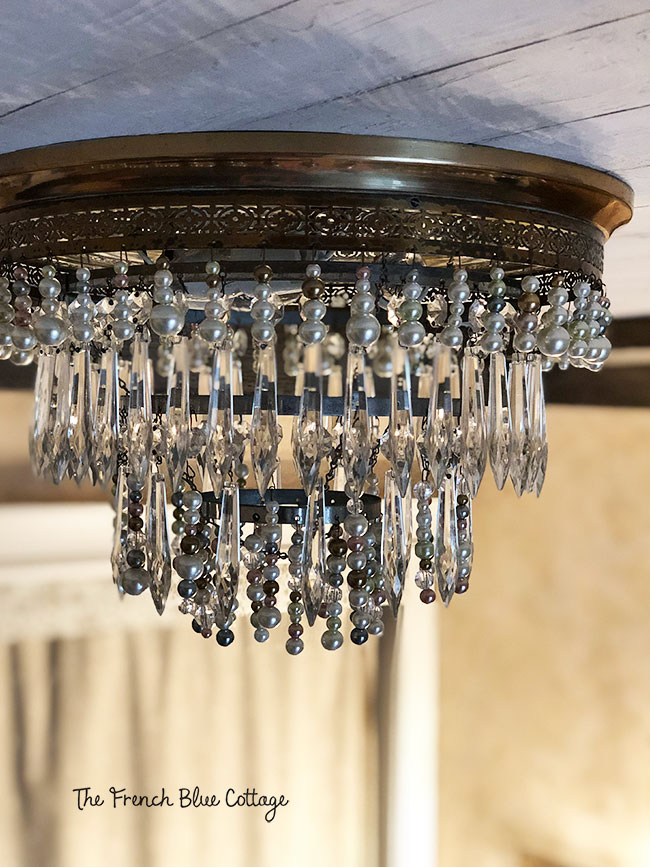
The third layer is a mixture of beads and crystals…
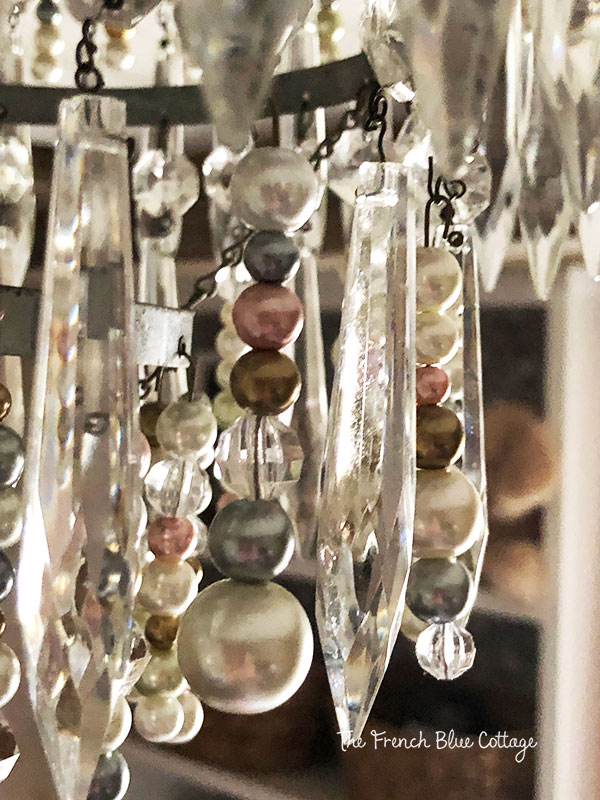
And the fourth layer is all beads…
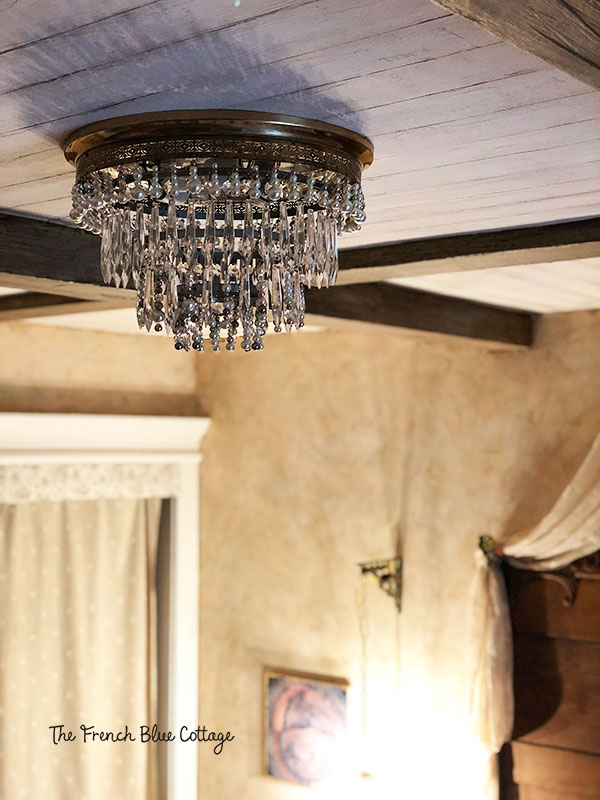
I love that it turned out cute and playful and a little less formal with the added beads….
And with the purchase price, the rewiring, and the supplies, this chandelier makeover helped my budget for this room re-do and ended up costing less than $40.
And it would be an easy fix if I ever decide to use different beads or go back to all vintage crystals at some point in the future. I’m glad I took a chance on this fixture, even with its little flaws:)