Creating a French Country Bedroom: a before and after
In 2015, my husband and I decided to go through all of the training to become foster parents.
We became a certified foster home in our state in the fall of that year and then waited for the call. A couple of months later, in early January of 2016, I got a call saying that an 18-month-old girl was in need of a place to stay. We said, “yes”, and then proceeded to move our younger son into our older son’s room to make a place for the new little girl. Of course, we had no idea how long she would stay with us, so we didn’t want to completely change our son’s room.
Fast forward a year and a half later and that little girl officially became our daughter in the fall of 2017!
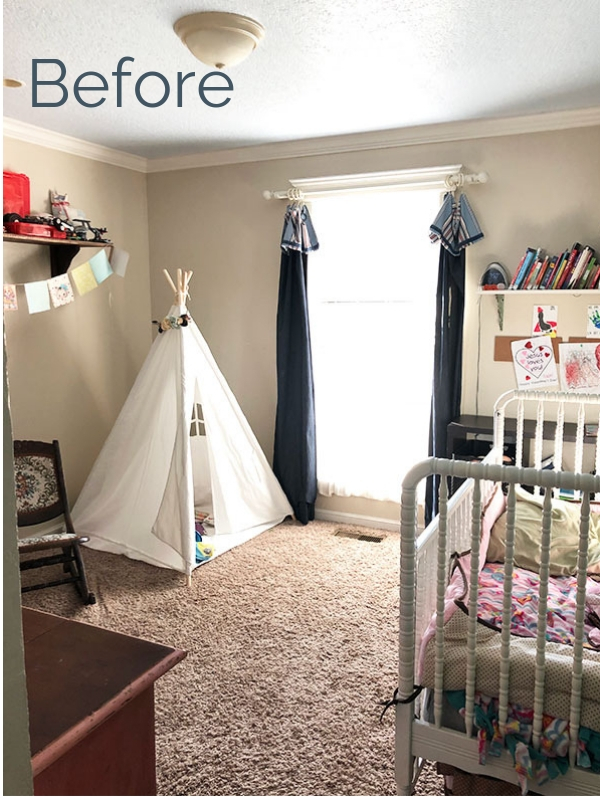
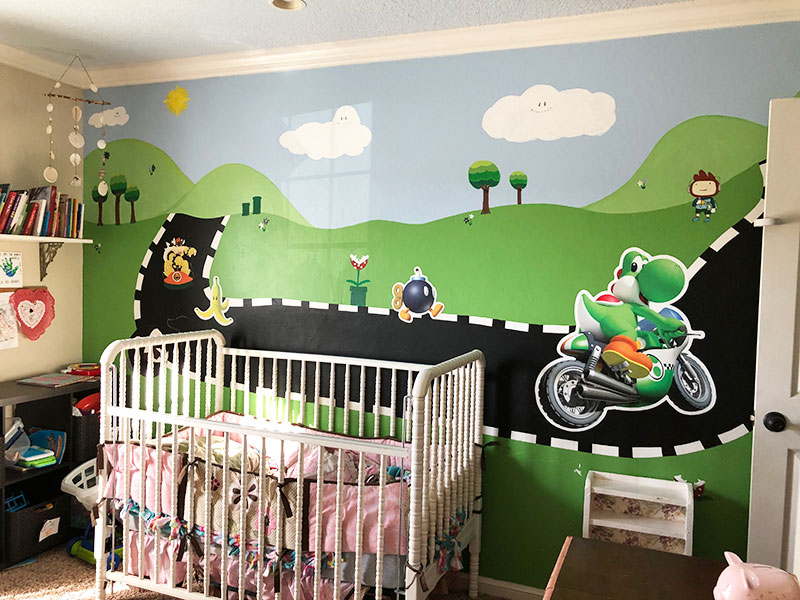
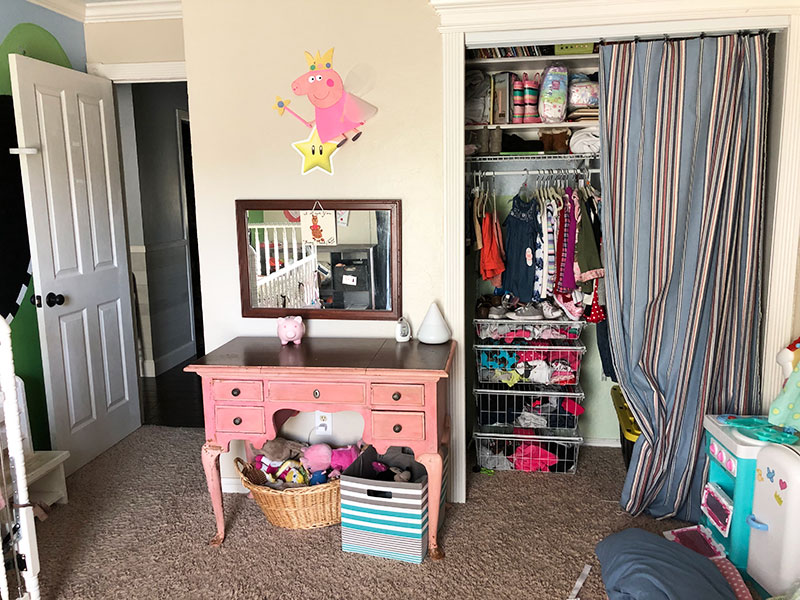
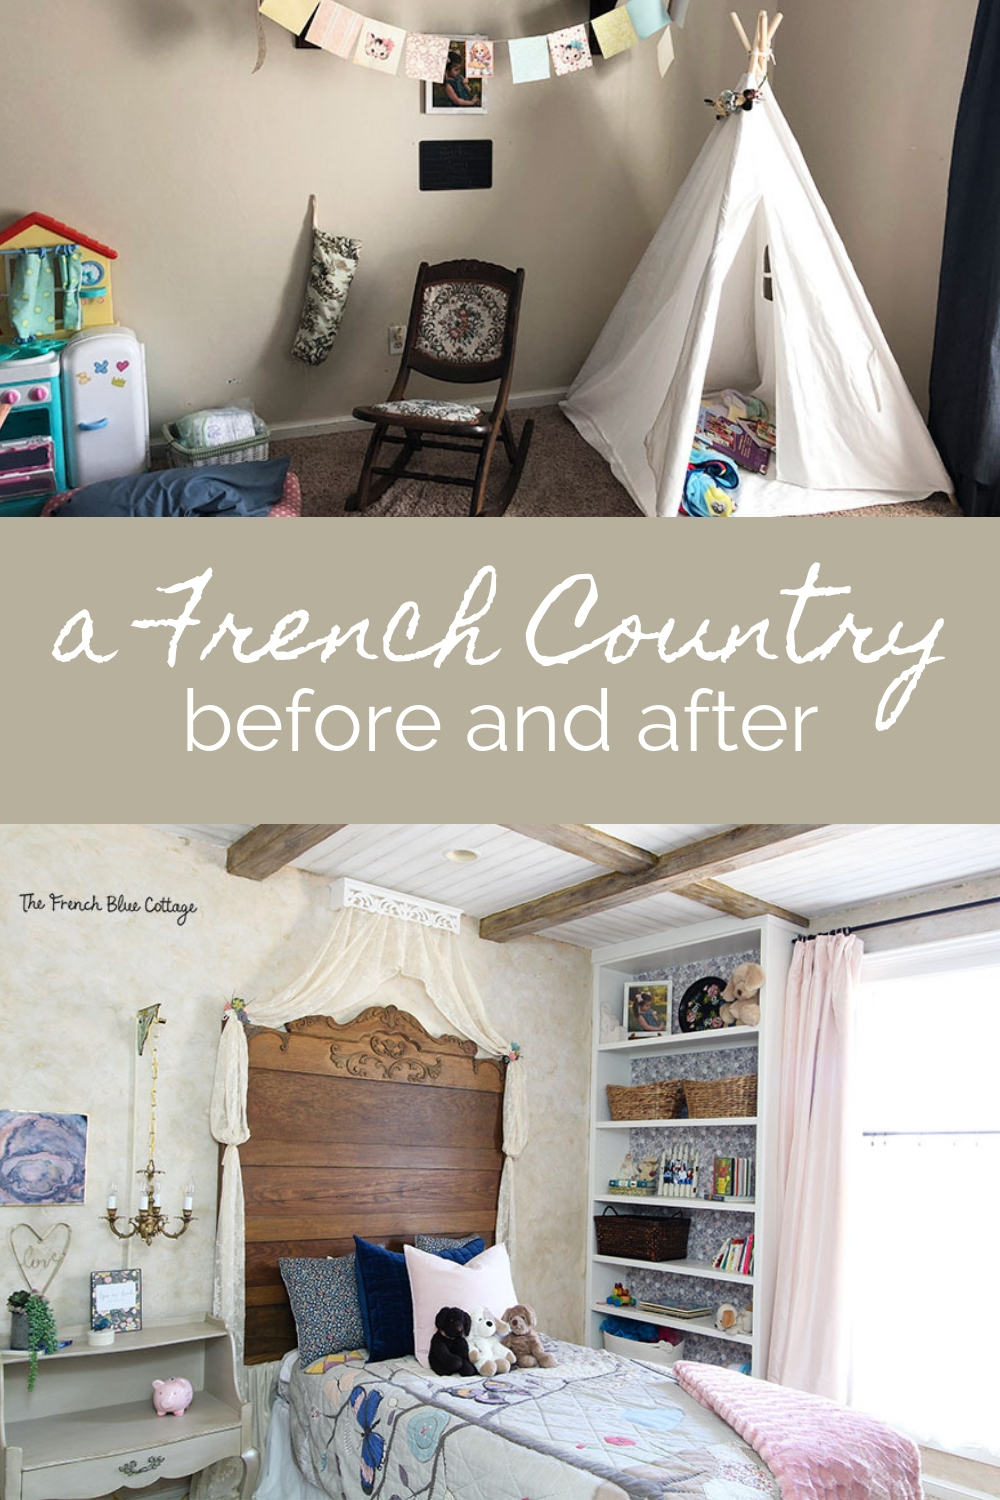
But the room she occupied still looked like this….
Affiliate links used in this post. Click here to read my full disclosure.
After having decorated for two boys, I was so looking forward to flexing my design muscles and trying out a little more girly decor! And what better way to do that than to design a little girl’s French country bedroom?!
I did most of the work myself (except for building the bookshelves and framing the ceiling beams). It took me quite awhile but I’m so happy with how sweet and cozy her room turned out.
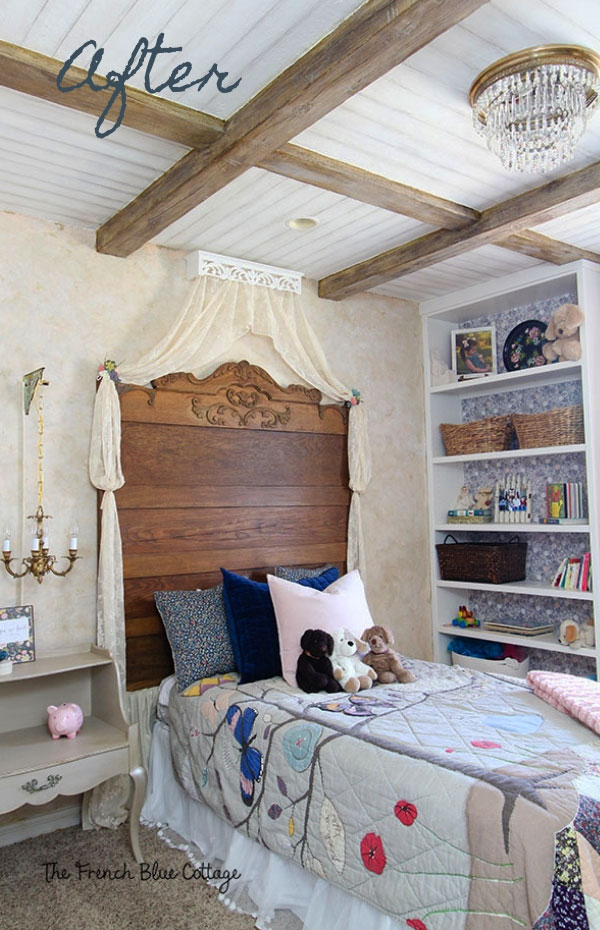
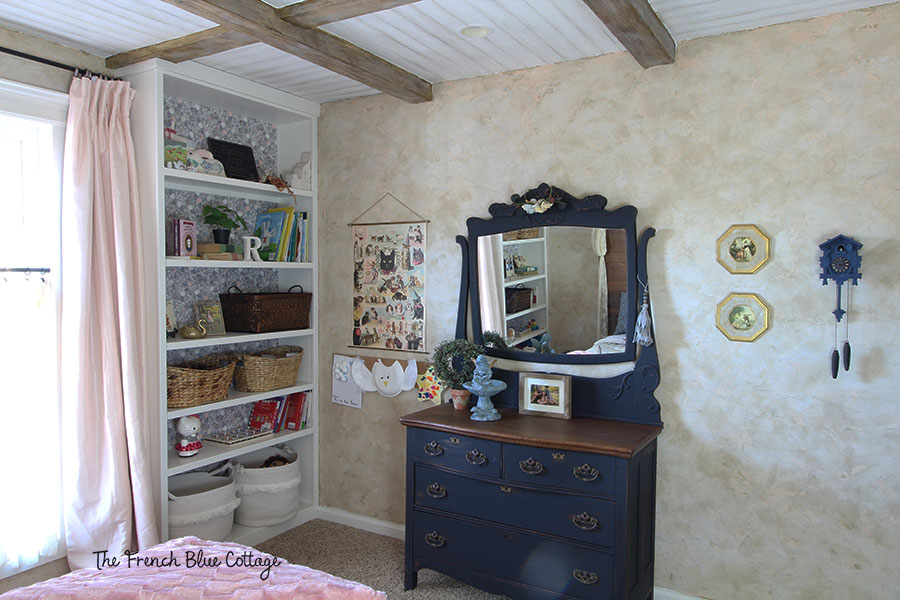
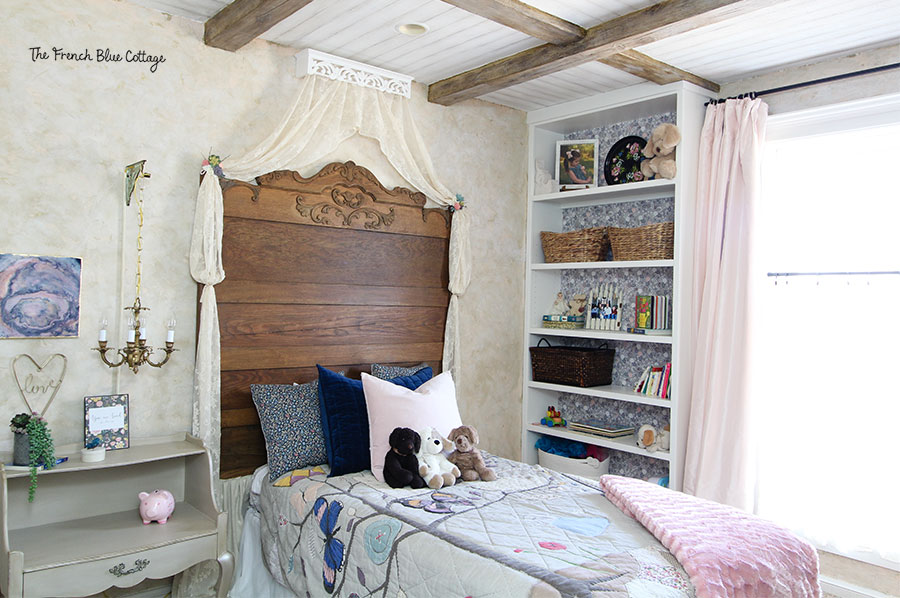
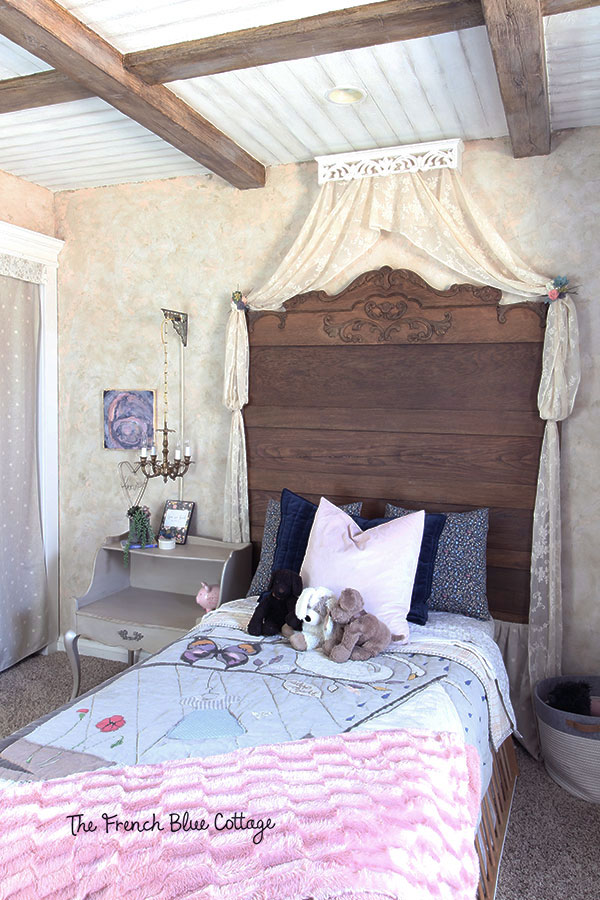
Here is the “after” photo of her French country bedroom…
Scroll back up and look at that before again:) What a change, right?
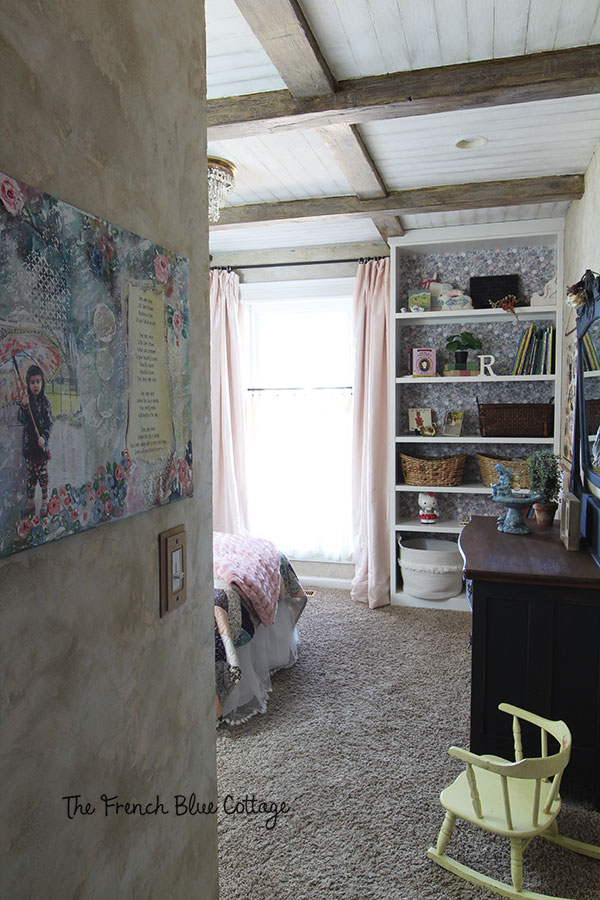
Here’s what it looks like when you first enter her bedroom. You can also click to see my tutorial on the mixed media artwork on the left wall….
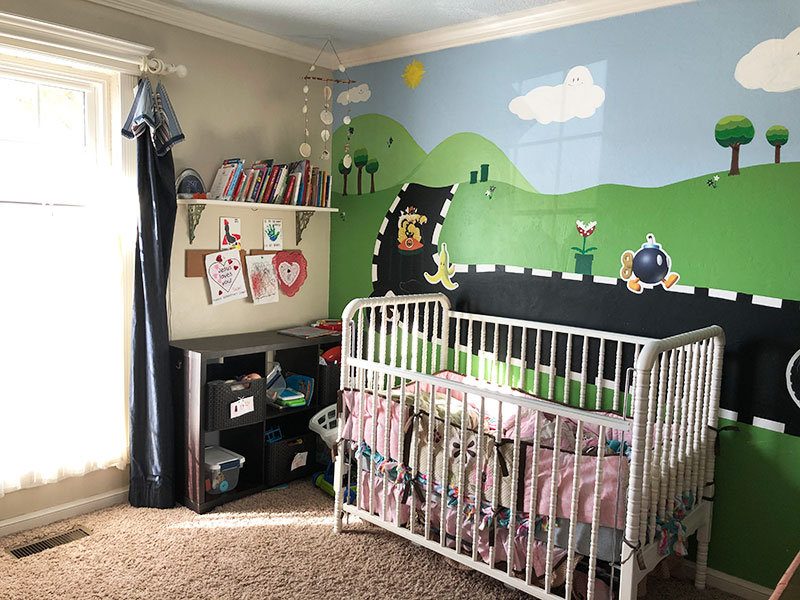
Now let me tell you, as much as I loved decorating this bedroom for my daughter, it was so hard for me to paint over the mural that was formerly my younger son’s feature wall. Even though he had already outgrown it and it was about time to paint over it anyways, it was still hard to do!
By the way, some of the Super Mario pictures you see here were hand-painted and some are “stickers”. The black road in the mural was done with chalkboard paint so that he could decorate it himself.
Here’s the same view, after…
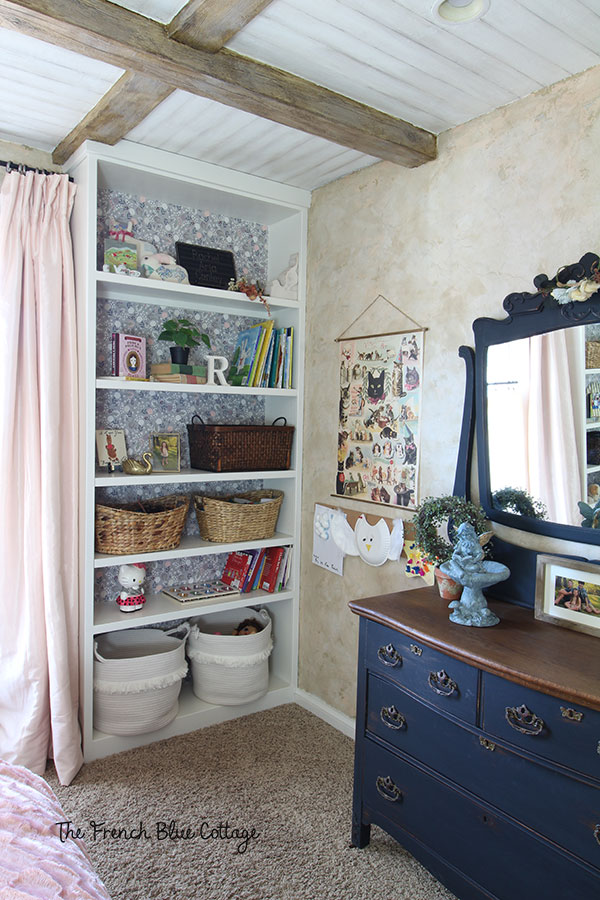
The cork board bulletin boards below the cat poster are for her to hang her own artwork…
And a better view of the whole wall….
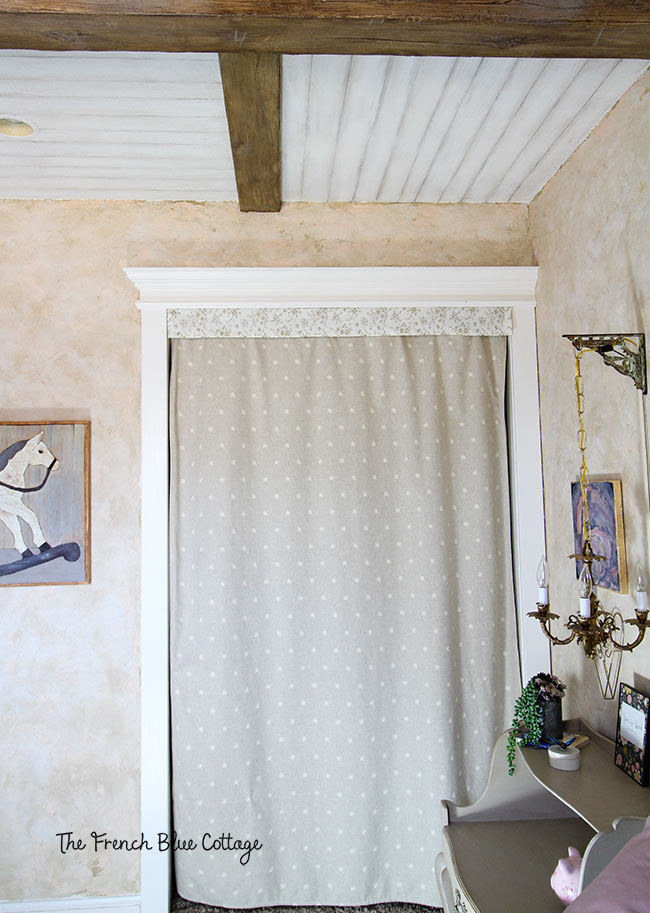
The closet side of the room….
I didn’t get an after photo in quite the same angle, but here is the closet wall now…
My favorites:
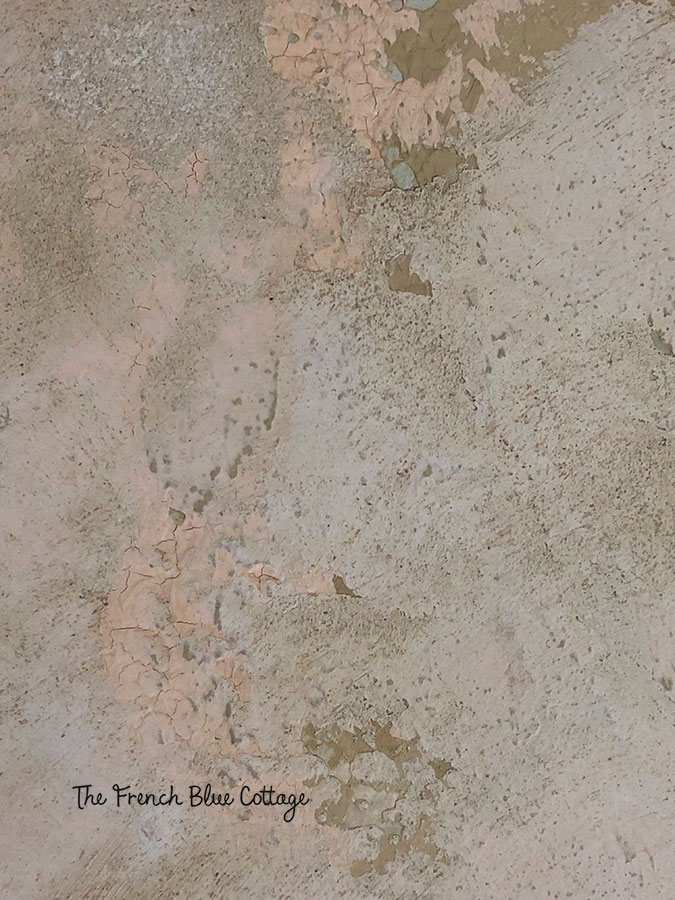
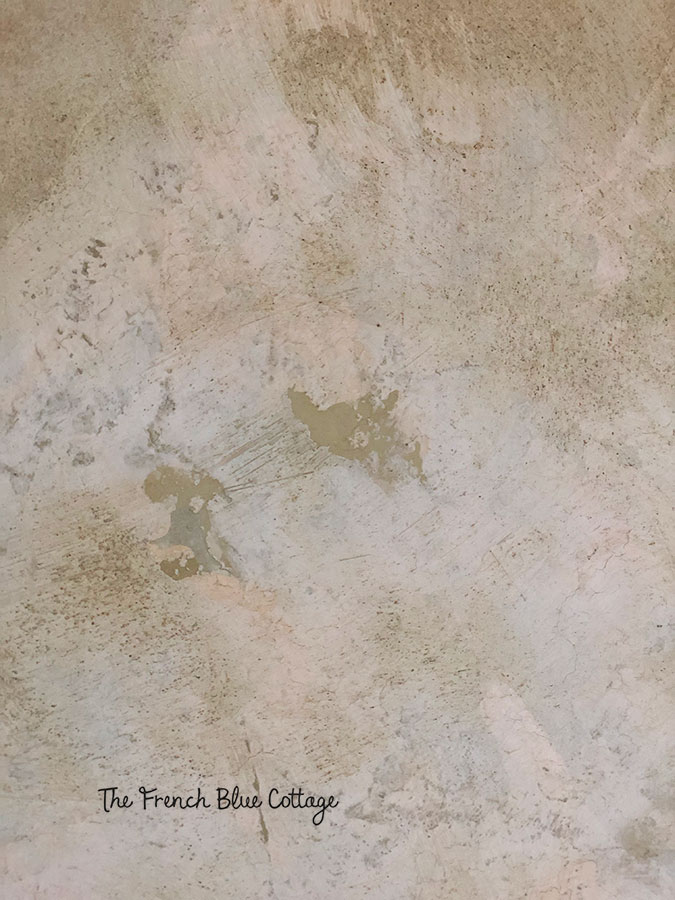
Some of my favorite parts of this French country makeover are the the paint and plaster finishes. I love aged, crusty-looking plaster walls. Here are a couple of close-ups of the wall finish…
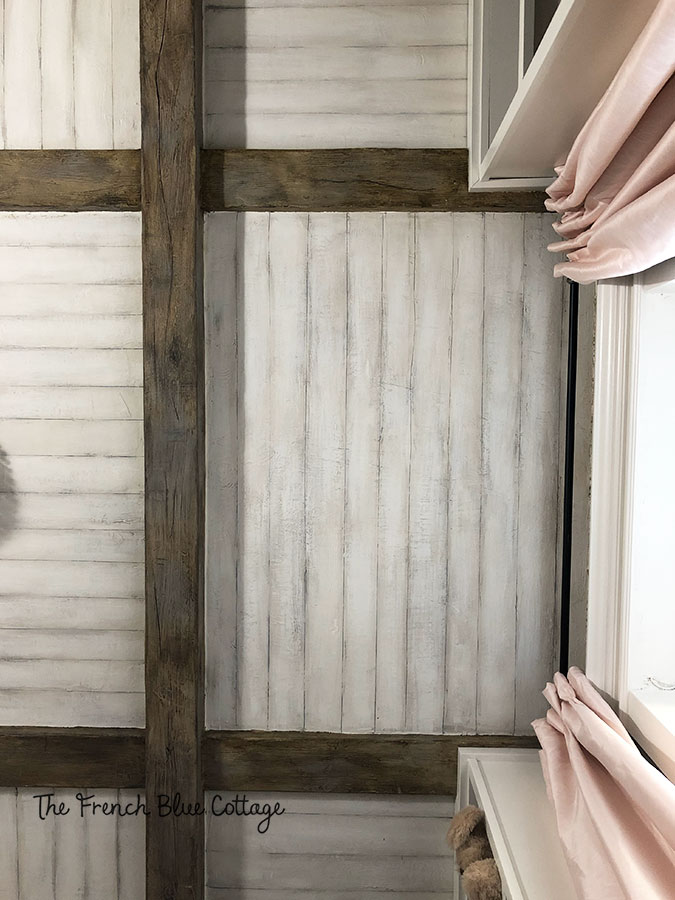
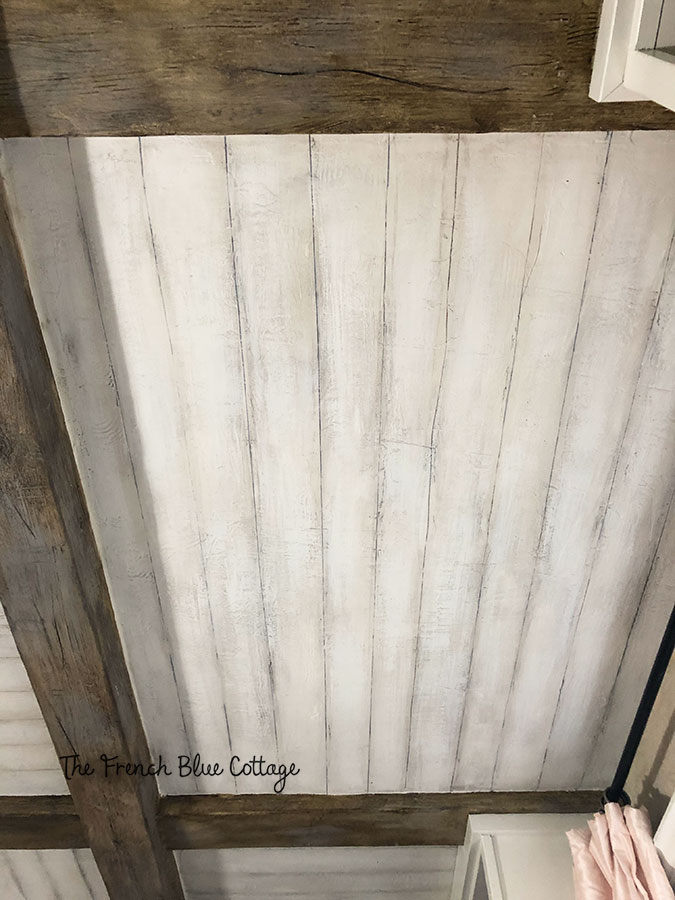
Probably my very favorite part of the room, and definitely the most time consuming part was the ceiling!
I did the “planked” parts of the ceiling with plaster, paint, and glaze. The beams are just regular lumber from the hardware store that I finished with plaster and paints.
Here’s a view of the ceiling looking directly up at it…
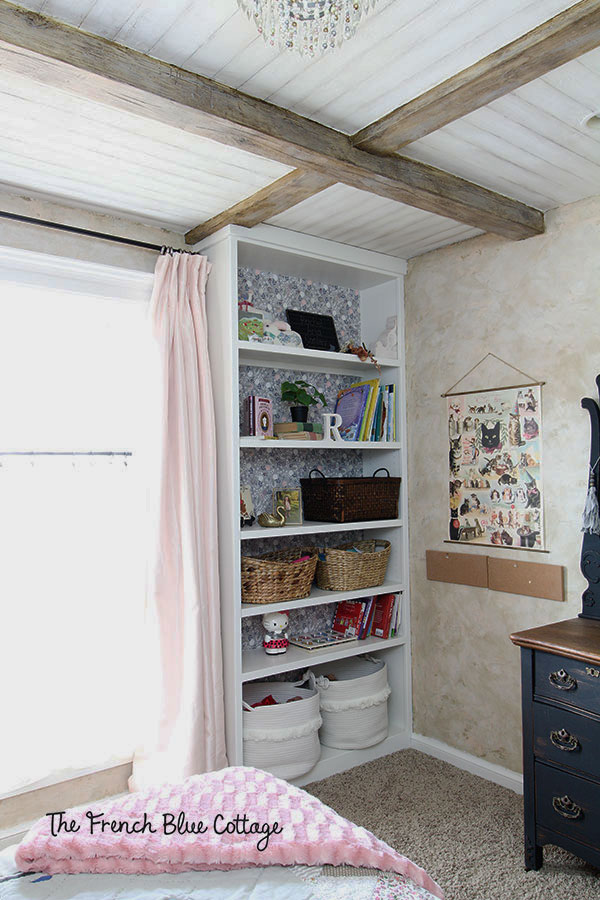
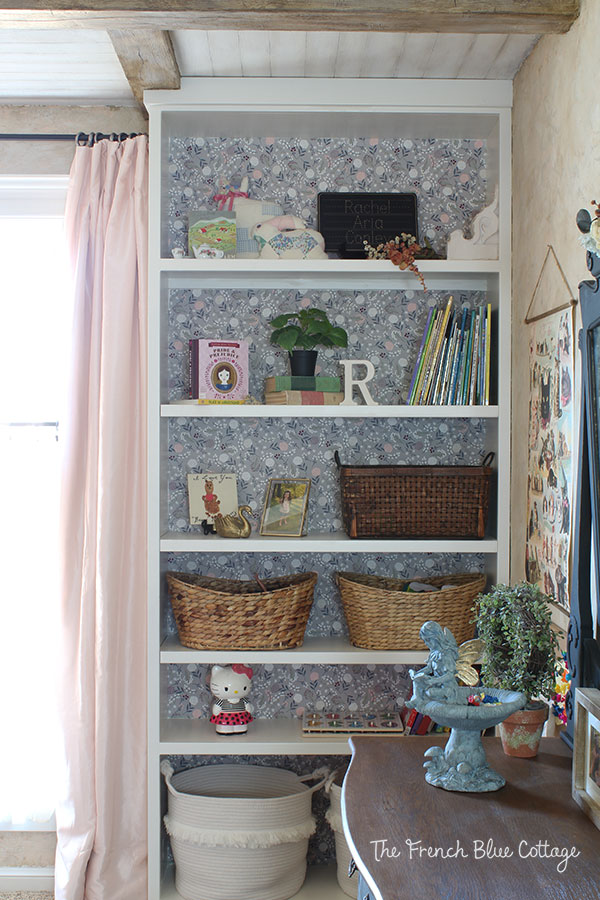
The biggest impact, as far as function goes, is definitely the bookshelves. She really needed more space for her books and toys and I wanted some areas to decorate. These bookshelves, which are lined with fabric, were the biggest cost in the room makeover, but were so worth it…
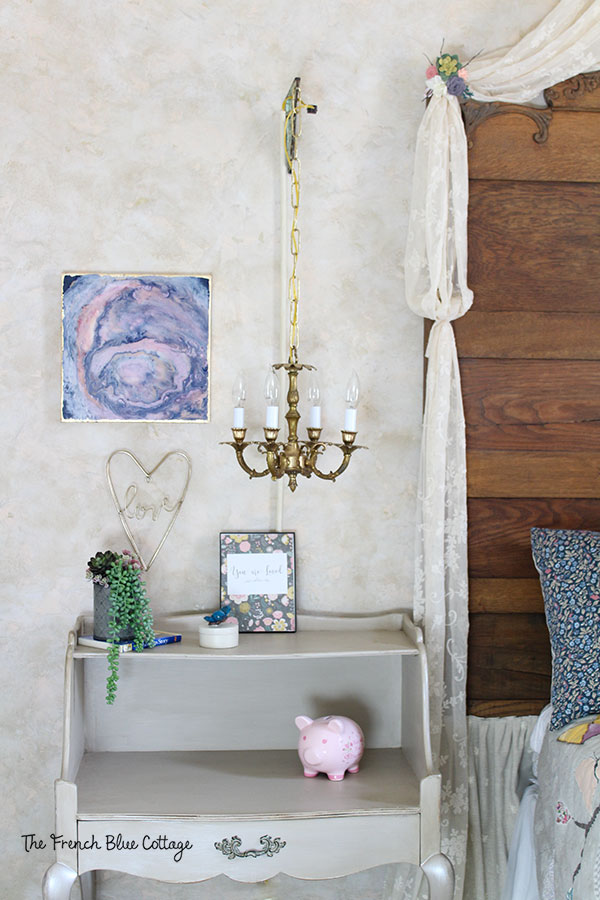
Instead of a bedside lamp, I decided to change it up a bit and add a hanging chandelier…
The bed is such a standout piece and I purchased it from a woman on Craigslist. She also sold me the dresser and mirror on the other side of the room. I painted the dresser with milk paint and lightly distressed it. I sanded the headboard and re-glazed it just a bit to make it more brown and a little less orange.
We used a metal bed frame that sits higher off the floor, which makes it perfect for storing tubs of toys. Now I can keep her nicer looking toys out on the shelves, and put the less attractive, plastic stuff under the bed.
Planning this French country bedroom makeover:
In planning this room, I used my Home Decorator’s Workbook, that you can download for yourself here…
I know that many of us learn best when we see an example, so I put my notes (specifically how I used the Workbook to plan this room makeover) into a PDF form.
decorators-workbook-girl-bedroom-worksheets
Details:
I’ll go into more detail about some of the specific parts of the room later; there would just be too many photos for one post if I didn’t separate them:)
Resources:
*I’ll update this resource list as I add in the specifics in future posts.
Wall and ceiling paint/plaster: Faux Effects
Navy velvet pillow sham: Target
White rope baskets: Target, similar here
Pink pillow, bookshelf fabric: Hobby Lobby
Seagrass baskets: Michael’s
Bed skirt/dust ruffle: here
Bed frame: here
Curtains: Pottery Barn Kids
Cat poster (unframed): here
Bed, dresser, and nightstand: estate sales
Cork board to hang her art: similar here
Pink faux fur blanket: similar here
Quilt: Anthropologie via Facebook Marketplace
I hope you enjoyed this room makeover. It was a challenge and it took me longer than I expected, but it was so worth it in the end and my daughter loves her “big girl room”.





So beautifull and fantastic design!! What a lucky (blessed) girl she is, in so many ways!
Thank you! Her room is definitely prettier now, but it’s also so much more functional.
Her room is gorgeous! Love the French Country!
Thank you, Pam! Her little room was a labor of love:)
Hi Carrie:
Rachel’s room is captivating. I love your blog too. I read every word and expanded each picture to see the details better. Your little girl’s room is perfect in every way. Congratulations on a perfectly awesome and enchanting little girl’s bedroom.
Thank you for your sweet comment! She does love her new room:)