Wood Trim for a New or Remodeled Staircase
In this post: Wood trim for a staircase.

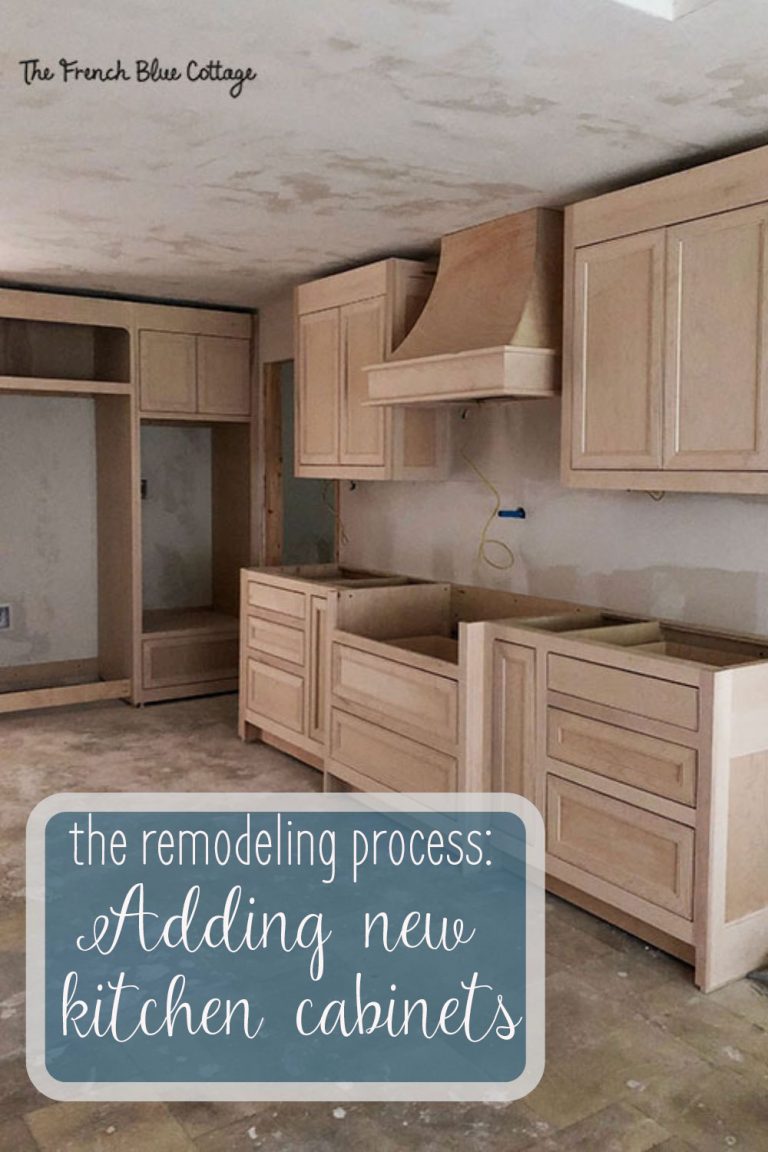
When we did the kitchen renovation last year, we added on an upstairs to our house at the same time. It was a completely crazy idea to do both together. But on the flip side, we got the demo and work all done at once.
We kept the original floor plan in the kitchen almost the same, but in order to get enough storage space, we needed to take a little bit from the adjoining room to create our pantry.
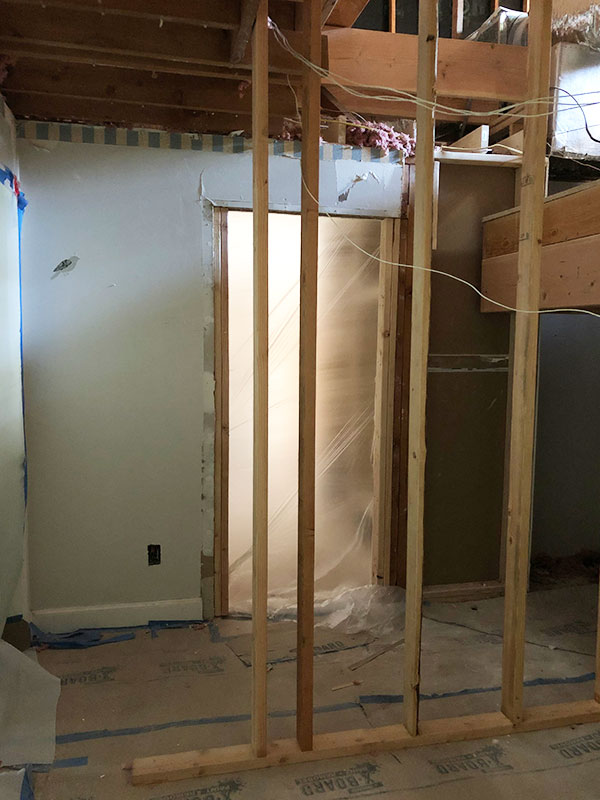
The door above used to lead into the kitchen. You can see the beginning framing for the new pantry. This room is at the front of our house and was originally a dining room.
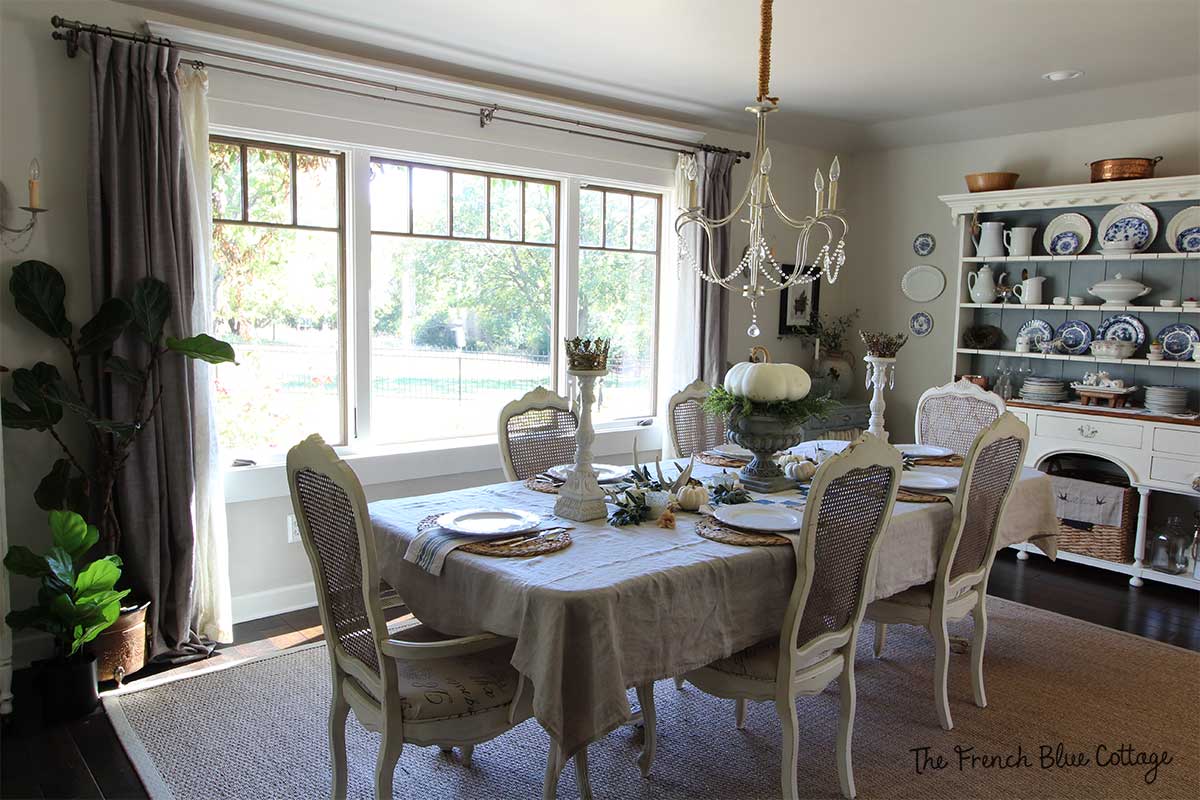
A couple of years after we moved in, we decided to change a room at the back of the house to the new dining room…..
And then the former dining room became our school room (we’ve been a homeschooling family for the past decade).
The former school room:
And as a side note, I found this photo of the old schoolroom and realized that I never showed one of the projects I did in there, so I thought I’d give you a brief how-to. ?
The dining room originally had a built-in china cabinet. I removed the glass doors but left the wood support pieces (the stiles) in place and had my husband attach 1 x 3’s horizontally to the front of each shelf with hinges. Magnets held the wood pieces in an upright position until I needed to get a book out and then I could tilt it down for easy access……
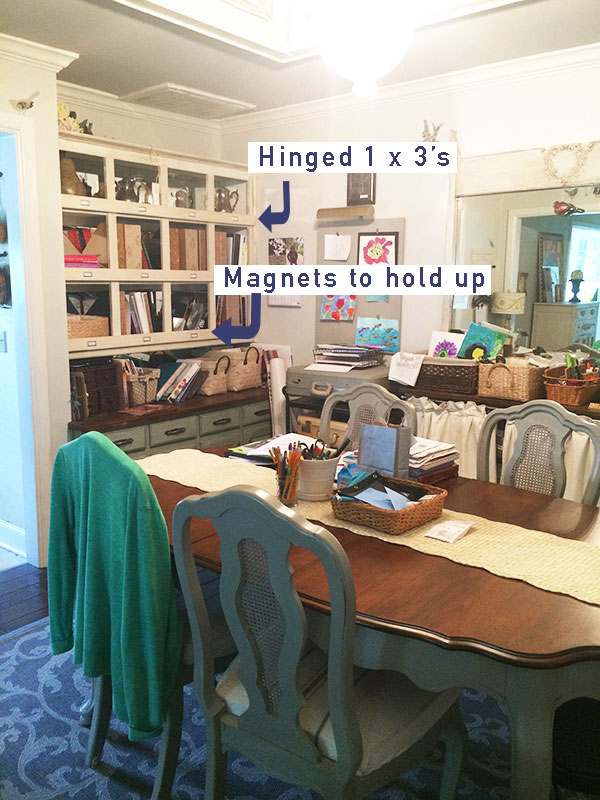
In addition, I attached metal library file label holders to the wood boards so that I could organize our books. It worked really well! But in order to make room for the pantry and stairs, it all had to go!

Back to the staircase remodeling…
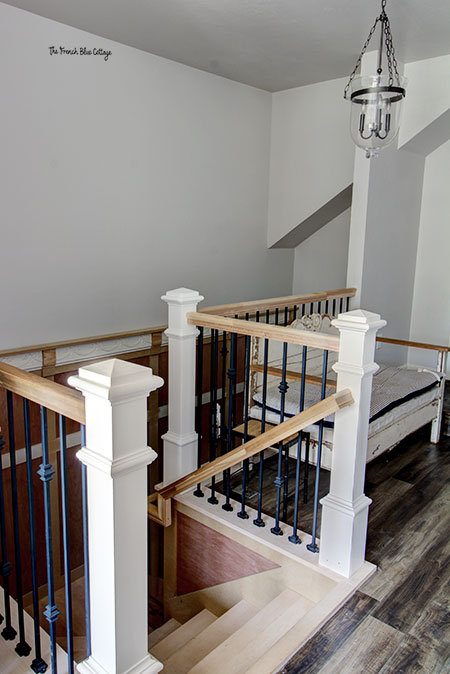
The staircase was built, traveling up the back of the room and over the new pantry.
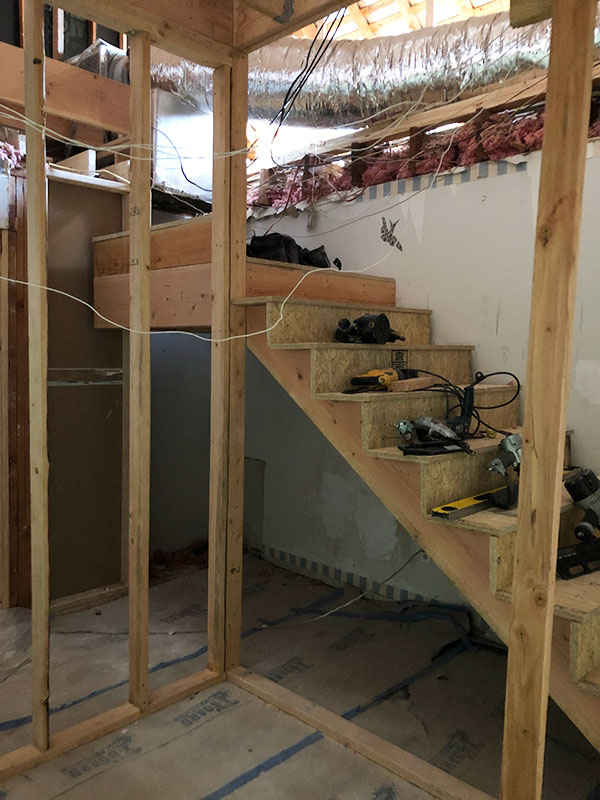
After the bones of the staircase were built, they began creating the rest of the upstairs. During this time, I did some planning for the finishing of the staircase.
I’m a big believer that wood trims and mouldings really make a room look special. So I did a lot of thinking about how I wanted the stairs to look. I also pinned lots of images from Pinterest…you can see my staircase board here.
Some of the favorite staircases I found are: this coastal, Cape Cod one…
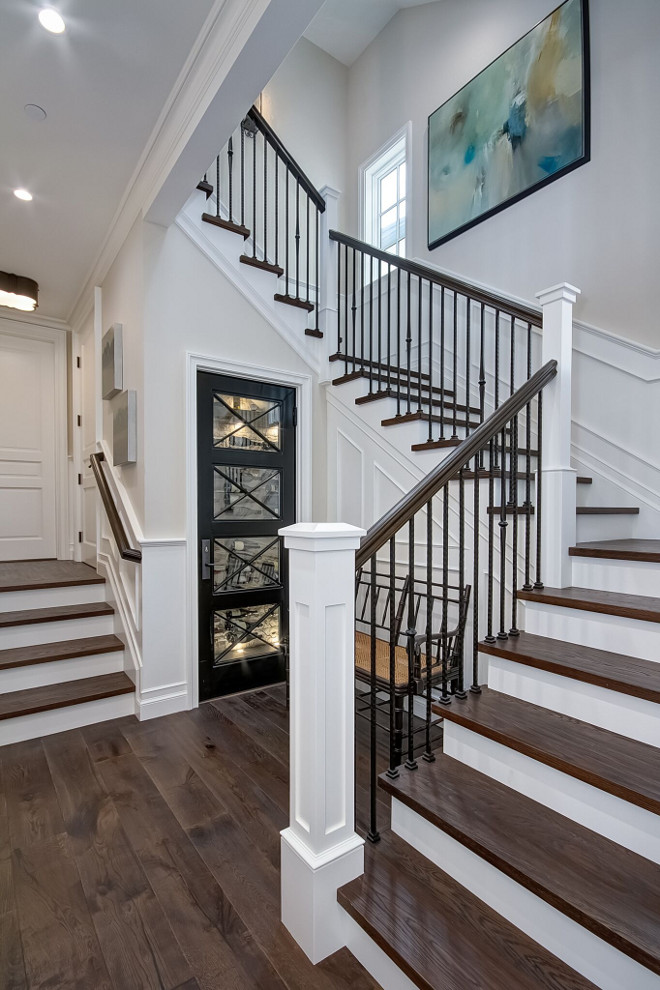
This beautiful, traditional and high-contrast one….
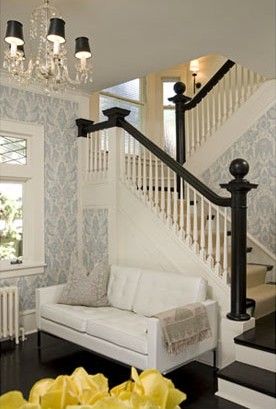 source unknown
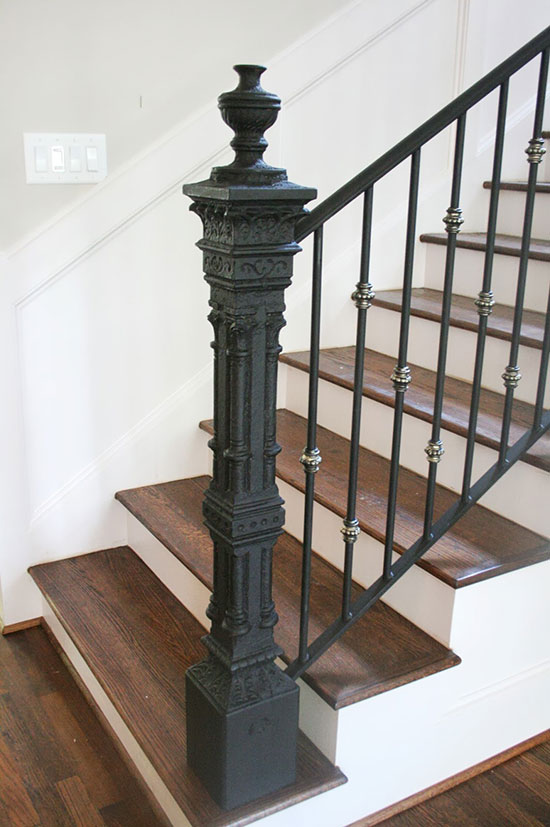
And this lovely French-inspired one with an antique newel post…
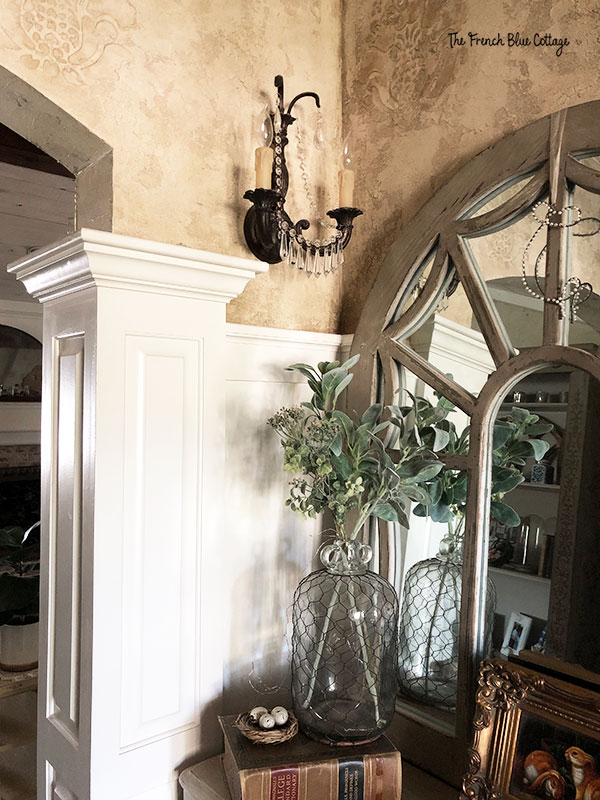
The wood trim on our new staircase:
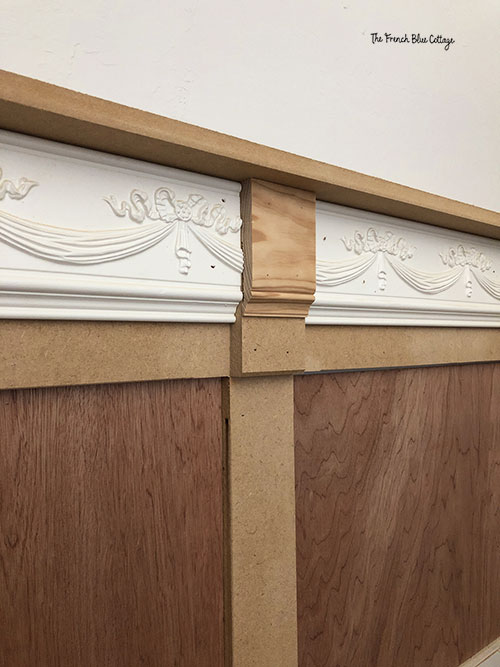
I ended up designing the staircase with large paneling and cross pieces…
I also found some beautiful carved trim at a local salvage store and had the carpenter use that for the top. It ended up being exactly the right amount…which was a good thing because there wasn’t any more of it!
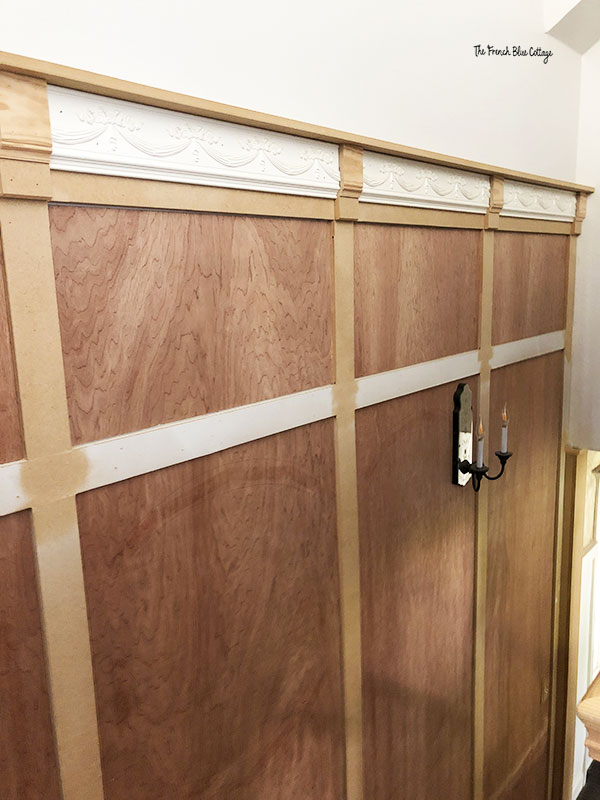
Here’s what it looks like from the top of the stairs…
There are often issues that come up when remodeling that you have to find creative solutions for. When the stairs were built, it left an awkward transition between the entryway and the staircase. We opted to make it look like a half column to match the other opening in the entryway…
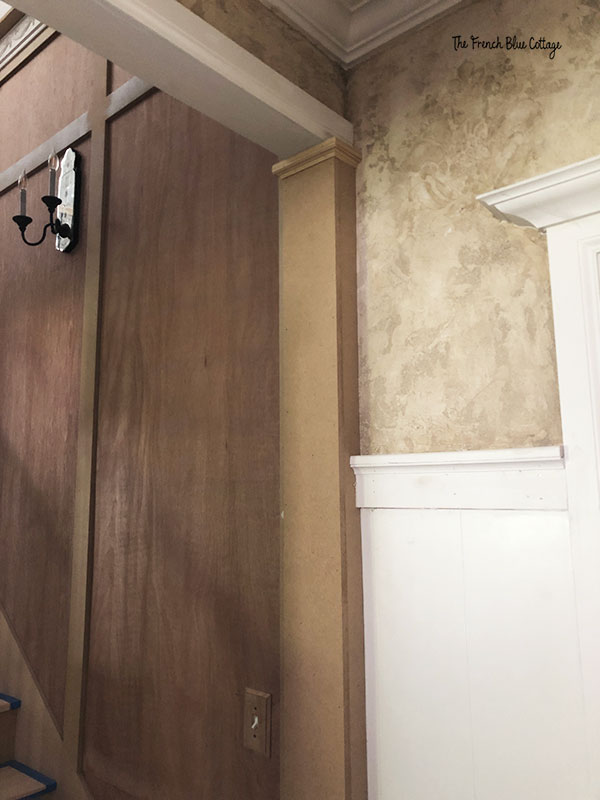
I still don’t love the way that the white trim piece dies into the wall, but I didn’t know what else to do. Hopefully once it’s all painted it will look right.
I may end up having to remove that upper trim so that it will look like the arched part of the entryway seen below…
I just really didn’t want to mess up my plaster work! Anytime you plaster or glaze something, it’s next to impossible to match.
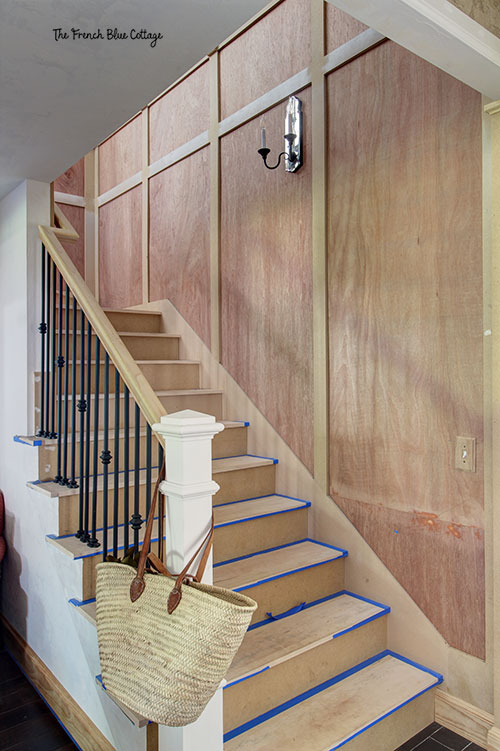
Finishing the staircase:
The finishing work on the staircase was one of the final steps in the whole remodel. By the time we got to this stage, we were already over budget. Nearly everyone who remodels warns of this, but you always think “Oh, our case will be different”. Well, we were in the same over-budget camp with most of our fellow remodelers, so after the stairs were trimmed, we got an estimate for the painting and staining. It came in at nearly the cost of the staircase itself! Sheesh!
So, the painter in the family…yes, that would be me…got the job.
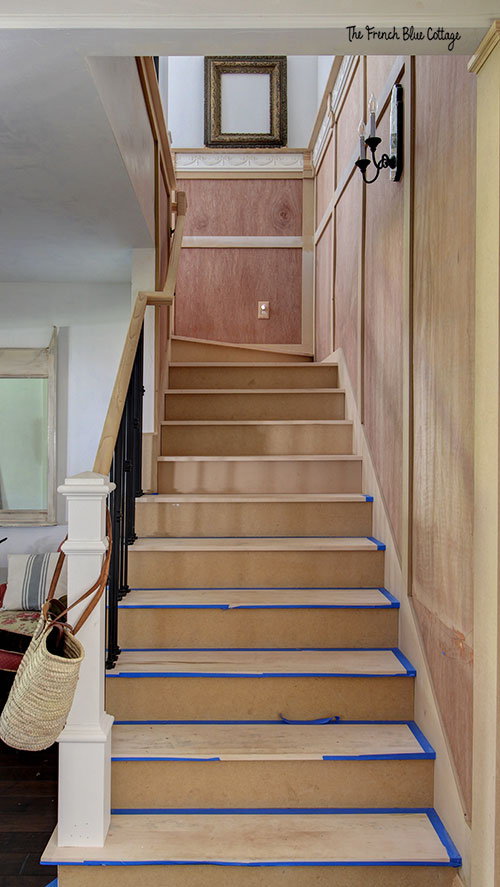
I set about filling nail holes and taping everything and quickly realized that there was going to be A LOT of prep work and that, with the school year in full swing, I just didn’t have the time to dedicate to it.
Aaaaand there it has sat ever since. ?
But now I’ve taken actual pictures and put them on the blog for all to see, so I hope that’s enough motivation for me to get in gear and get it finished.

The plan for finishing the staircase:
- Finish the prep work.
- Add some applied mouldings to the panels (can’t wait to put these up!)
- Prime, paint, and stain.
I think I’m going with white for the risers and stringer/skirtboard (that’s the diagonal piece that goes along where the stairs meet the wall and the balusters/spindles.
The balusters are wrought iron and I think I’m going to stain the handrail with an ebony stain to help it blend in with them.
The risers will be a dark wood stain that will blend with the rest of the floors throughout our house. While I love the look of all wood stairs, I do plan to put in some sort of runner for safety and to protect the wood.
My only staircase design decisions still to make are:
- Should I paint the newel posts black to match the handrail and balusters, or white to match the risers?
- Should I paint the wall paneling and trim white to match the risers or a light colored “stained” treatment? Which ideas do you like best?
Have a great weekend!


Your staircase and wood trim are going to look lovely when they are done! So many great ideas! I can’t EVEN figure out what I would do! Pinned!
Thanks, Julie! I can’t figure it out either:) I think I’m going to have to do some sample boards first.
What an amazing project! I can’t wait to see the end result!
Thanks, Paula! Now I’ve got to get busy painting:)
That is some beautiful moulding and I can not wait to see the final reveal of project.
Thank you, Sonya. Now if I’d just get busy and paint it:)
I can’t wait to see how this looks painted! That moulding is gorgeous! Pinned 🙂
Thank you, Rebecca! That moulding was a great find for me:) Thanks for pinning!
What a wonderful project, Carrie! It is coming together so beautifully!! I love how moulding adds such character to a space. Pinned!
Thanks, Lynne! I completely agree that moulding adds so much character and I’m always on the lookout to add more character and charm to a room:) Thanks for pinning!
Wow! Everything is coming along nicely! Looking forward to seeing how it turns out!
Thanks, Lauren! I’m looking forward to the finished product too! 😁