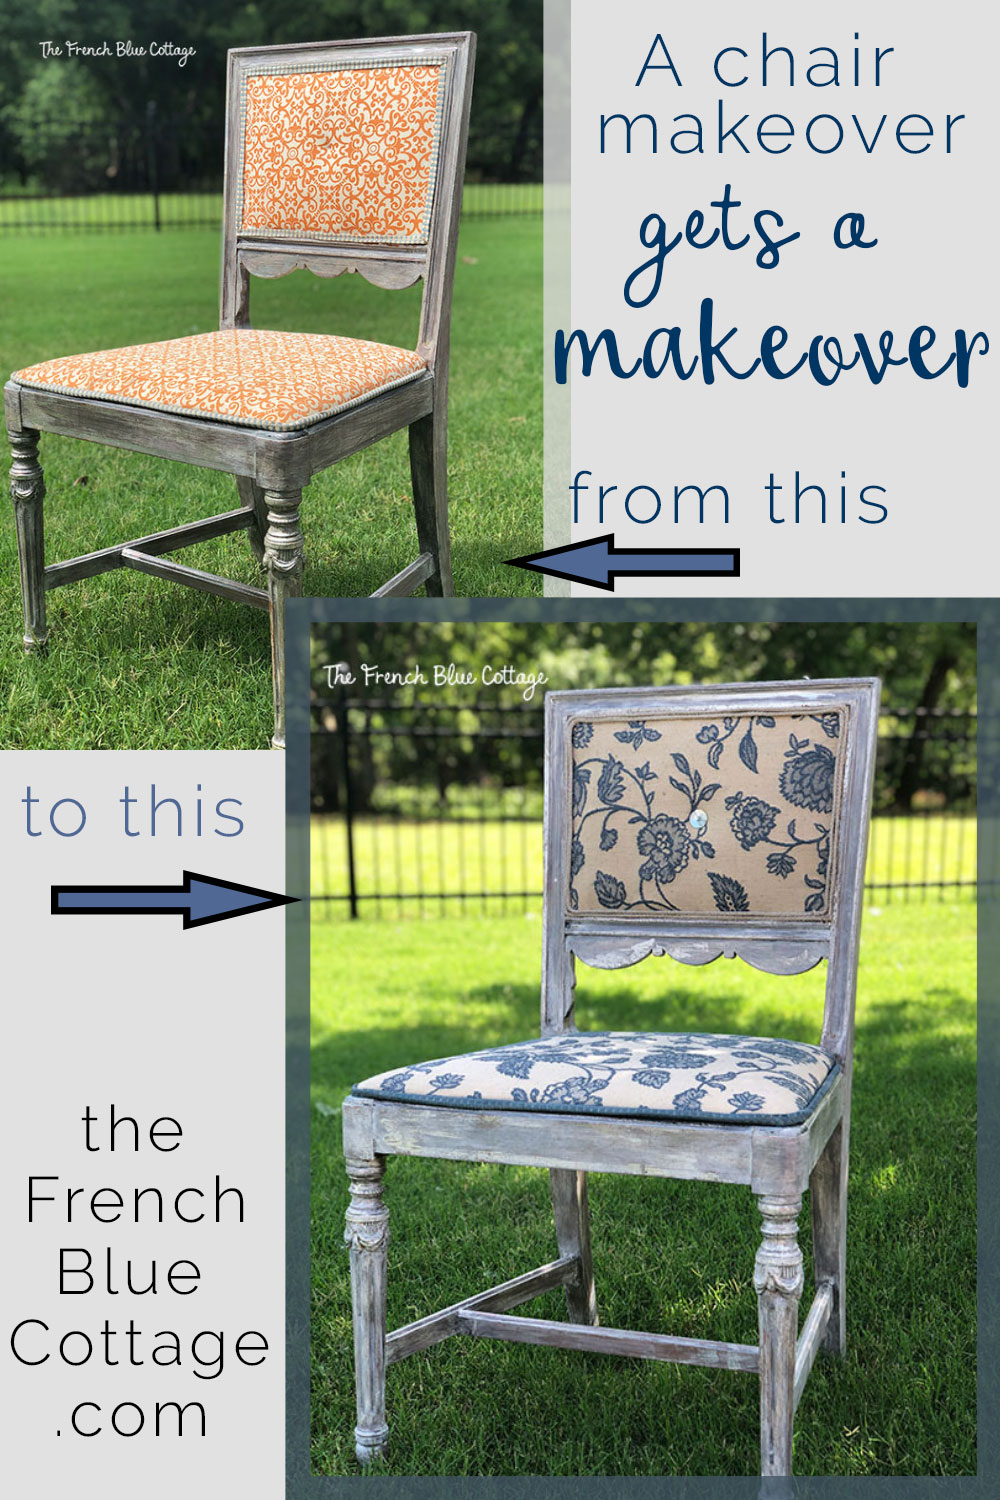
A Chair Makeover Makeover
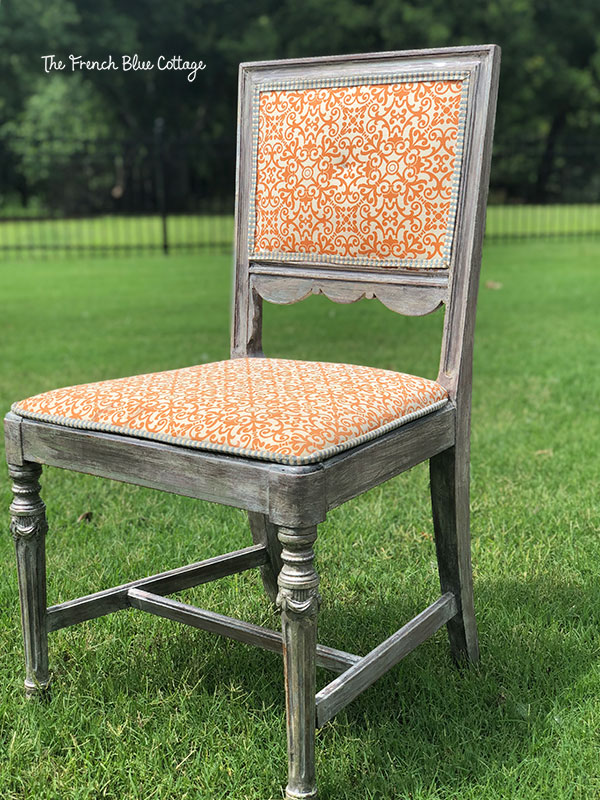
About eight years ago, I found a chair at an estate sale and gave it a makeover. The chair had really pretty lines and lots of details. For some reason, I decided to “go bold” and use colors I would not typically choose…..namely silver, orange, and turquoise.
I did actually like the way it turned out…..for about a year. Then, those bold color choices started to lose a little of their appeal. But I left it alone for. 8.years.
Until today.
I finally decided that I’d had enough of the orange and turquoise and gave my chair makeover a makeover! ?
*Affiliate links used below. See full disclosure here.
Here’s what my chair looked like this morning….
On a side note, I featured this chair in the second blog post I ever wrote. When I go back and look at the beginning posts, I cringe a bit (so, go look at your own risk ?). No matter how embarrassing, I refuse to remove the old posts I wrote because I think it shows growth and I feel like it’s important for me to be aware of that.
Anyway, after I took this photo, I popped the chair seat out and flipped it over….
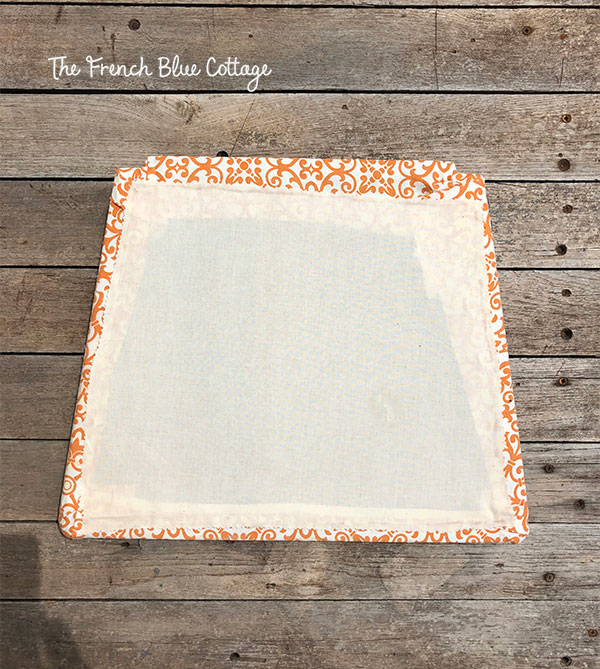
I took off the muslin backing and then removed all of the staples in the orange fabric. Underneath the orange was a very early-80’s-looking floral. Underneath that was a really awful red vinyl. I stopped there and just recovered the red vinyl with a scrap of blue and oatmeal colored upholstery fabric (much more my style).
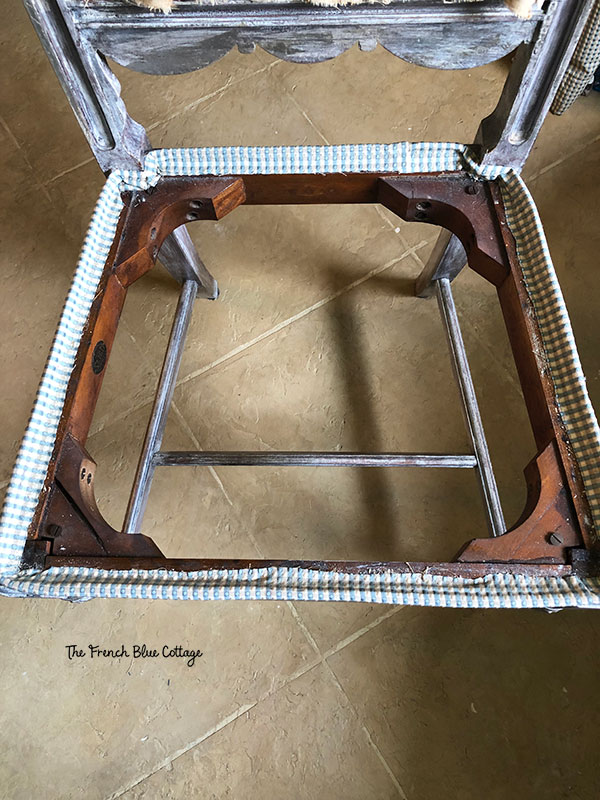
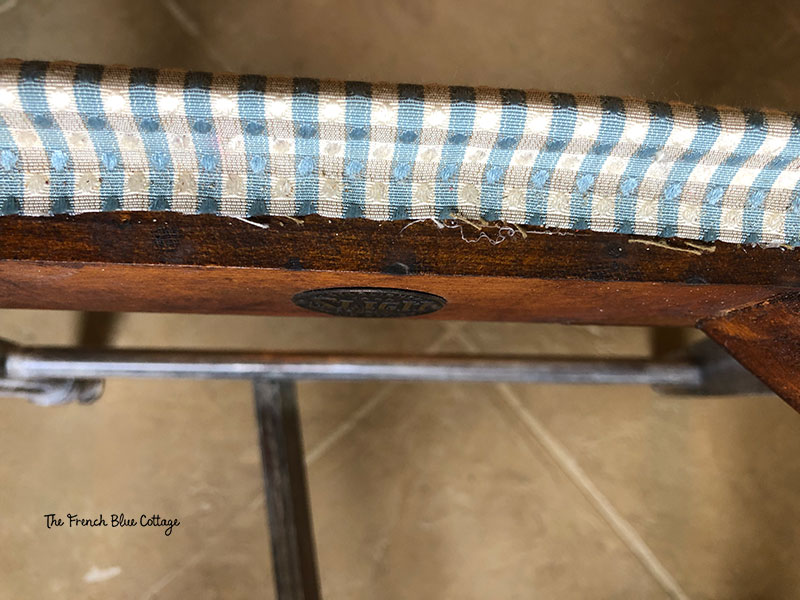
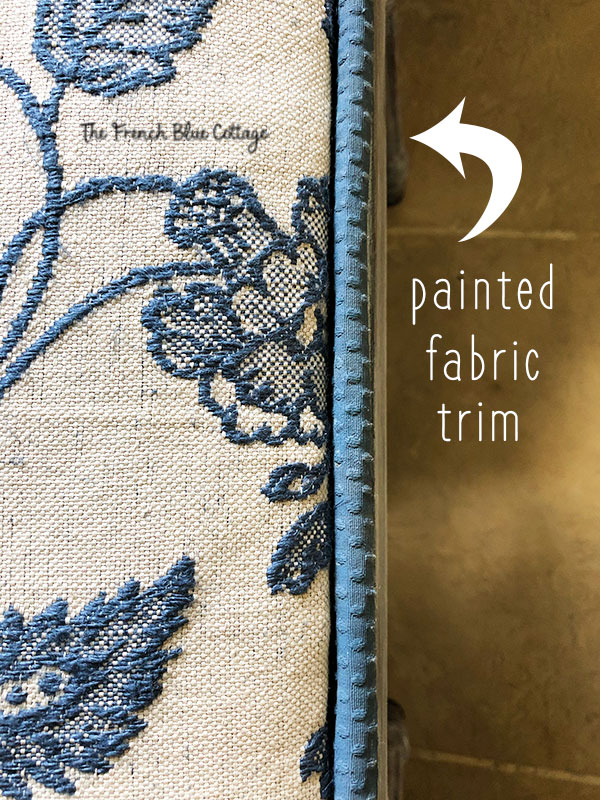
But before I show you the chair seat, let’s get back to the chair itself. Once I removed the seat cushion, I realized that I had made piping trim when I initially gave the chair a makeover. But instead of securing it to the seat, I attached it to the chair itself! ?
What to do now? Should I remove it or just leave it.
Neither!
How about I just paint it?
I made a mixture of Miss Mustard Seed’s Milk Paint (equal parts Artissimo and French Enamel because that’s what I had on hand). Then, I used a paint brush to dab the paint all around the trim….
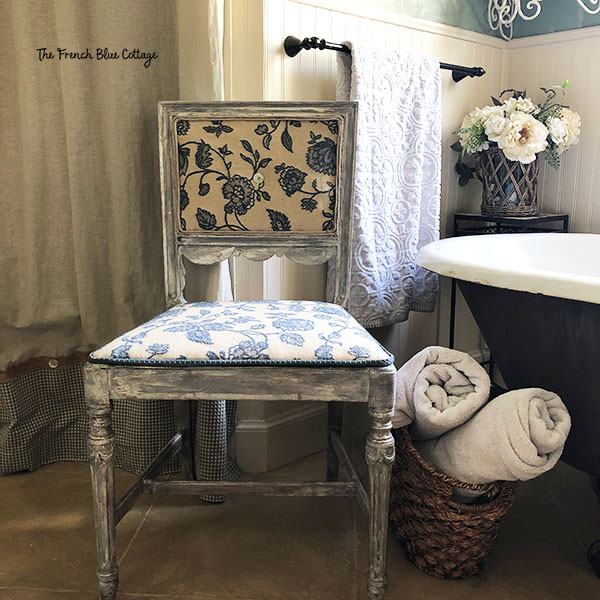
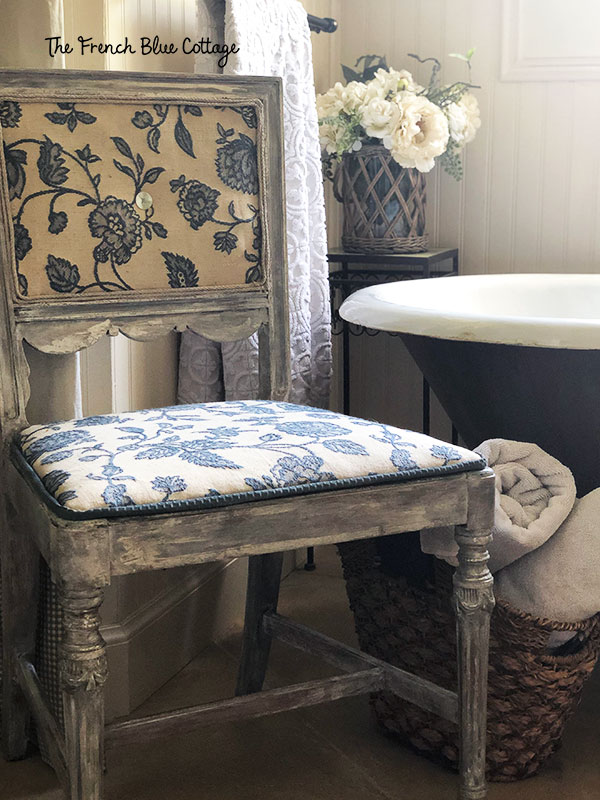
Here’s how the chair makeover makeover turned out….
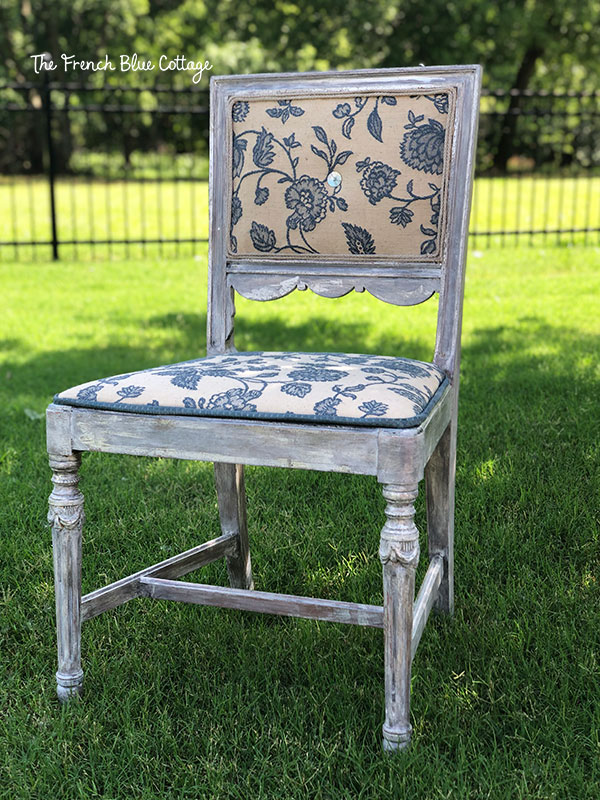
For the chair back, I used the same fabric, but glued on some natural rope trim (I think it came from Hobby Lobby) in a double layer. I used a double layer in order to cover the edges of the fabric and also the staples.
I also added an abalone shell button to the seat back for a little extra detail….

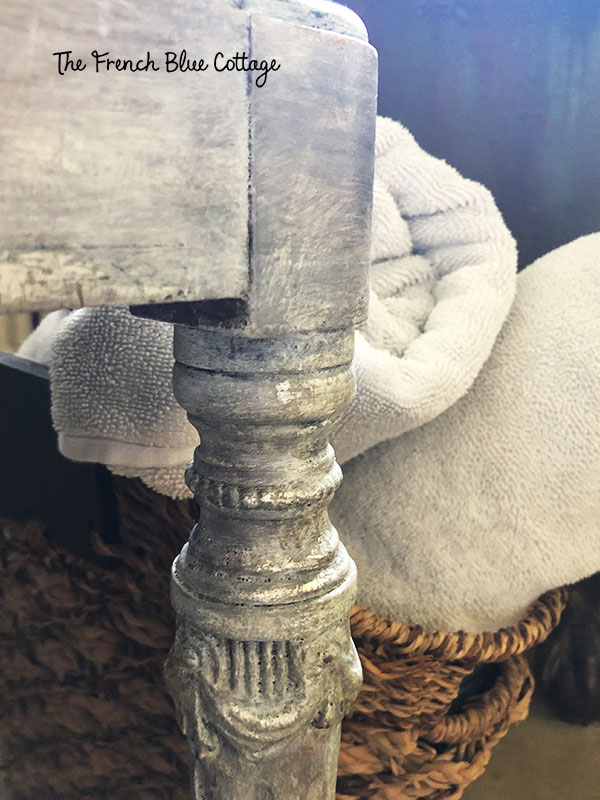
For the final step, I wanted to lighten the overall finish just a bit. I used equal parts white gesso (for some thickness) and a warm gray acrylic paint to tone the wood. I brushed it on randomly and then used a sea sponge and a piece of cheesecloth to blend it in.
It just lightened the finish ever so slightly, gave a tiny bit more texture, and covered a little of the silver.
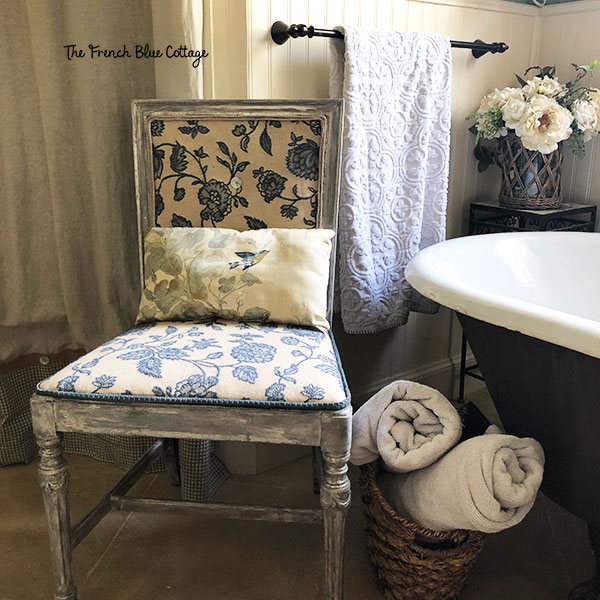
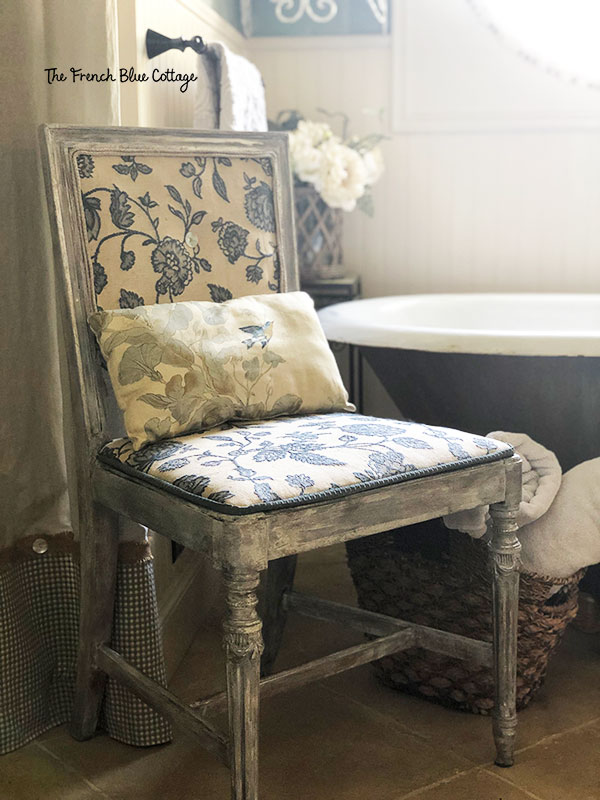
This chair has been in my bathroom next to the bathtub for years. Here’s how it looks today….
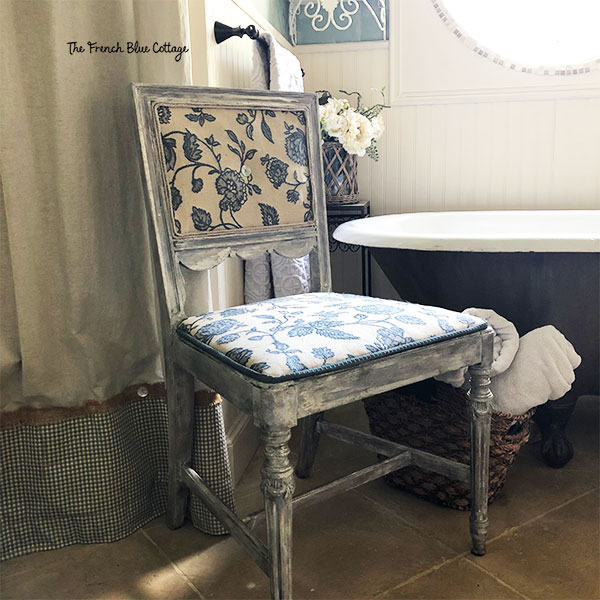
I also had a small pillow with a bird on it, sitting on the chair before. After the makeover, the pillow looks just as good….
I keep walking into the bathroom, noticing the chair, and feeling an automatic “ahhhh”. It’s so much more my style now and much more restful to my eyes….
As usual, after a makeover like this, I ask myself, “Why did I wait so long?”.
Is there a simple makeover that you’ve been itching to take on? Or some piece of furniture that simply bugs you?
I encourage you to go ahead and tackle it and get your own “ahhhh” moment when it’s finally done:)

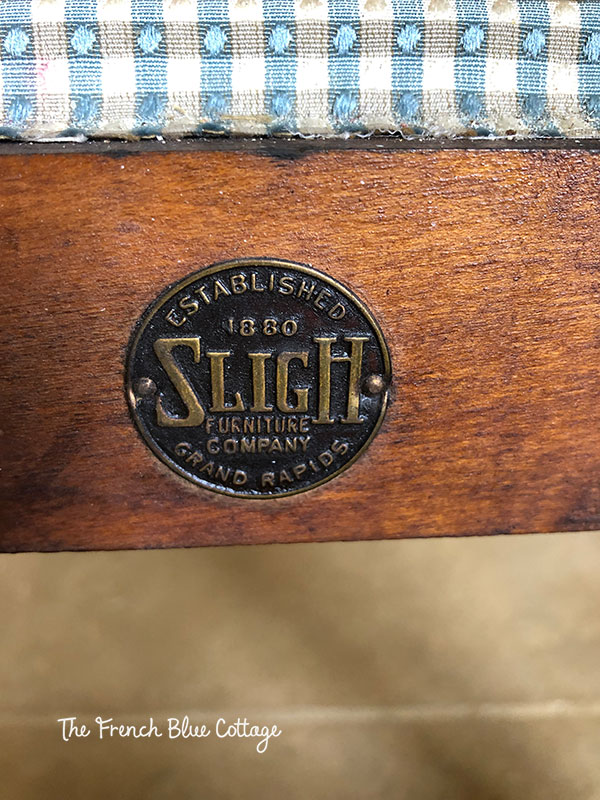
P.S. I found this metal tag on the chair. I’m not sure how old this chair actually is. Anybody have any ideas?


It looks fantastic! I love how you just painted the trim so you didn’t have to remove the old and make new.
I’ve never been one to paint fabric, but painting that little bit of trim sure saved me some time at the sewing machine!