Working with Foil
One of the mediums that I like to use occasionally is decorative foil.


There’s a rainbow of colors and many different patterns to choose from.
Applying foil is similar to using gold or silver leaf, but it’s not as messy and because the foil sheets are so much larger than leafing, it’s also faster. First, you apply a fluid called size. I like to use a water-based product called Wunda size, but there are other popular brands such as, Aquasize by Rolco. Wunda size looks foggy when applied, but sets up clear and tacky (tacky is a good thing, here).

Then, cut or tear a sheet of foil and press onto the sticky size using a tool of your choice such as, a scrub brush, a rag, a large stippling brush, or a plastic wallpaper smoother. I often like to crinkle up each sheet of foil before putting it on the surface.
There are some important things to remember:
1. Apply foil with the shiny side facing out!
2. Don’t press down all the way to the edge of the foil as this will leave a sharp line in the finish (unless this is the look you are going for).
3. You may have to apply a second layer of size, depending on the weather and how porous the surface is.
4. Be sure and seal the surface when you are done foiling. Any size that is still tacky will stay that way.
If you want a detailed video on foiling, there is a good one by Melanie Royals of Royal Design Studio at http://www.youtube.com/watch?v=VMcz_9NdBM0

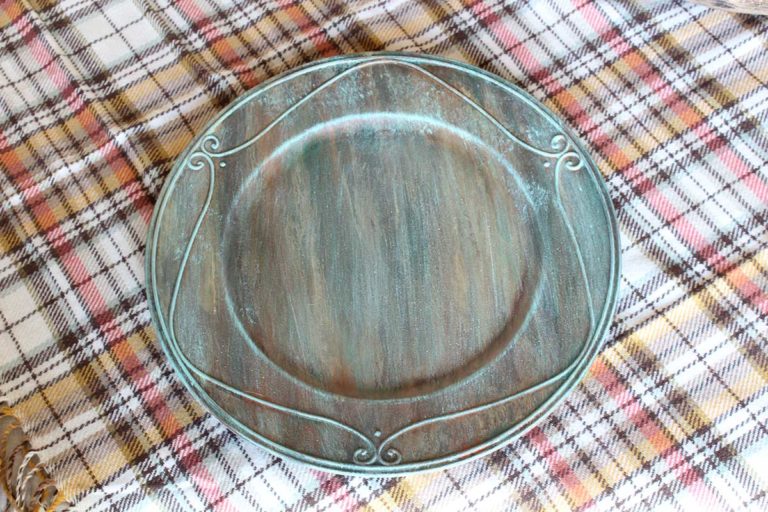
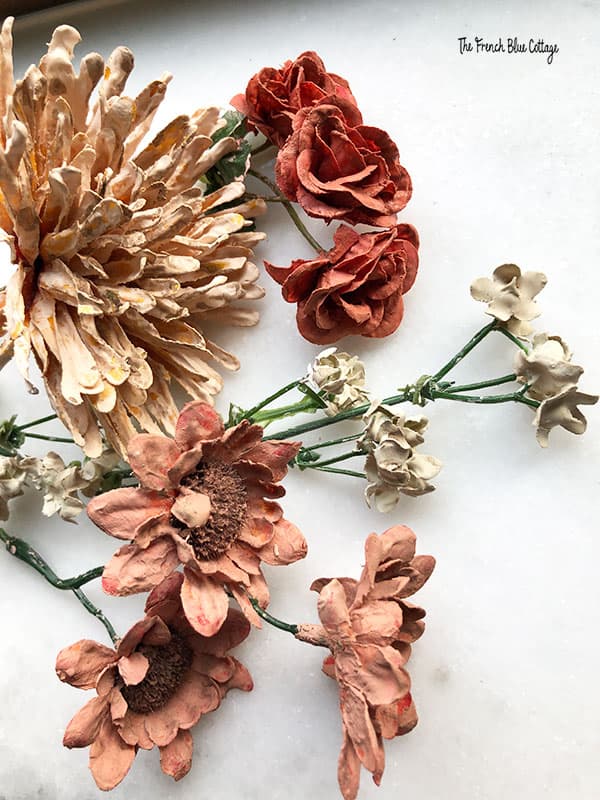
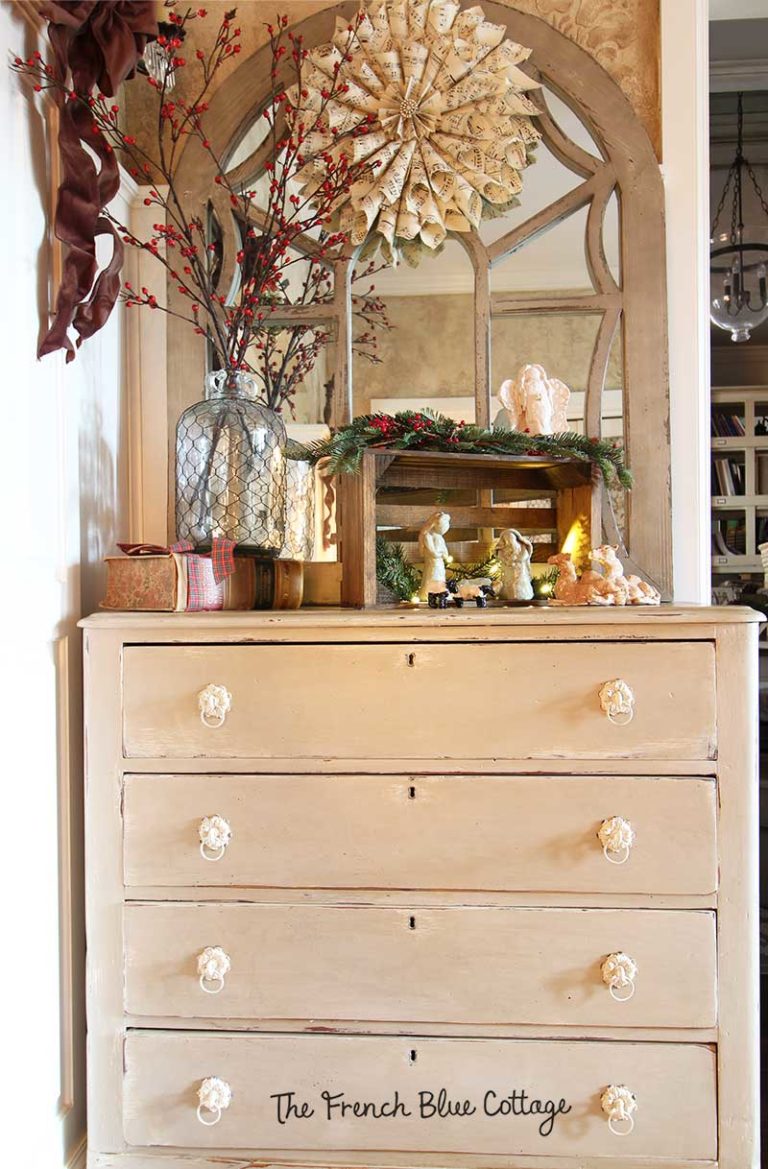
Foil can look really beautiful on a piece of furniture or on trim.

You can also add foils underneath plaster.

If you are a little afraid of something too “flashy”, you can always add foil to small areas. In this picture, just the edge of the trim piece has foil. It’s just enough for a little hint of shine.
If you’ve never experimented with foil, why not give it a try on one of your next projects?


One Comment