DIY Artwork with Chalk Pastels: Imitating Degas
Champagne taste on a beer budget when it comes to art? If so, then I’m right there with ya. I’m not a huge fan of mass-produced art and love to take any opportunity I can to bring something original into my home. But all that originality usually comes with a price tag! So let’s try our hand at making our own piece of DIY artwork shall we?
Now before I lose you, this is not highly technical. If you can trace, color, and smudge with your fingers, then you can do it!
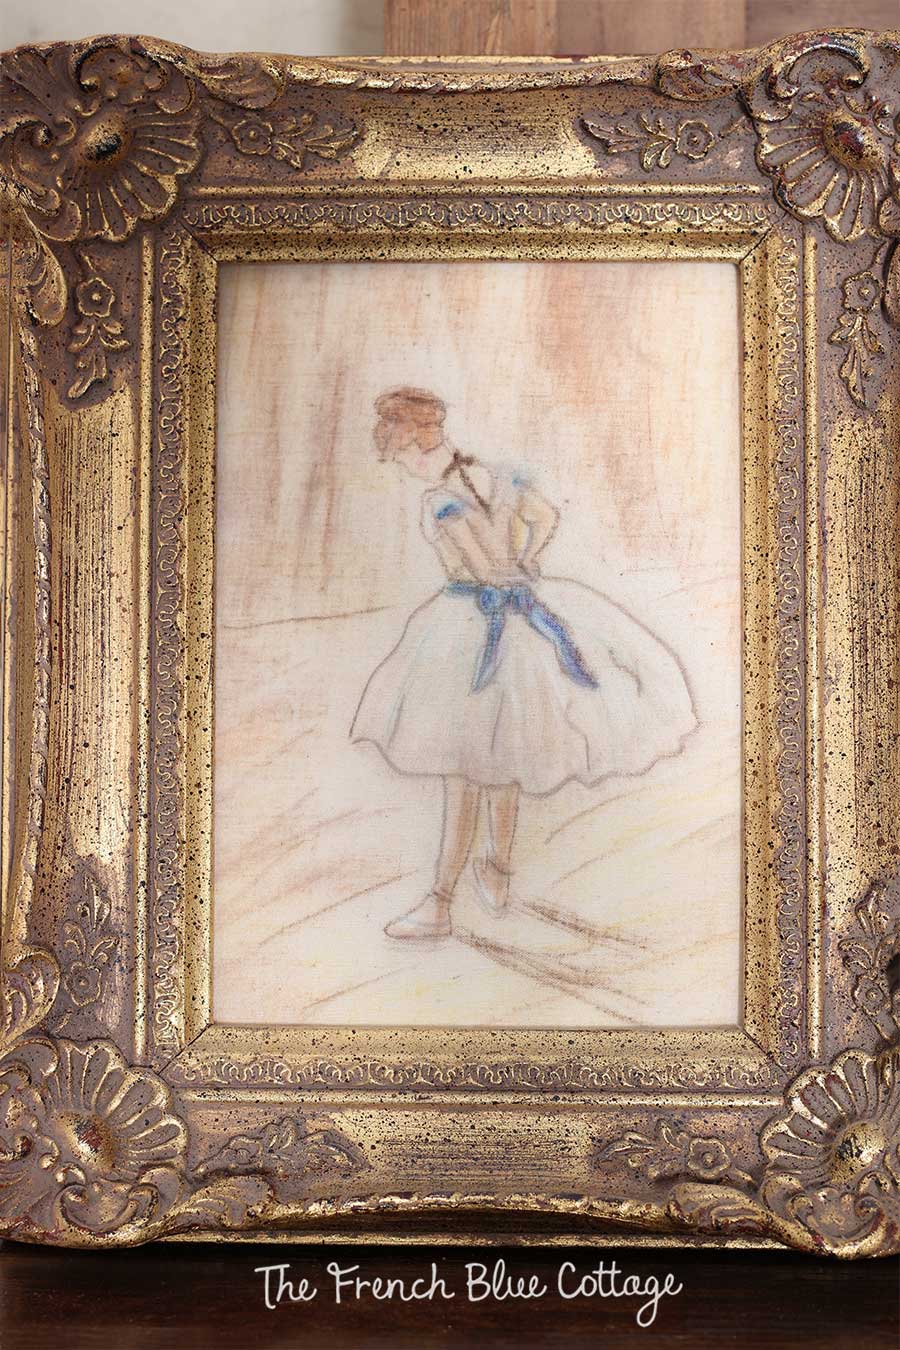
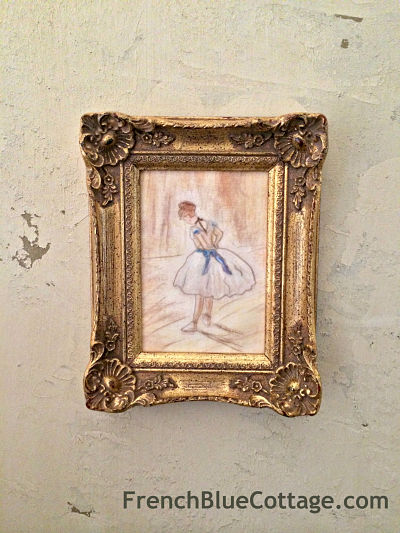
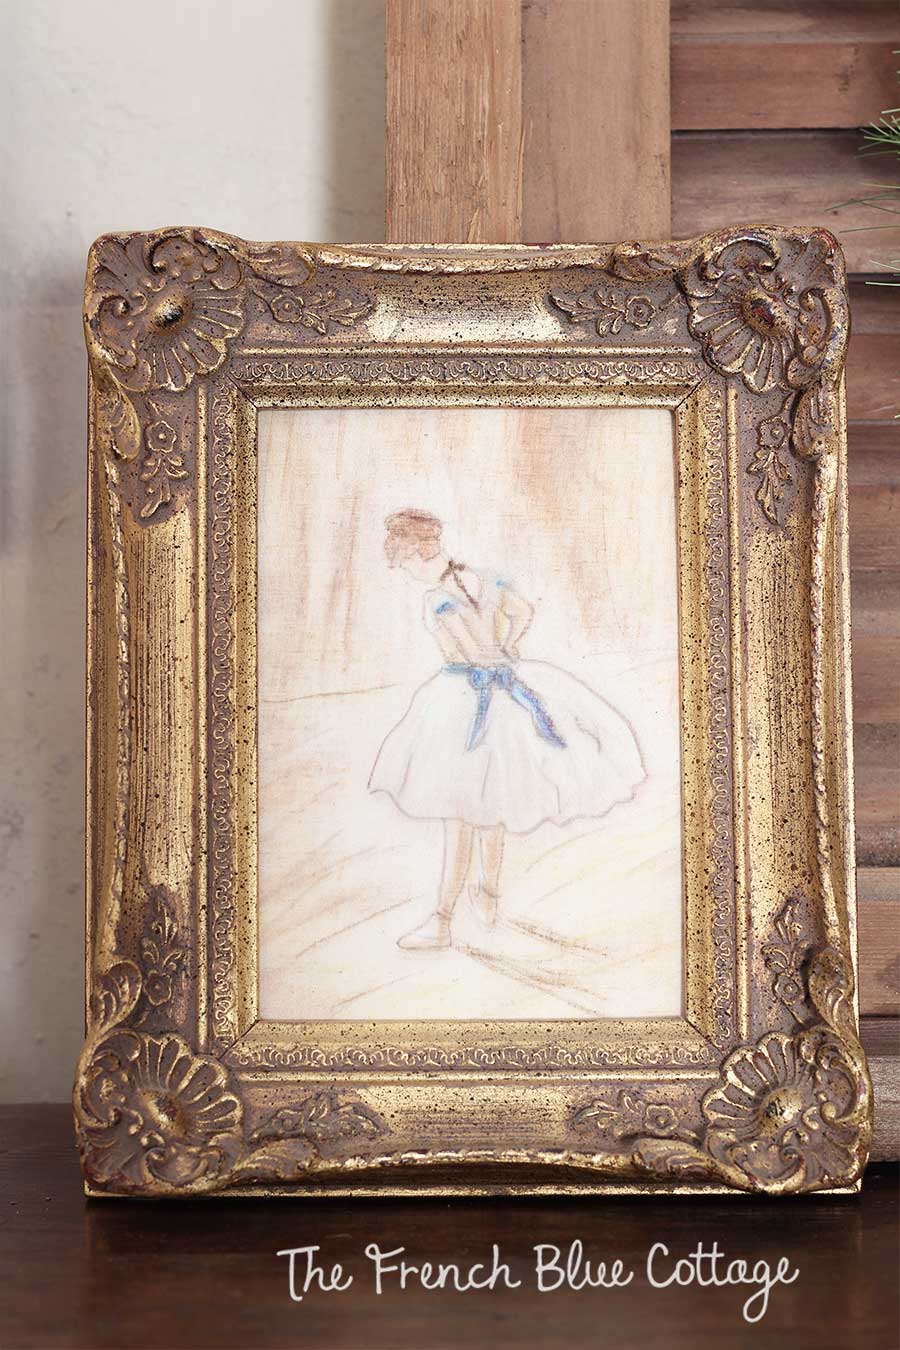
Here’s the finished product…
Before we get started, let’s take a look at one of the old masters. Are you familiar with Degas? (pronounced deh-GAH)
He was a French painter (1834-1917) who was part of the Impressionist movement.
You are probably most familiar with his paintings of ballerinas, such as…..
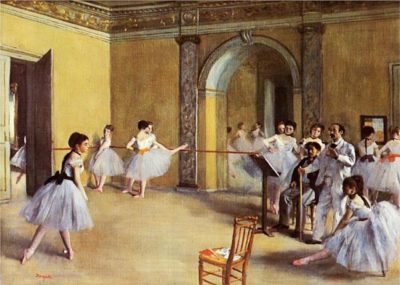 Dance Class at the Opera, 1872
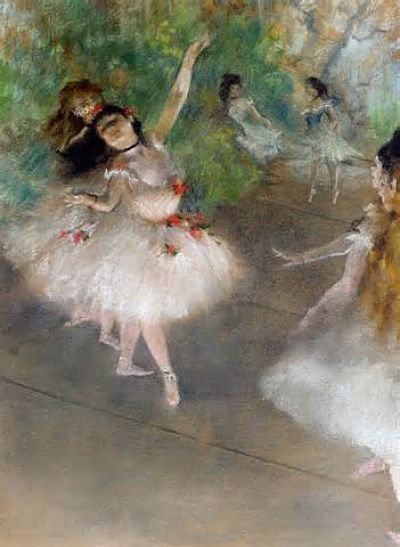 Dancers, 1878
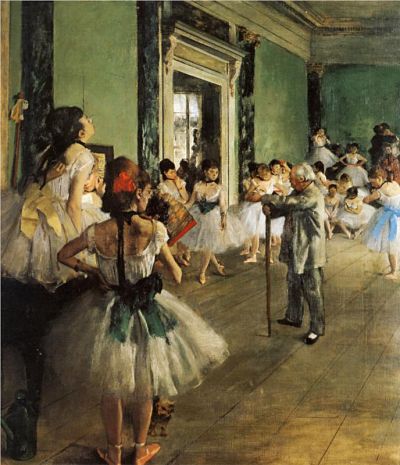 The Ballet Class, 1871-1874
Aren’t these so beautiful?!?
************************************************************
We are a homeschooling family and we meet weekly with a group of other homeschoolers.
In art, we sometimes look at the works of great artists and attempt to replicate them in some way; like maybe the artist’s use of color, material, or subject.
Last week, we studied Degas during our art period.
The kids traced and then colored a picture onto a piece of cloth with chalk pastels.
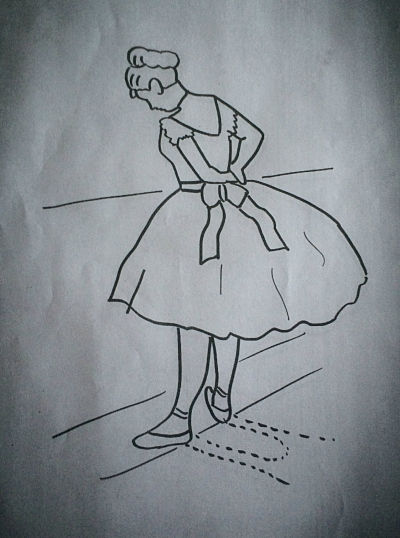
They had the choice to copy an outline of this…
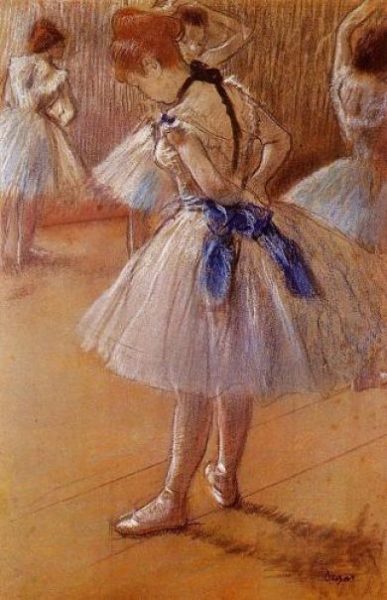 The Dance Studio, 1878
or this….
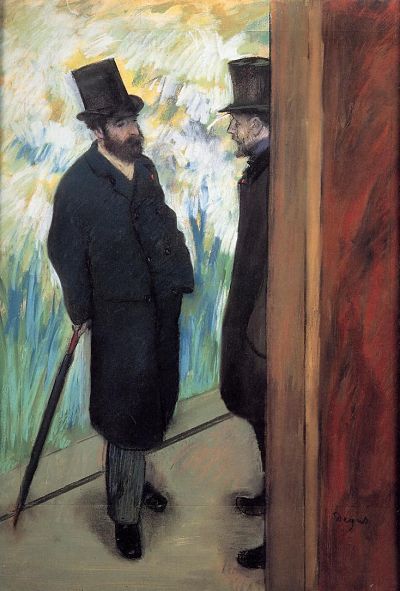 Friends at the Theatre
Of course my boys did not choose the ballerina 🙂 so I decided to come home and try it myself.
****************************************************************
How to make your own DIY artwork:
Here’s what you need:
A printed copy or an outline of a piece of art that you like
A piece of light colored fabric (I used a scrap of unbleached muslin)
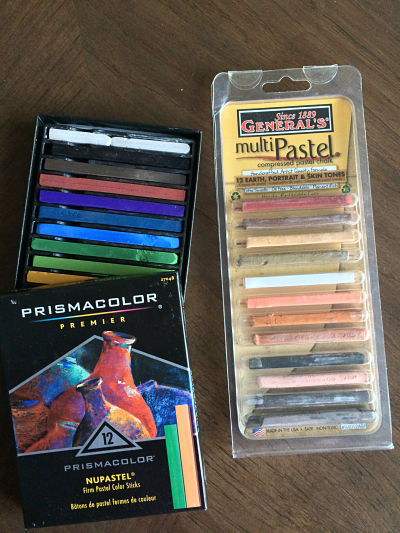
Chalk pastels (I used Prismacolor Nupastels and General’s Multi-Pastels in earth colors)
Aerosol hairspray
A frame (and a piece of foam core if the frame doesn’t already have a mounting board)
***************************************************************
1. Choose a simple piece (or section of a piece) of artwork and print it.
The outline I had was an 8 1/2 x 11 but I wanted a smaller picture, so I first took the outline and reduced it on my printer. Also, I think it’s probably best to just zoom in on a piece of the art and outline that instead of trying to re-create the whole thing.
2. Outline the artwork with pencil onto your fabric.
Next I taped the outline to my dining room window and then taped a square of muslin onto the top of it. I traced it and then took it down from the window.
3. Color your art.
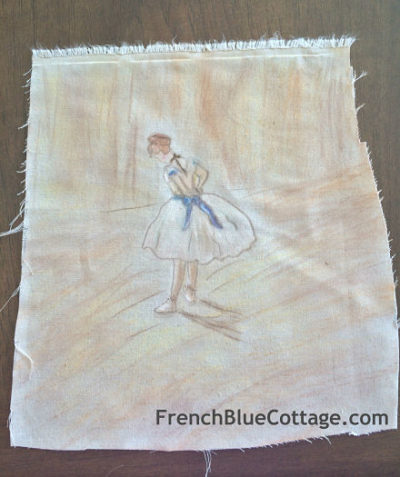
I colored it with chalk pastels, choosing colors similar to the ones that Degas used in his original painting. These are the types of chalks that I used (here, and here)….
I just kept coloring and smudging with my fingers until it looked the way I wanted it to.
Adding some darker colors to the shadows and some white to the highlighted areas made a big difference.
4. Set the colors.
For the next step, get out that can of Aquanet!
Spray your art with a couple of light coats of aerosol hairspray to set the chalk.
5. Frame your DIY artwork.
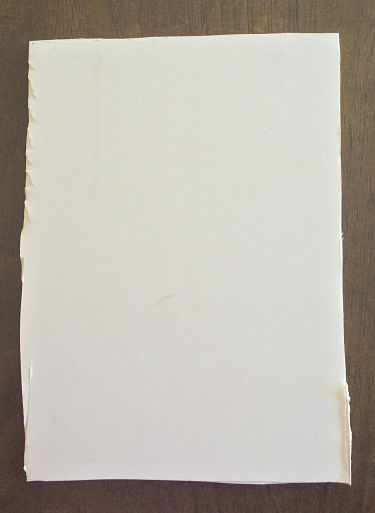
I used a frame that I’d picked up at an estate sale. It didn’t have a back, so I traced a piece of foam core to fit in the back…..
No need to be pretty with this step, but the foam should fit fairly snugly in the frame.
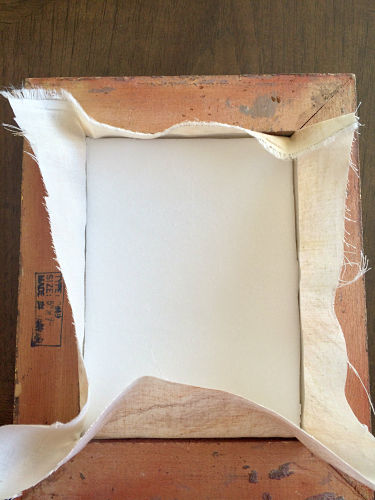
Then just place the foam core under the muslin and push it into the frame….
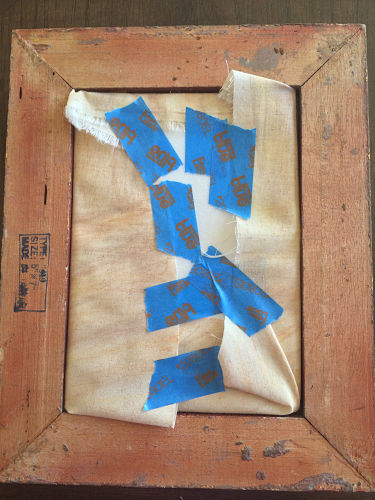
I had painter’s tape on hand, so that’s what I used to tape the muslin to the back….
Now you can display your own art!
Hang it on the wall….
Or prop it up somewhere as part of a vignette….
We’re not trying to re-create great works of art. That’s not the point.
The idea is to create something that you like…..DIY artwork.
Maybe based on a work that you love.
After all, they say imitation is the sincerest form of flattery.
Have a wonderful weekend!




Oh, so pretty!!