Easy DIY Braided Leather Keychain
Last year, I made a couple of simple keychains that could be clipped to a purse. You can see the first keychain here and the second one here. I actually made three keychains, but totally forgot to show the last one! This braided leather keychain turned out to be the one I use most frequently. I think it’s because the leather and beads on it are blue and it goes with more of my clothing:)
This is a very easy and inexpensive project that is actually as helpful as it is cute because it keeps my keys where I can find them!
Let’s get to crafting…
Supplies:
*Affiliate links used below (see my full disclosure here).
- Beads in your choice of sizes and colors (I used two different kinds of ceramic beads and one silver spacing bead)
- (1) Jewelry eye pin (I included this link, so you could see what they look like, but I actually bought mine at Hobby Lobby)
- (2) Jewelry jump rings
- chandelier crystal (crystal or acrylic)
- swivel clasp such as this one
- suede jewelry cord in the color of your choice (again, I bought mine at Hobby Lobby)
- (2) jewelry needle-nose pliers
Make the suede braid:
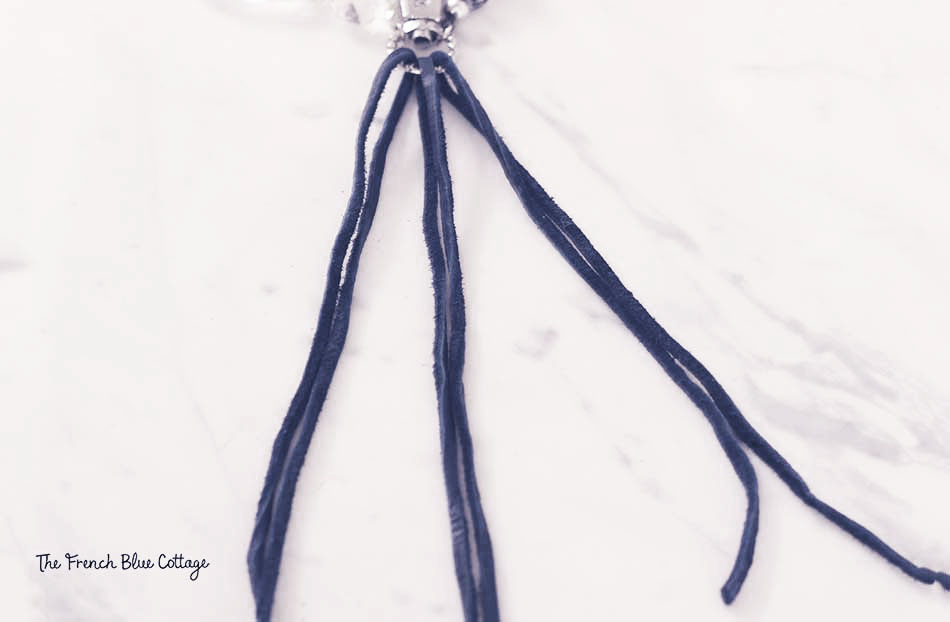
Cut the suede cord into three lengths about 10 -12 inches long each, depending on how long you want your finished braid. Loop each strip of cord over the bottom of the swivel clasp and pull until ends are even…
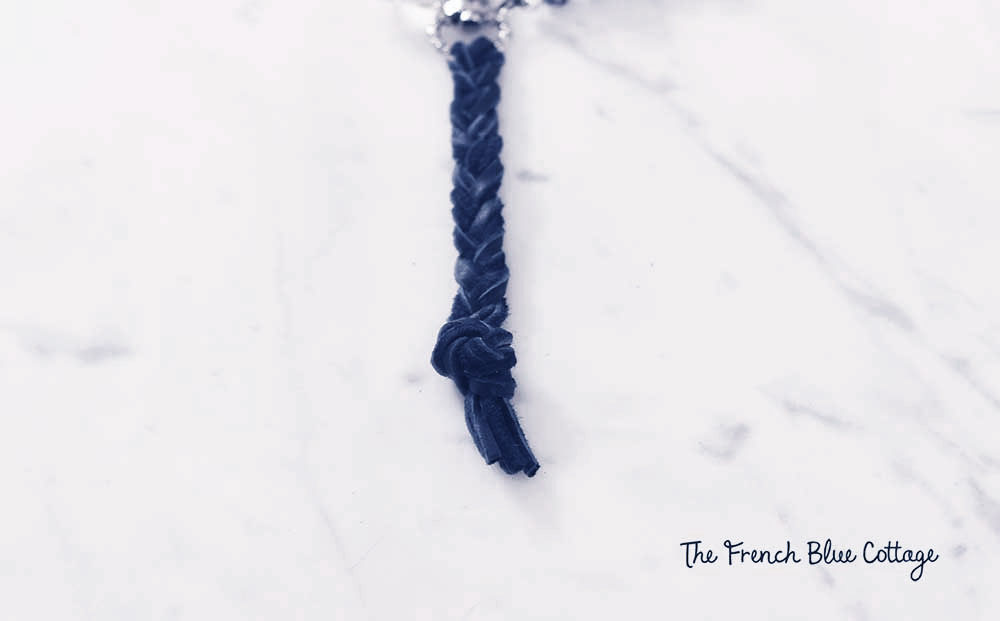
Now, simply do a three strand braid using your cord strips (each doubled-over cord counts as one strand in the braid). At the end of the braided leather, gather the ends all together and tie a knot. Trim off the ends as desired….
Make the beaded drop:
Get the eye pin in the size you want (I believe I used about a 3 inch pin and then trimmed it to about 2.75 inches).
Eye pins look like this….

![]()
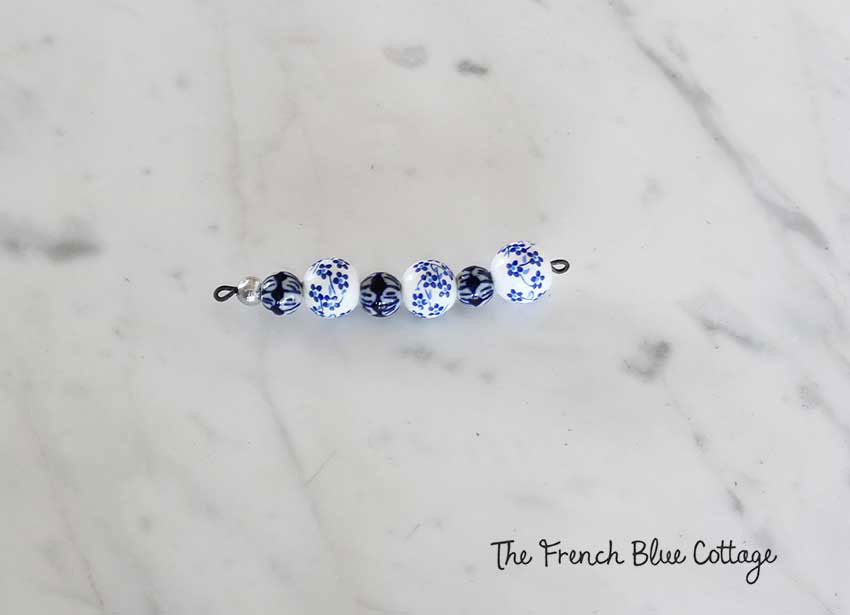
Next, place the beads onto the eye pin in whatever pattern you like. I alternated two patterns and sizes of ceramic beads and finished with one silver spacer bead to keep them from sliding off the eye pin.
Use your jewelry pliers to curve the end of the pin down tightly. You will now have a curved “eye” on both ends….
Attach the beads and the chandelier crystal:
Take a jump ring (a little metal circle that opens to attach parts of jewelry together) and open it with the jewelry pliers.
***Here’s an important tip: when opening jump rings, use two set of jewelry needle-nose pliers. Grasp the jump ring on either side of the opening. Press the circle apart by pulling one side toward you and pushing one side away from you. Don’t open them to the sides to form a “U” shape because it stretches out the circle and it won’t re-close securely.***
Was that clear as mud? That was hard to explain without showing. 🤪
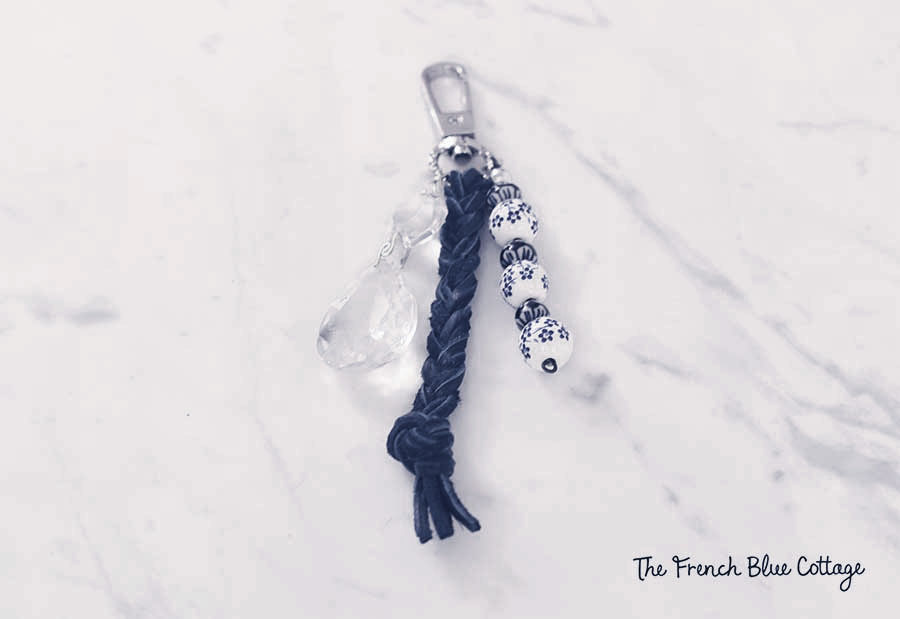
Next, attach the beads to the jump ring and then attach the jump ring to the swivel clasp and close the ring with the pliers.
Do the same thing with the chandelier crystal and…voilà!…you have a braided leather keychain that can hook onto your purse for safe keeping…
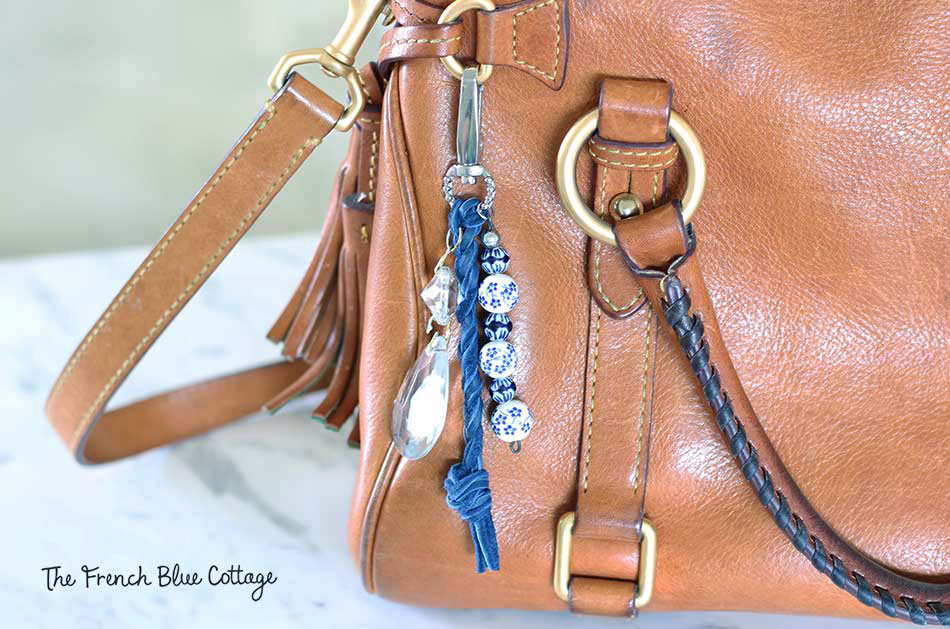
Here’s how it looks on one of my handbags….
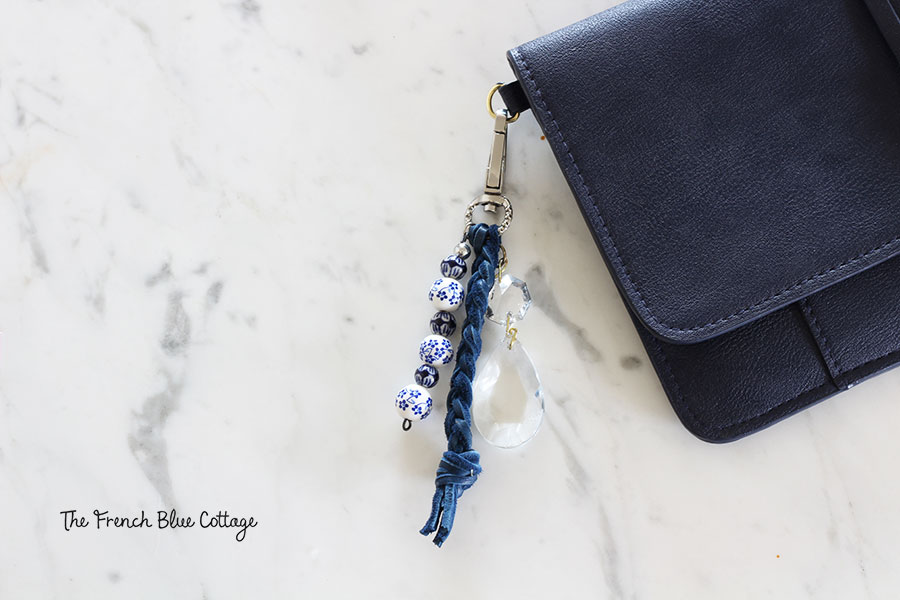
And on a clutch….
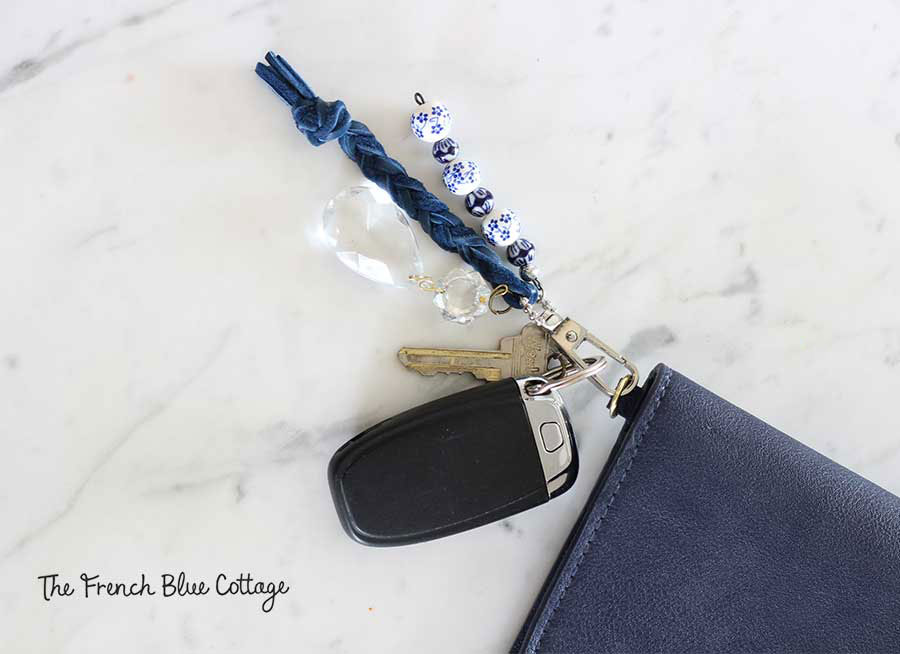
Here is how mine looks with my keys attached…
And a little reminder of how all three keychains/purse clips look…
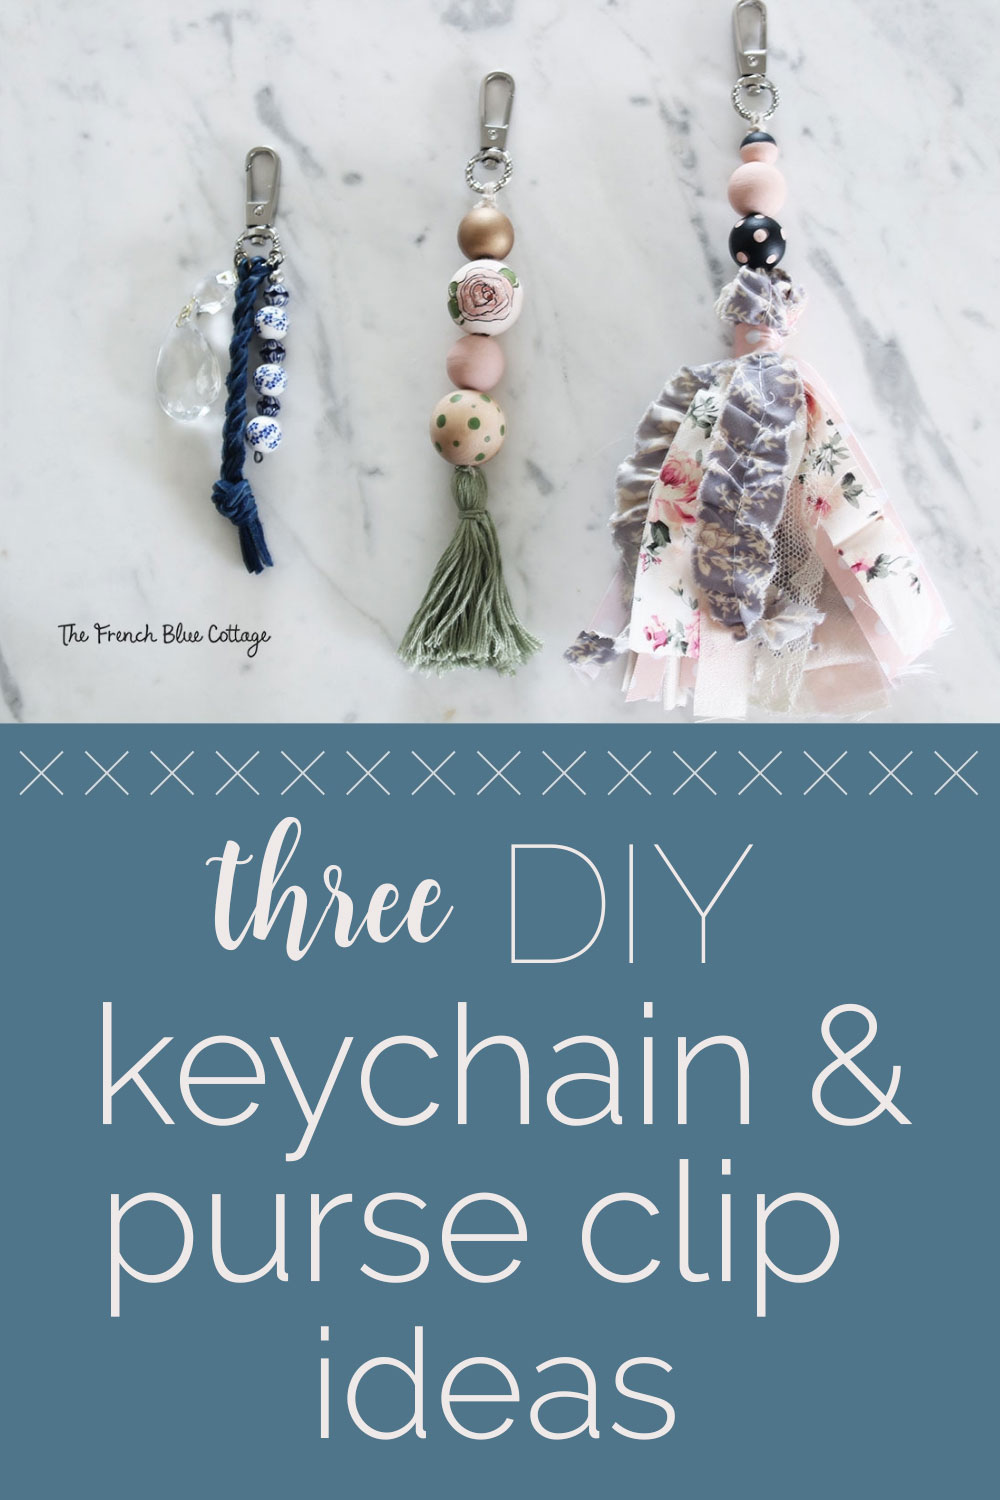
See the floral bead keychain here and the wood bead tassel keychain here.