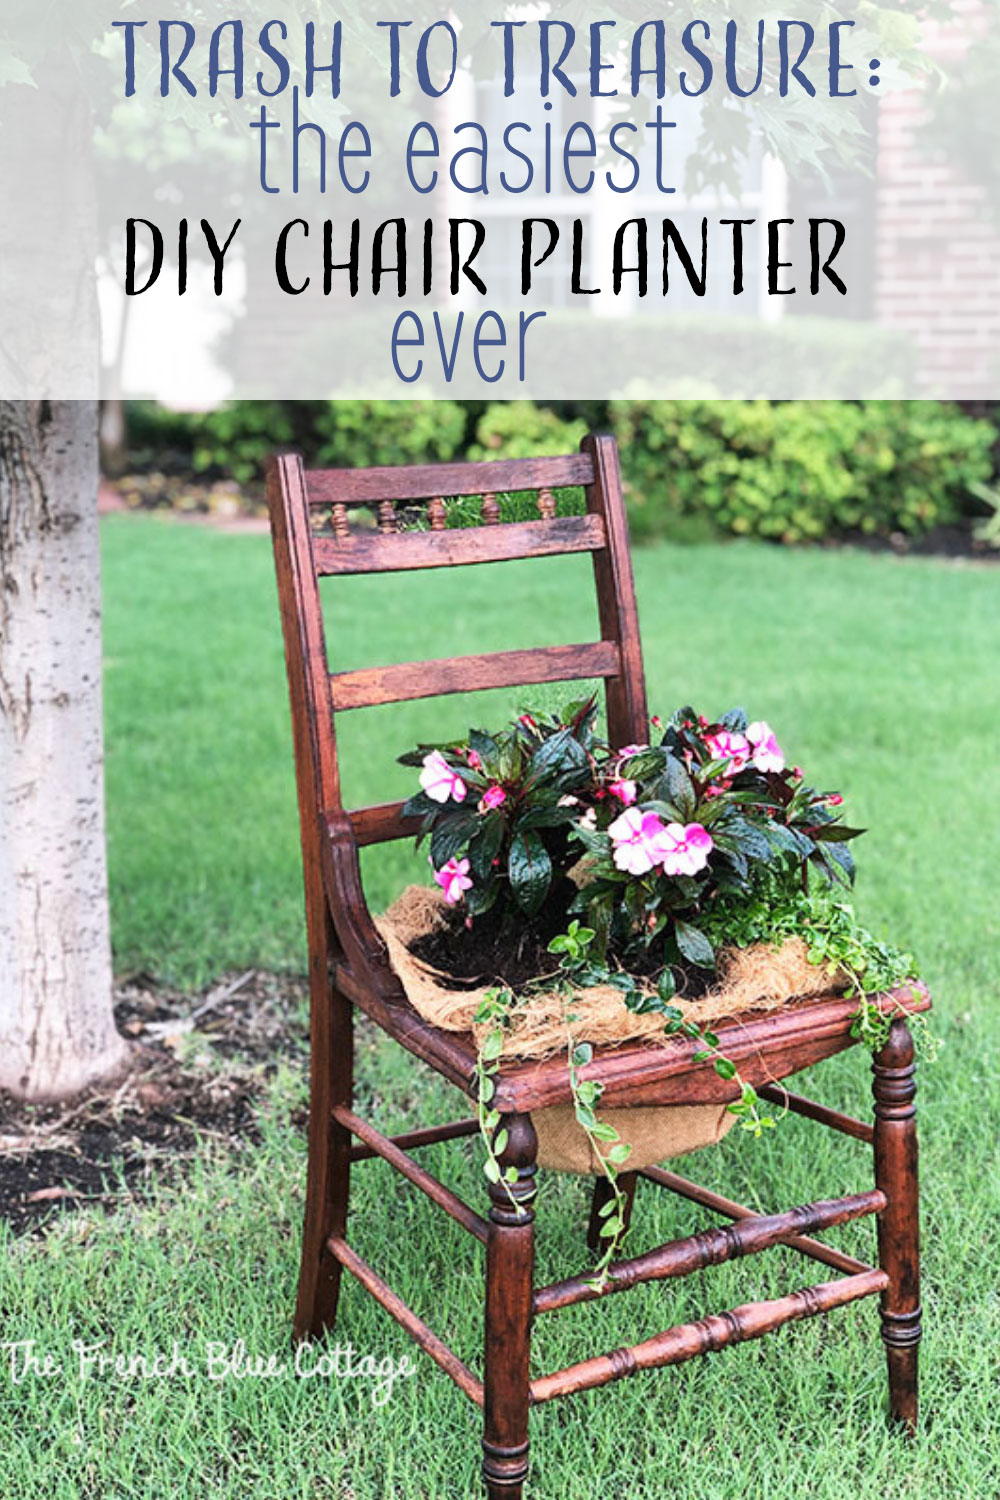
Trash to Treasure: the Easiest DIY Chair Planter
Sometimes I find a “treasure” at an estate sale or a garage sale that I just can’t pass up. Sometimes I know exactly what I will do with it, and other times….well, it might sit for awhile awaiting its makeover. Quite often, my husband can’t see the “treasure” part and just wishes I’d get the thing out of the garage. ? That was the case with this old wooden chair. It has spent a couple of years (yes, I said years!) first hanging out in the garage and then in the attic. Today, its wait was finally over and I turned this trash to treasure with the easiest DIY chair planter.
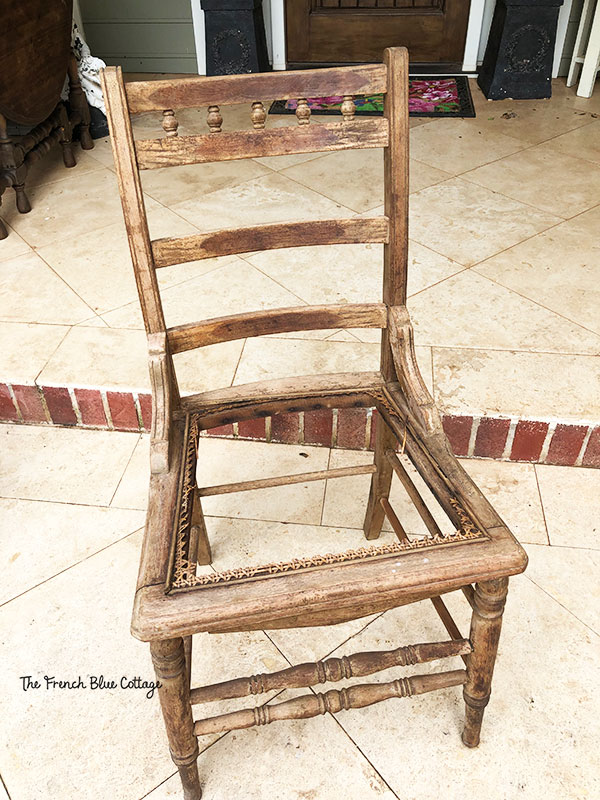
Here’s where our lovely chair began….
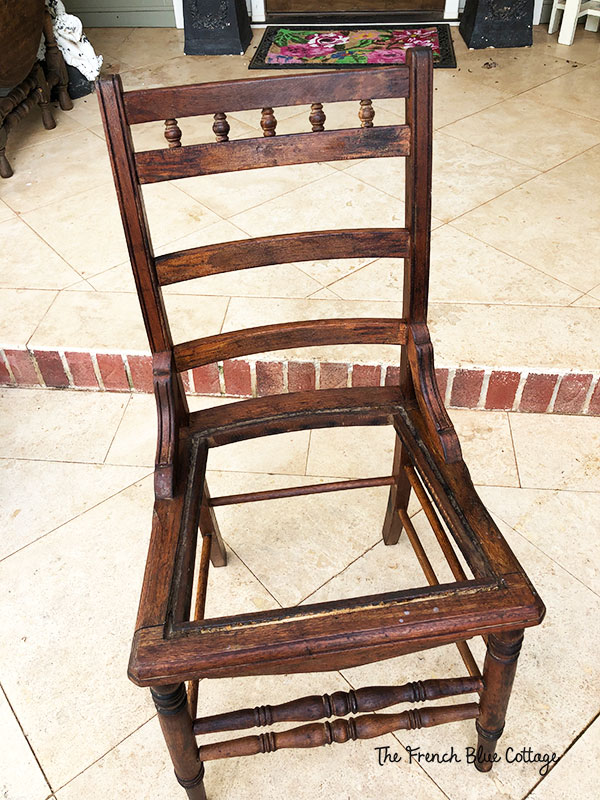
I kept it because it had such cute details and a nice, worn finish. However, as much as I liked the finish, since it was going outside, it really needed a bit of protection. So, I applied a coat of hemp oil. I also removed the rest of the broken caning from the edges of the seat….
*affiliate links used below
Materials List:
old chair (small to medium size)
burlap plant liner (measure your chair seat first)
coco fiber plant liner (measure your chair seat first)
staple gun/staples
potting soil
flowers
Let’s turn trash to treasure and transform this broken chair into a planter:
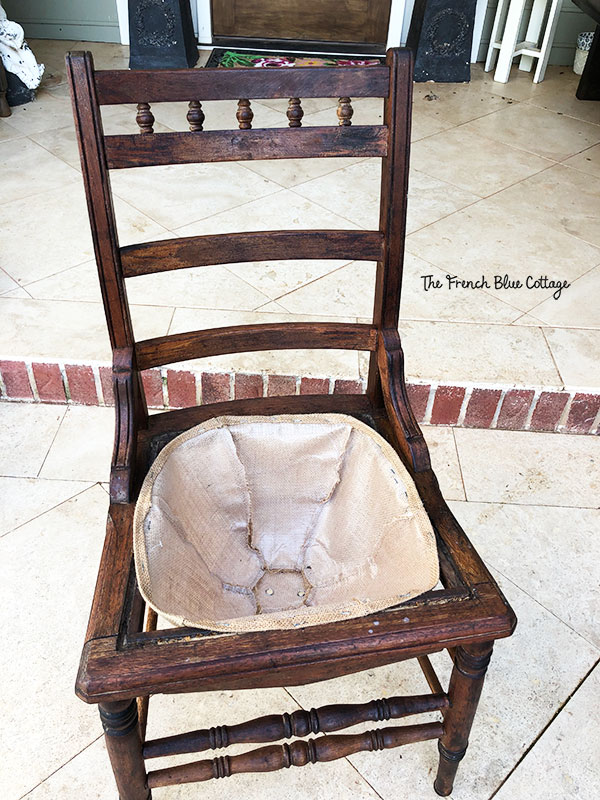
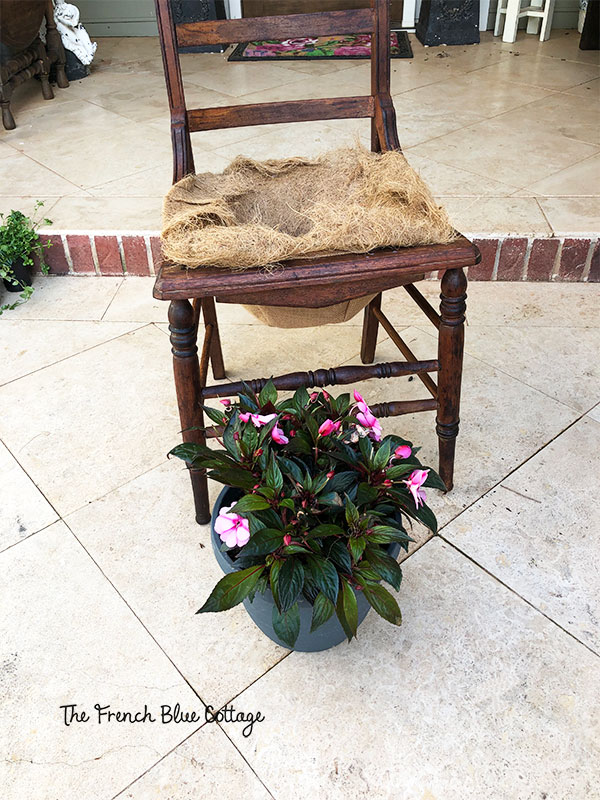
- Staple a burlap plant liner around the edges of the chair. This gives the plant some stability and will prevent the coco liner from breaking through. I purchased my liner at Lowe’s (they were cheaper there than they were online), but if you like to shop online or just want to see what it looks like, click here. These burlap liners are 14 inches, so be sure to measure your chair opening to ensure that it fits, first!
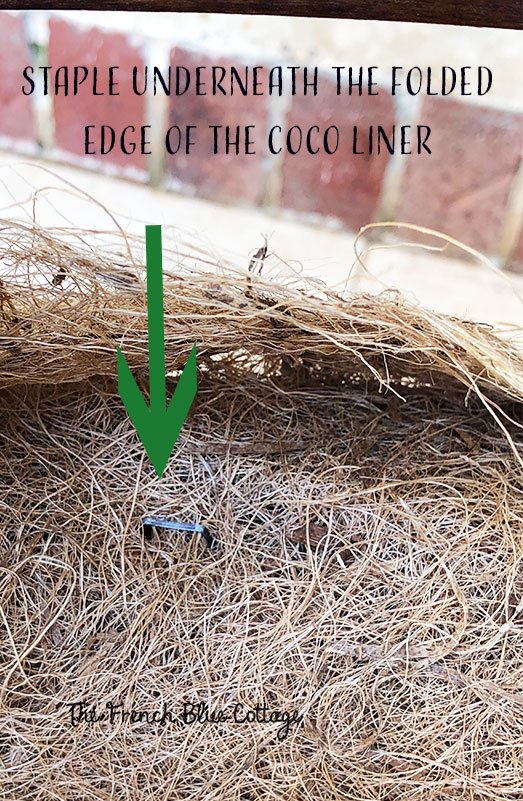
2. Staple the coco fiber plant liner on top of the burlap liner. My coco liner had a lip around the edge that I was able to lift up in order to hide the staples….
Don’t worry, if yours doesn’t have the folded edge. These liners can be pulled a little and I’m certain you’d be able to cover the staples that way, too.
Again, I bought this one at Lowe’s, but you can see another coco liner here.
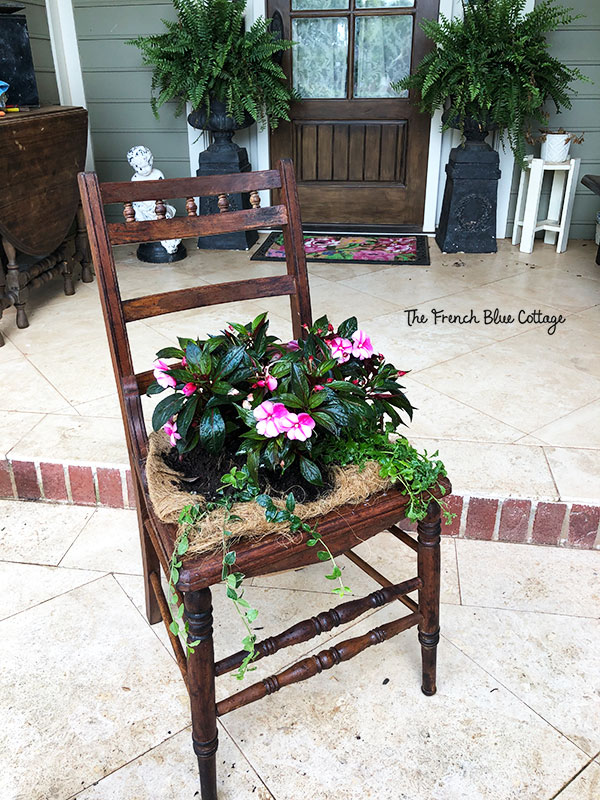
3. Add some potting soil to the coco liner and then take the flowers out of the pot and plant them in the chair….
This chair will have a home on my covered porch, so I needed part-shade-loving plants. I chose New Guinea Impatiens for the main flowers, plus a trailing periwinkle, and another trailing plant called a cupflower…..
Such a cute makeover for only about $20.
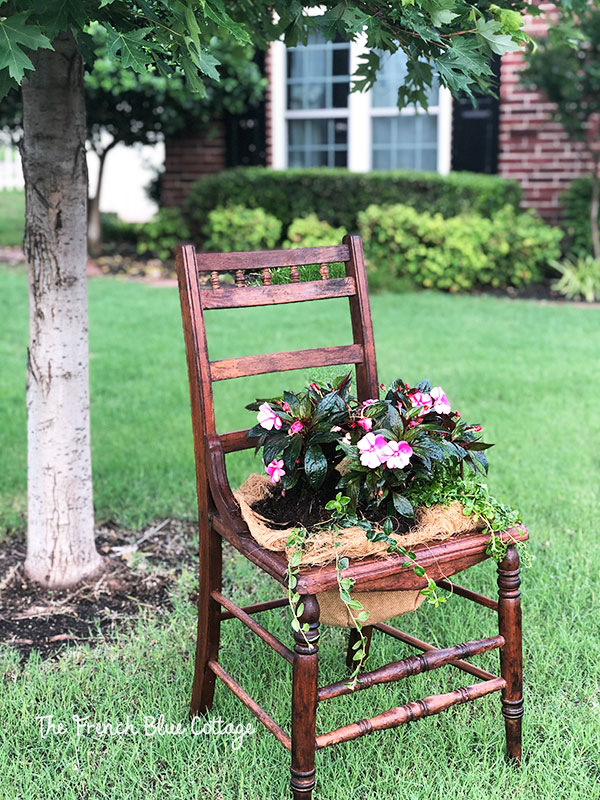
I haven’t finished cleaning my porch and getting the rest of my pots planted, so I’m not 100% sure about where I will place this cute little chair planter. Here’s how it looks in the yard underneath my tree….
Wasn’t that easy?!
Including the time it took me to apply the hemp oil, I probably spent 45 minutes putting this together. I should have done this years ago. ?





That is so cute! The hemp oil made a huge difference.
Yes, the hemp oil really brings out the depth and color in old, dry wood!
what was her oil used for , ??
Hi Gerri,
The hemp oil was brushed on and wiped back just to moisturize the wood and give it a little protection from the weather.
Hemp oil provides enough protection for the chair to be outside?
Hi Barbara,
The hemp oil provides enough protection from the elements, but it does need to be reapplied each year. I haven’t reapplied it in a couple of years and my chair is looking pretty dry again. Hope this helps.
This chair is totally awesome, but come winter do you put some type of evergreen in it?
Hi Carole,
The chair has been empty during the winter months, but a small evergreen is a great idea…I just might need a larger or deeper liner. Thanks!