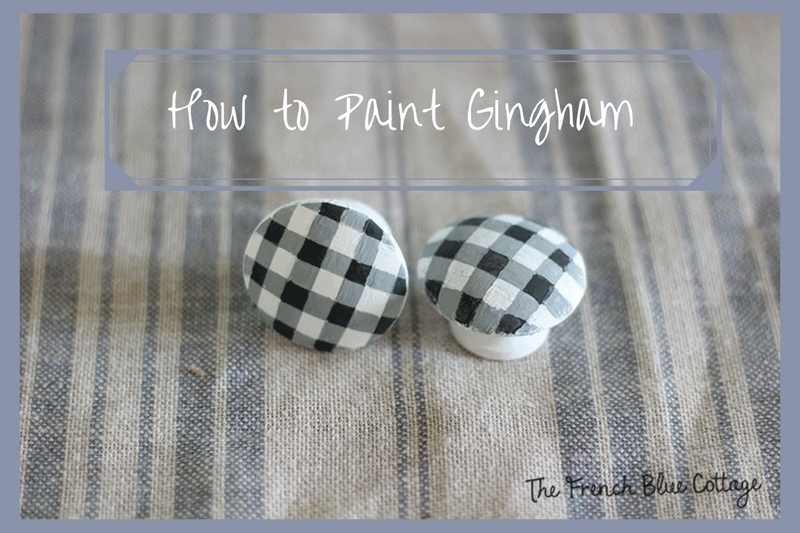
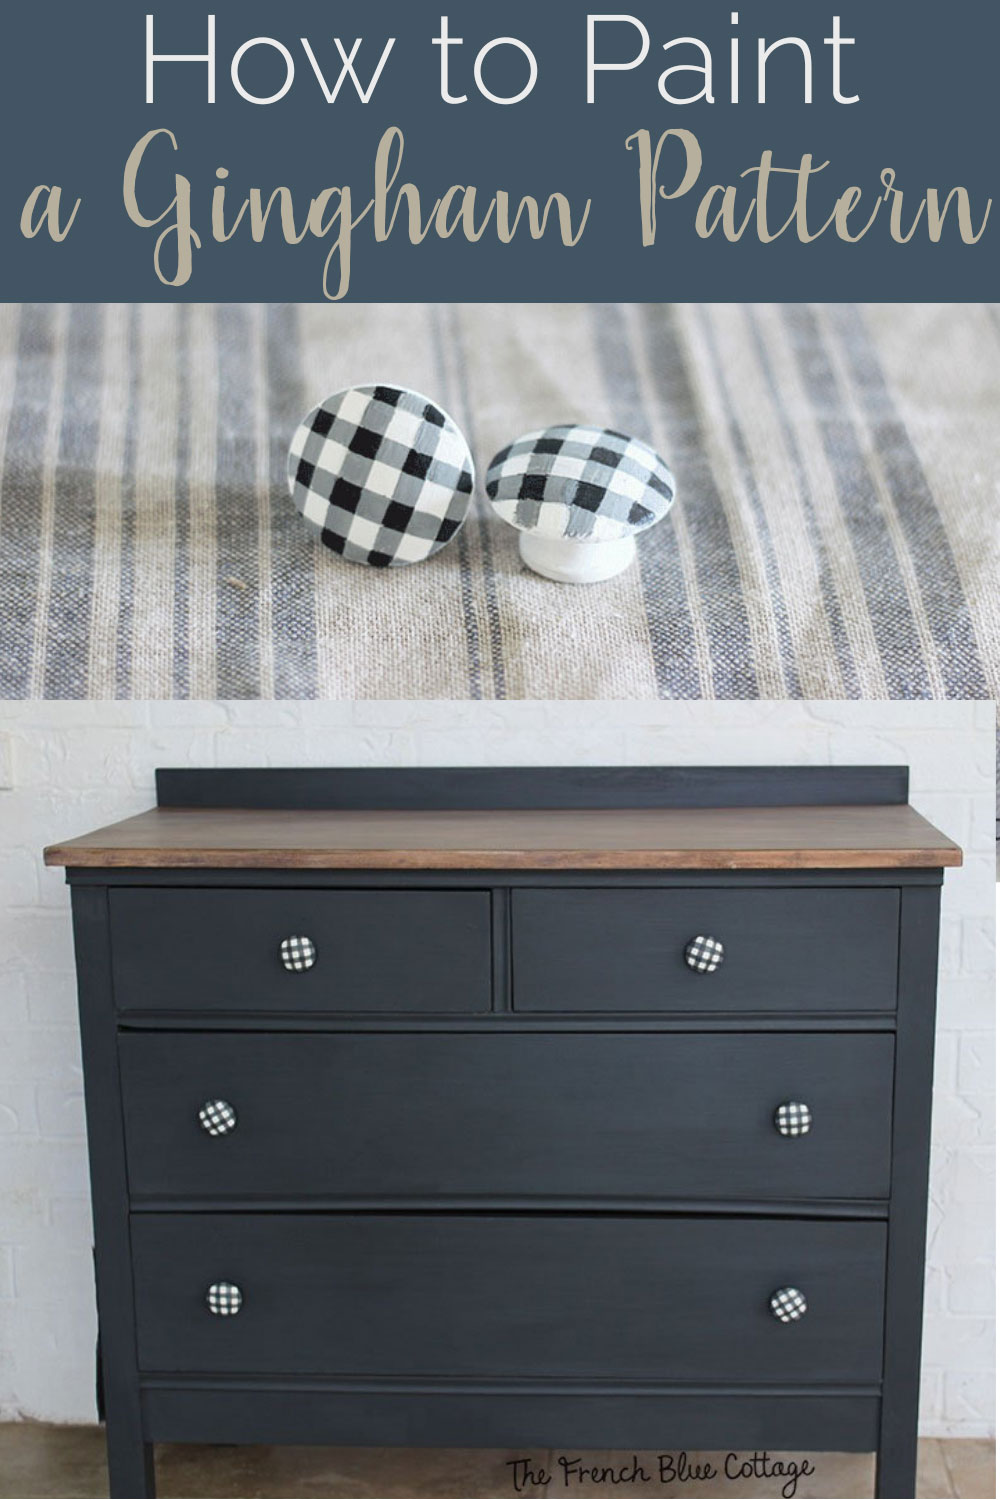
DIY Painted Gingham Knobs
In this post: How to paint a gingham pattern….the easy way.

According to the old saying, watching paint dry is super boring.
But what about the actual painting itself? Is that boring?
Not if you’re painting furniture!
I love to paint furniture but can’t stand a boring paint finish, so when I gave my “barn dresser” a makeover, I chose a neutral, dark navy blue/black but then kicked it up a few notches with painted gingham knobs.
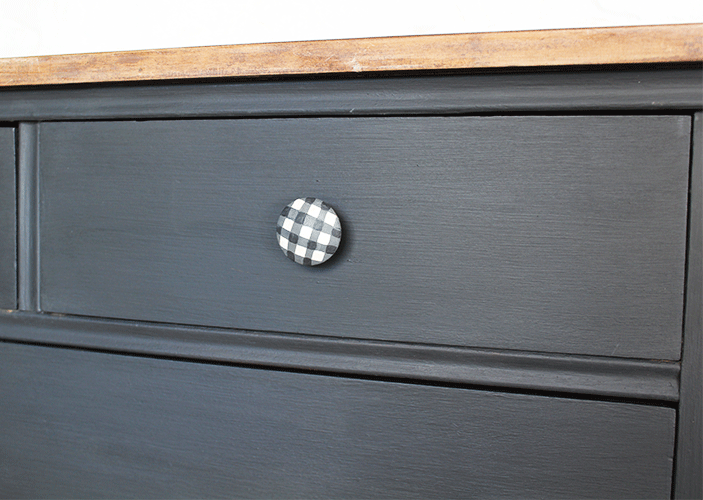
I had the hardest time finding a gingham tutorial online that made sense to me. So in the end, I drew it out on paper and figured it out for myself.
There may be several methods for how to paint a gingham pattern finish, but this is the one I used.
Materials:
Wood knobs
Stain blocking primer
White chalk paint or craft paint (I used Annie Sloan Pure White)
Dark chalk paint or craft paint in your choice of colors (I used Annie Sloan Graphite)
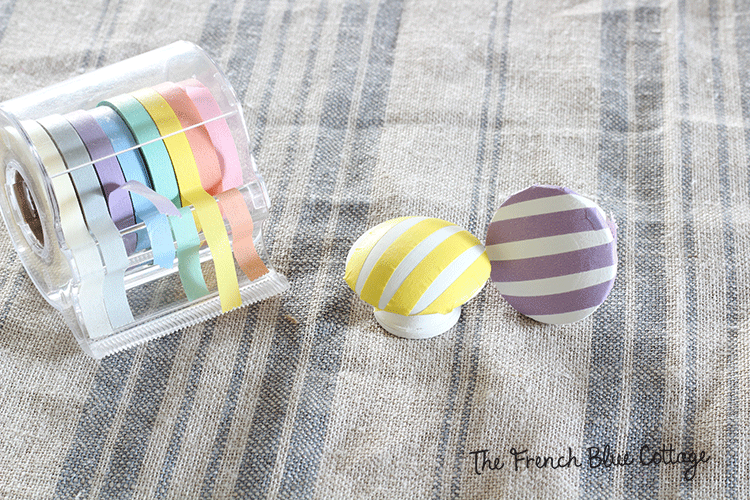
Narrow tape (I used washi tape)
Sealer
How to Paint Gingham:
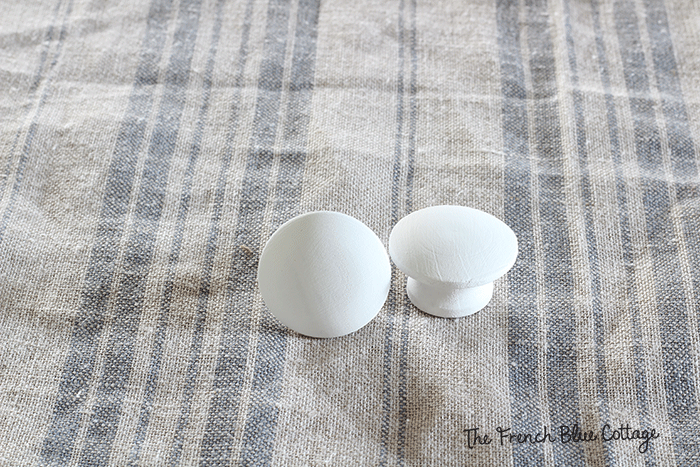
Step 1:
Prime the knobs if they are old or previously stained (especially a red-tinted stain like cherry or mahogany).
Step 2:
Paint the entire knob with the white paint. Allow to dry.
Step 3:
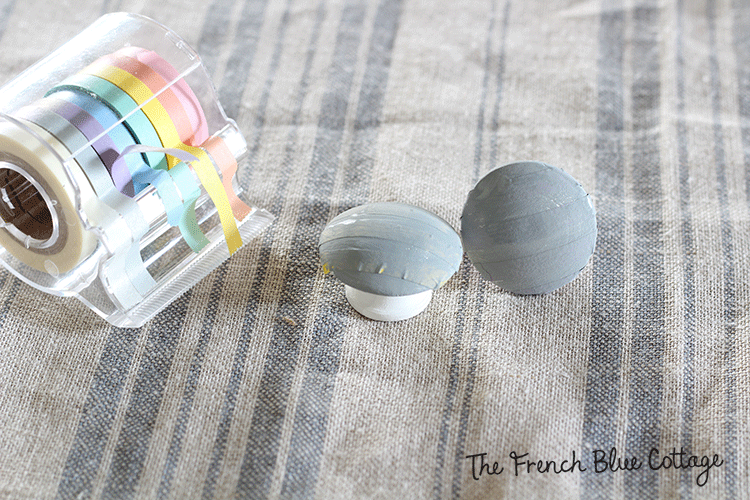
Place a few strips of tape on the knob (I did not measure but just eye-balled them) and press firmly.
Step 4:
Mix your white paint with the dark paint color you chose until you get a medium tone. I mixed the Pure White with the Graphite to make gray.
Paint the taped knobs with the medium color that you mixed.
Allow to dry.
Step 5:
Do NOT remove the first layer of tape.
Turn the knobs 90 degrees and place more strips of tape and press down firmly.
They should be going in the opposite direction of your first tape layer.
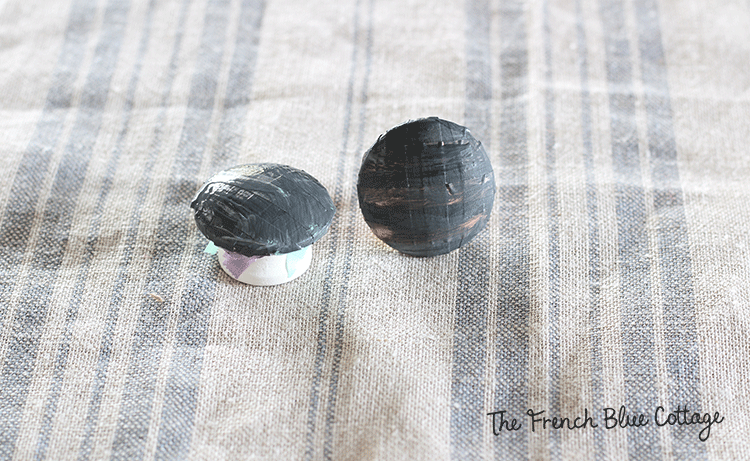
Step 6:
Paint the knobs with your darkest color.
Allow to dry.
Step 7:
After they are dry, remove all of the tape…almost there…only one layer left.
Step 8:
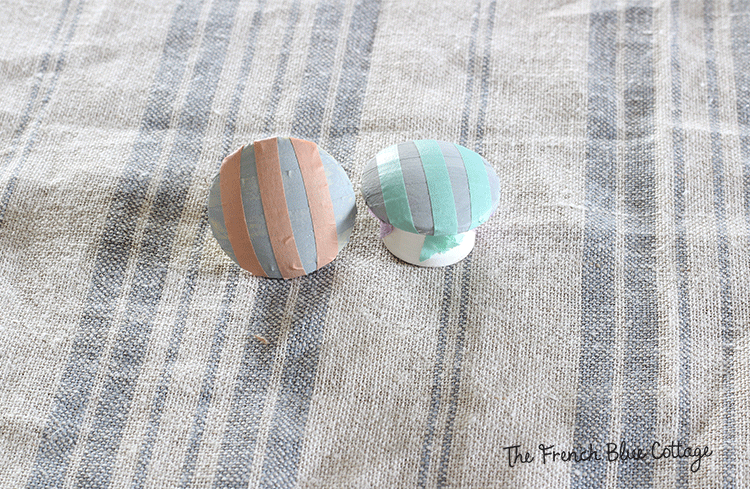
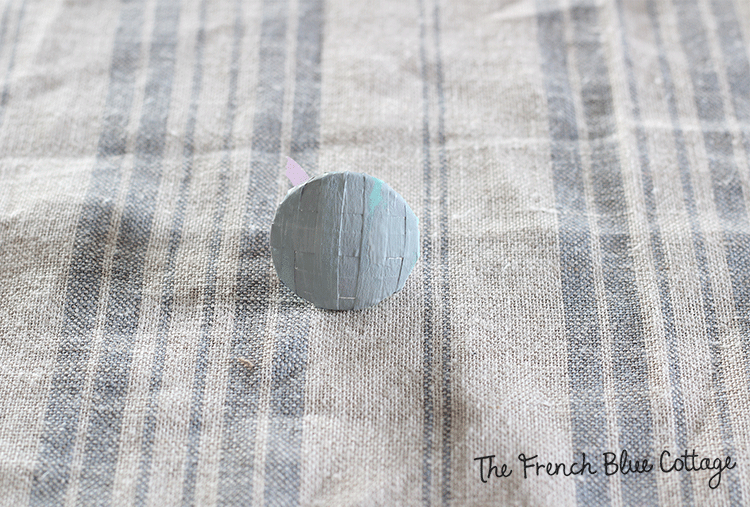
Re-tape over your lines that have a medium-white-medium-white pattern. You can see this below with the purple tape (the knob was turned sideways in the next picture).
Then re-tape over your lines that have a medium-dark-medium-dark pattern. Mine are taped in green in the picture below (once again, the knob below was accidentally turned sideways in the picture).
Press your tape firmly.

Step 9:
Paint the knob with your medium color.
Allow to dry.
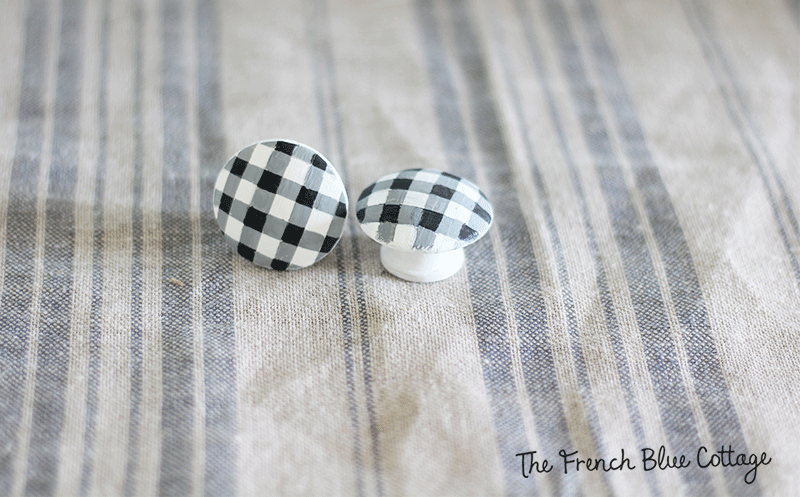
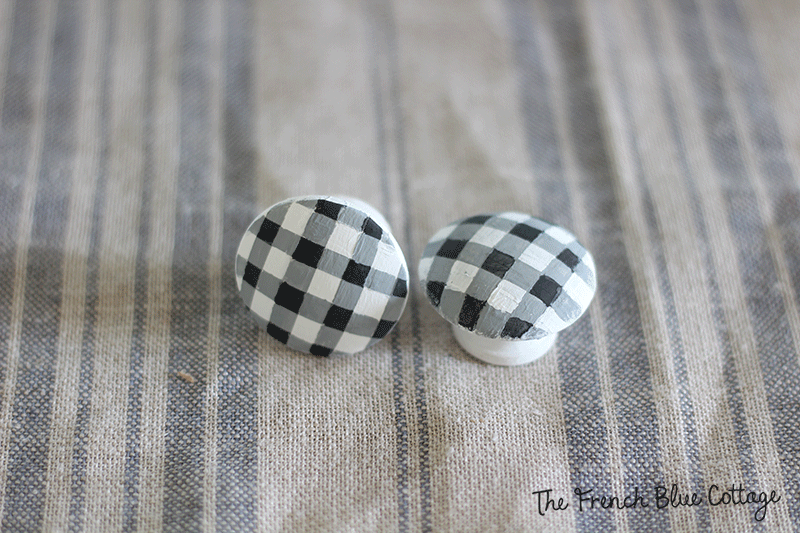
Step 10:
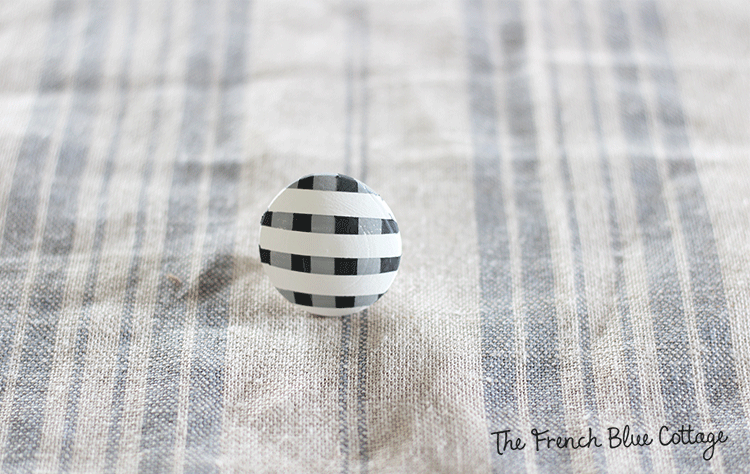
Pull off all of your tape.
Use a small, square artist’s brush to touch up any places where the paint bled under the tape.
Seal the knobs with a water-based, non-yellowing sealer if desired.
Tips on how to paint gingham:
- Press your tape firmly, but don’t stretch it while you are applying it or it will make your stripes crooked. I found this out the hard way and had to re-do one of the knobs.
- There are other types of narrow tape that possibly would work as well or better, but the washi tape was what I had on hand.
- Don’t stress when you are doing your final touch-ups! It’s supposed to look hand-painted and not like it was printed by a machine.
I know this seems like a lot of steps, but it really goes pretty quickly; especially if you use chalk paint, which dries fast.
What would you use this gingham technique on?
I’ve got an idea of something else to try it on. If it works out, I’ll be sure to share it:)
Update: It worked great! Check out my gingham pumpkins that are now candleholders:)


So cute and really adds to the dresser. I’m painting a small upright dresser white and think gingham knobs would look really cute!! Thanks for the instructions!!