How to Make Moss-Covered Spheres
So, I’ve been on a technology roller coaster the past few weeks and it was aaallll downhill! It included computer crashes, unfindable (is that a word?) replacement parts, and incompatible networks.
So after my third computer in four weeks I think I’ve got it figured out (for now). So, on to the next project!
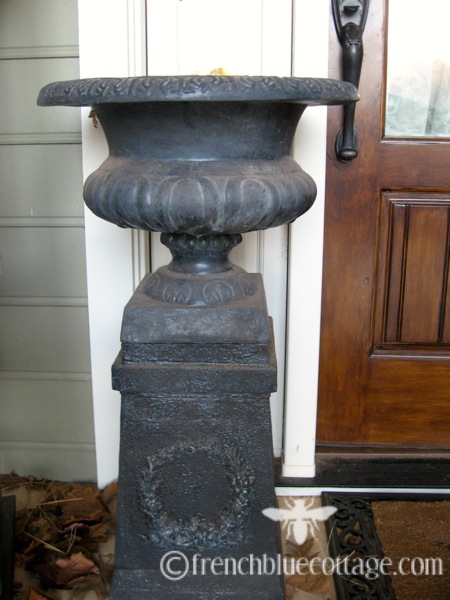
I was looking for something to fill up the planters on my front porch. They were looking a little sad and plain after the Christmas decorations came down. But I didn’t want to put something in that looked too fake. It is winter, after all, and most flowers and greenery aren’t growing now.
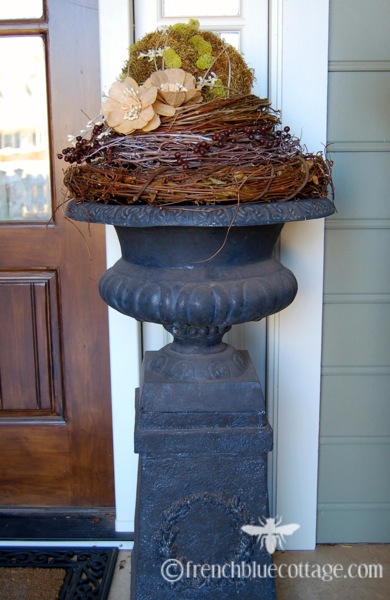
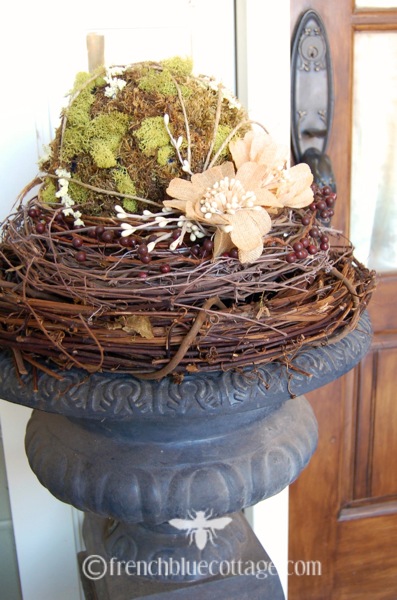
So, I decided to add some moss-covered spheres sitting on a couple of layers of grapevine wreaths.
But the store was out of the styrofoam balls in the size I wanted. So, I did what any savvy crafter would, and figured out a way to make my own.
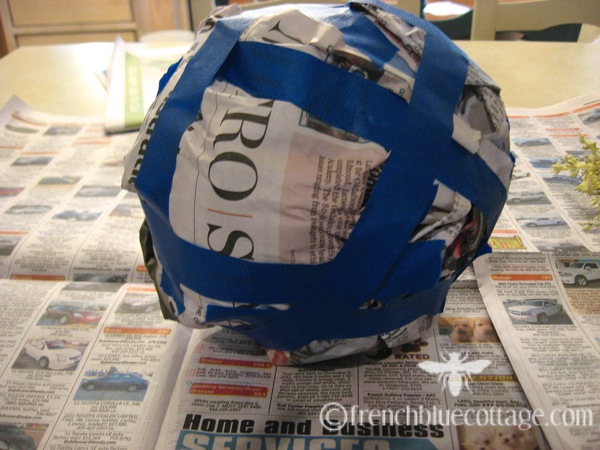
I started with a wadded up ball of newspaper and kept adding more until it was about the size I wanted. Then I wrapped a few lengths of tape around the newspaper ball.
I used blue painter’s tape because it was all I had on hand. I would suggest using masking tape if possible.
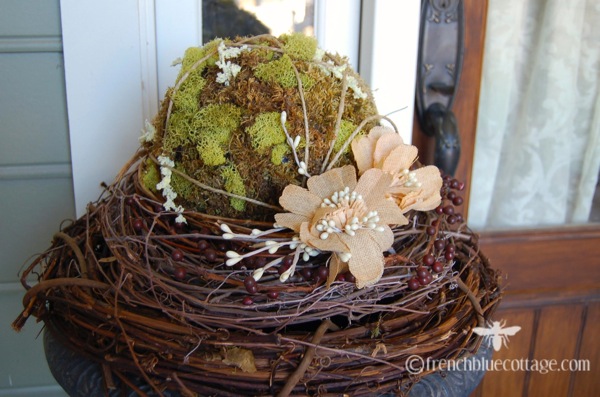
Then I used hot glue to cover the sphere with sheet moss I got at Hobby Lobby. I also decided to wrap a couple layers of twine around it.
I stacked three sizes of grapevine wreaths on top of each other and placed the sphere on top. I also added a couple of berry sprigs and some burlap flowers (also from Hobby Lobby).
You see that tiny spot of blue peeking through? That’s why I suggest masking tape instead of painter’s tape!
This was a fairly inexpensive craft that adds a little interest to my porch during this in-between season.
Any other great ideas for winter porch decorations?

