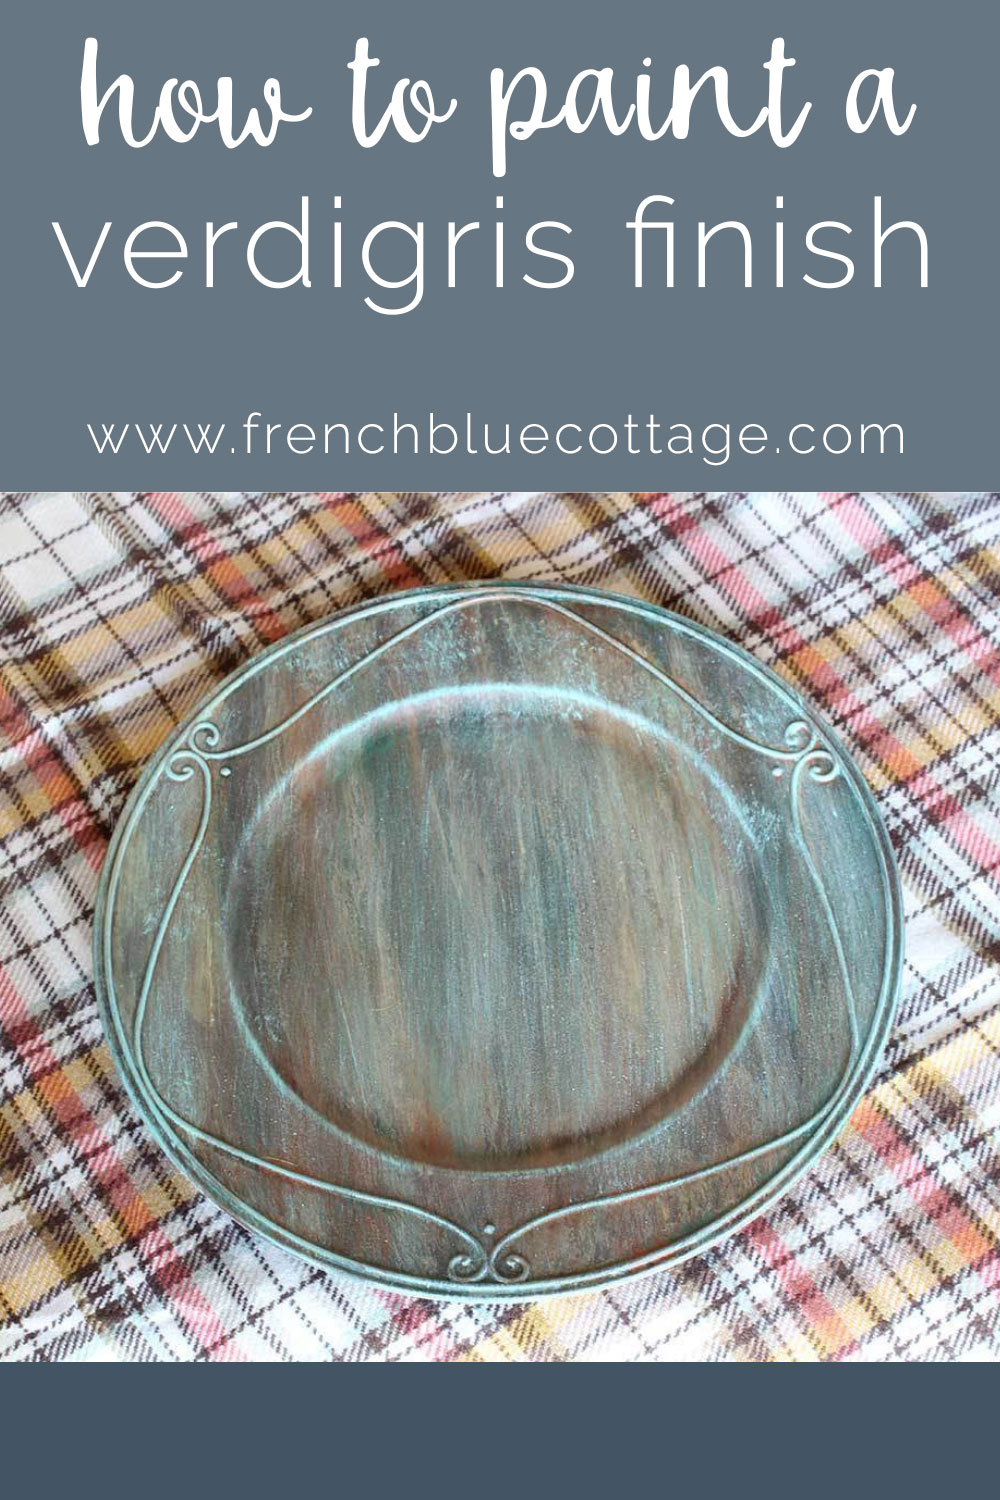
Verdigris Paint Finish Tutorial
Verdigris. Isn’t that an interesting word? And apparently it can be pronounced in a few ways. One dictionary website said it was pronounced “ver-di-gree” (which is how I’ve always said it). Another site said “ver-di-greece”. And we actually have a town named Verdigris here is Oklahoma and they pronounce it “Ver-di-griss”. Potato, patato…let’s just find out how to paint it shall we?
*And this may look like a lot of steps, but if you can paint random stripes and spray with a bottle of water, you can do it;)
I recently did a verdigris paint finish on some plain gold chargers. Here’s how they ended up…
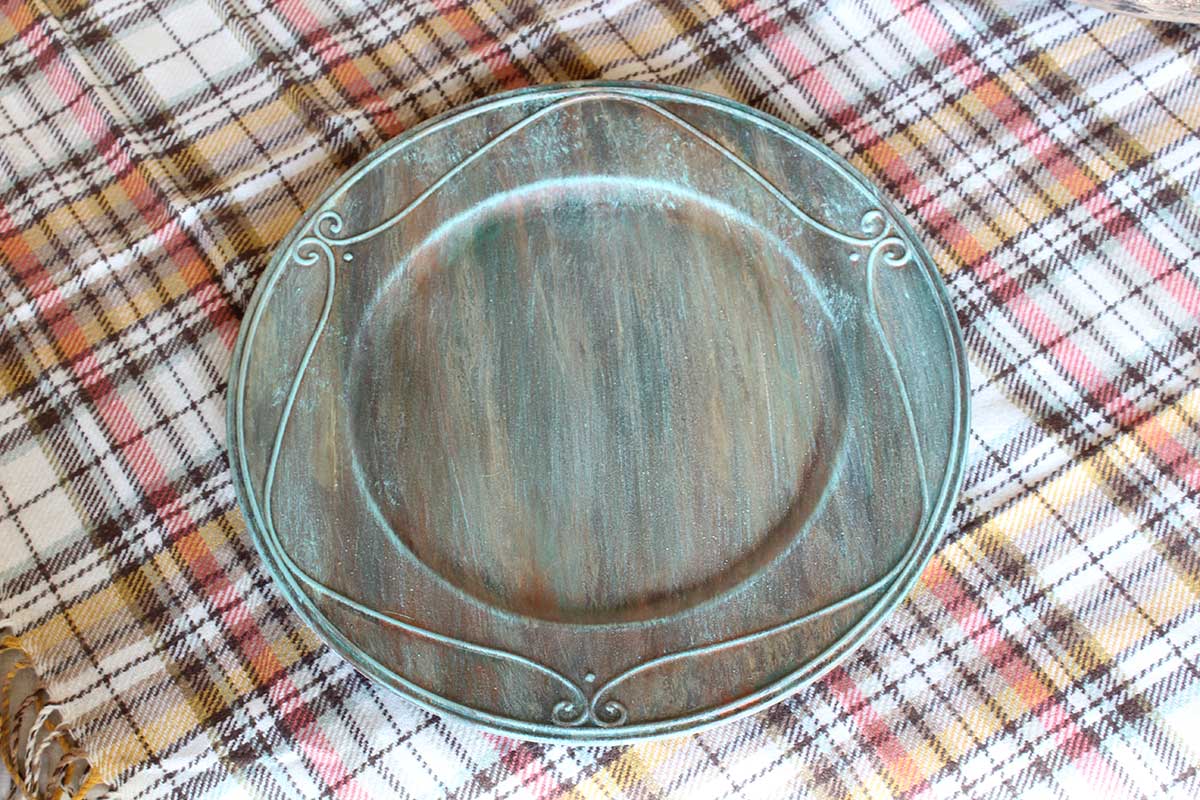
For the chargers, I used a set of green/blue colors from a company called Faux Effects. They are called, not surprisingly, the verdigris kit. I used these because it’s what I had on hand. But there’s no reason for you to have to purchase an expensive kit if you are just doing a small project.
So I went to Walmart to buy some craft paint that would replicate the verdigris paint finish that I did on the chargers…
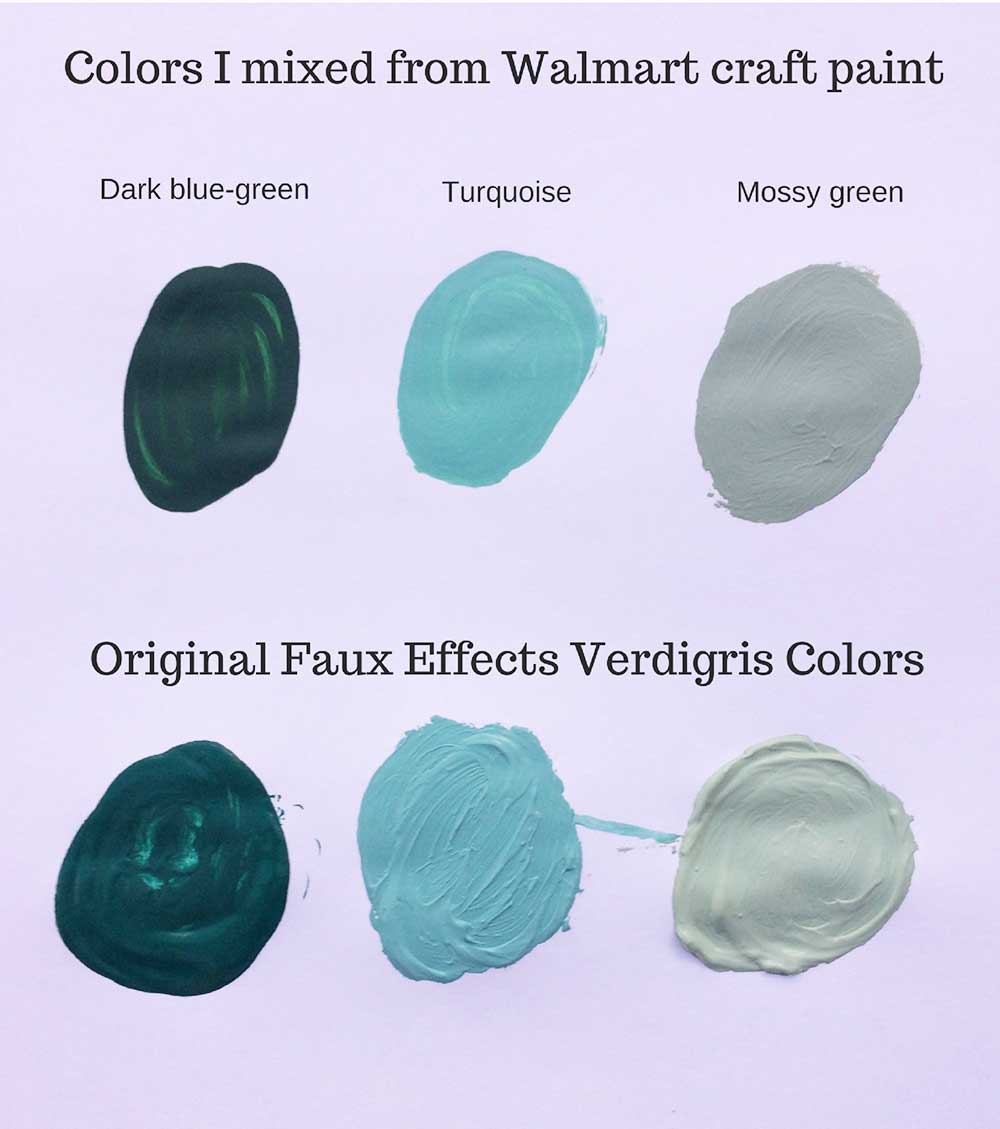
For the dark blue-green, I used a color called “Christmas Green” (Apple Barrel brand) and added a bit of black to darken it. You want a dark, emerald green with a hint of blue.
The turquoise color was made by mixing “Laguna” with a little “Kelly Green” (both Apple Barrel brand) and adding a little gray (any gray/any brand) and a little white (any brand). You want a turquoise with a bit of gray undertone.
For the mossy green, the one I tried from Walmart wasn’t quite right, so I used a couple of older paints I had on hand (Delta brand) “Leprechaun” and (Folk Art brand) “Poetry Green”. I also mixed a bit of gray and a bit of white to this one, too. You just want a mossy green with a bit of gray undertone.
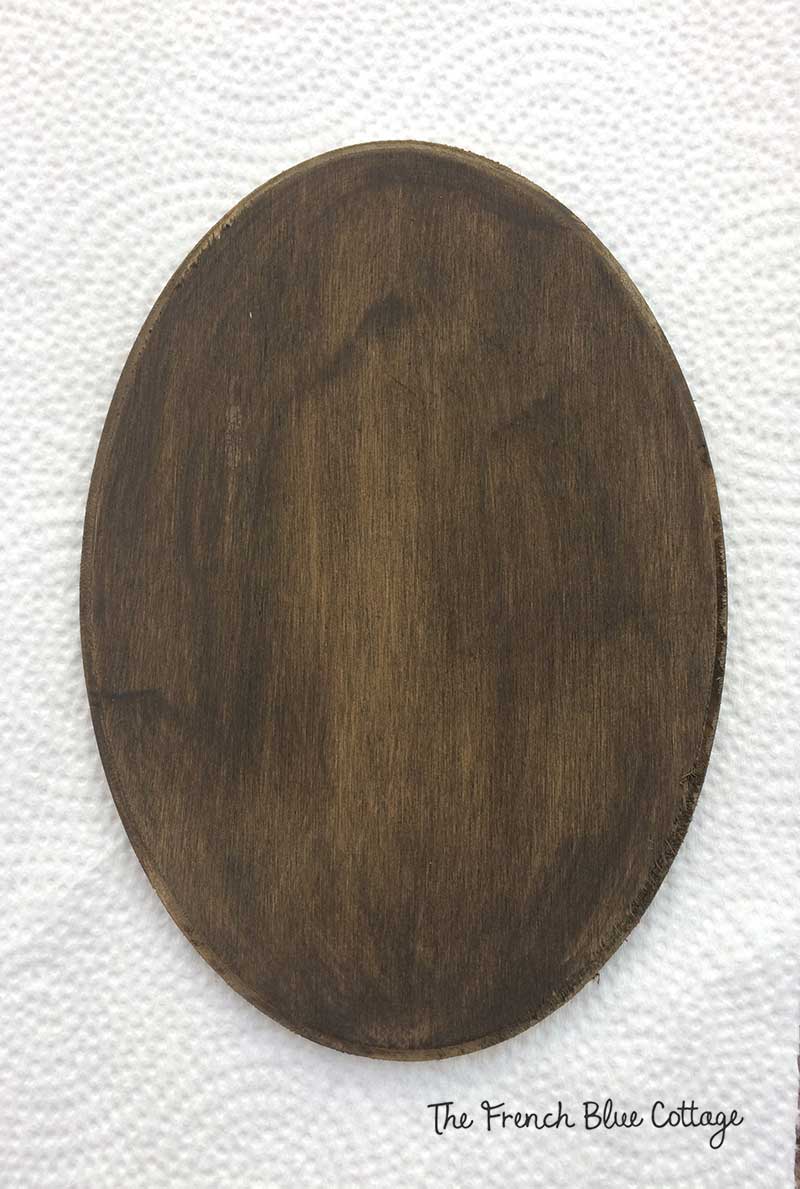
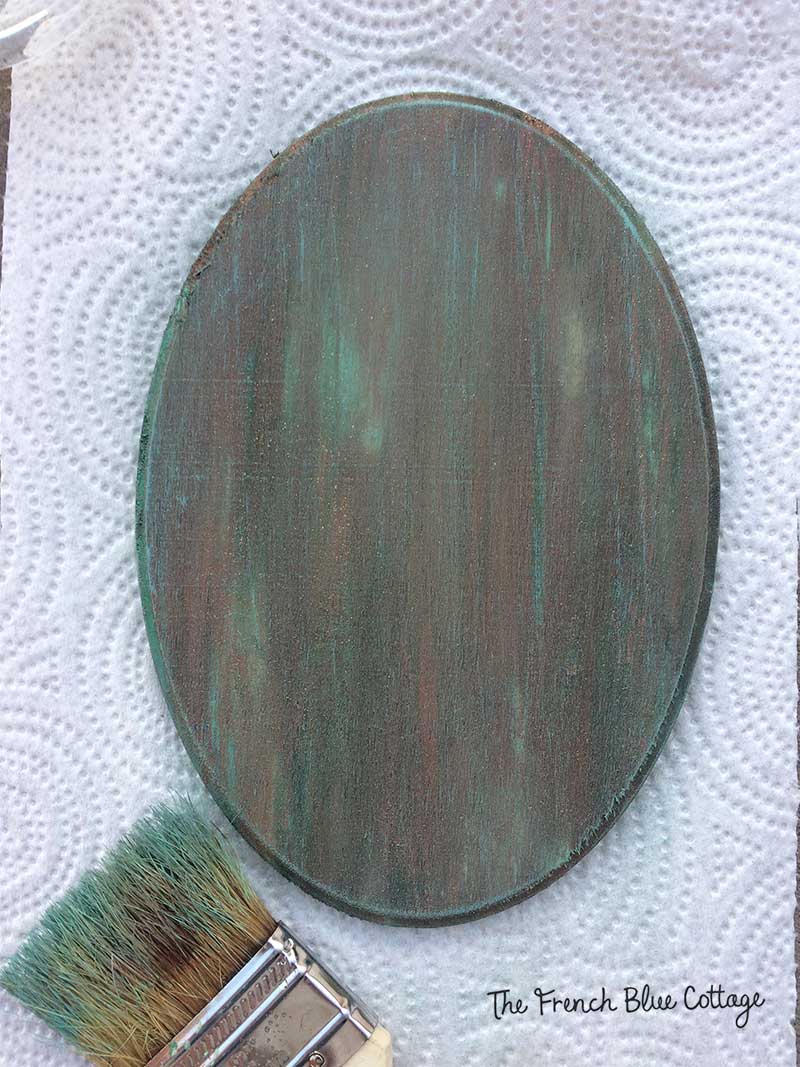
For the purpose of this tutorial, I have used a $0.97 wood plaque from Walmart.
*Oh, and this verdigris paint finish is fast, so I had to use my phone to take the pictures.
Affiliate links used below. See my disclosure here.
Step 1:
Prime your item. For the chargers, I sprayed them with Zinsser BIN shellac spray primer.
Then, paint your base coat in any dark brown color. For my chargers, I used an
oil rubbed bronze spray paint. (For this sample, I just used a dark brown craft paint)…
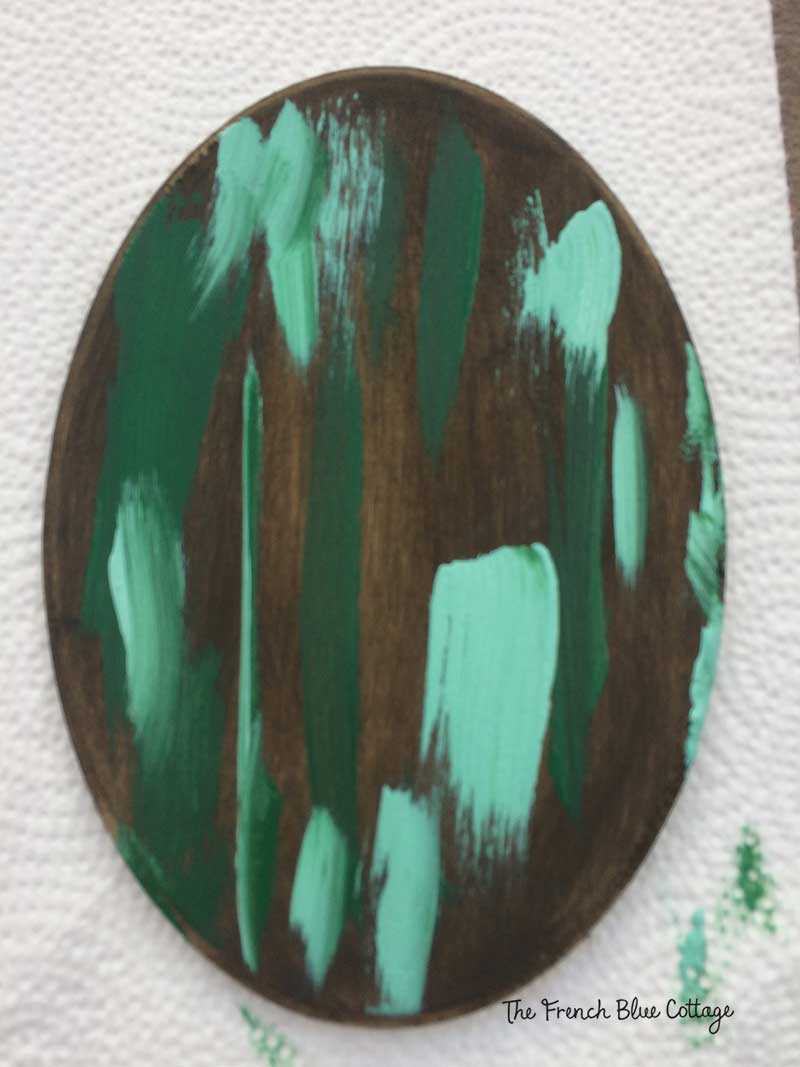
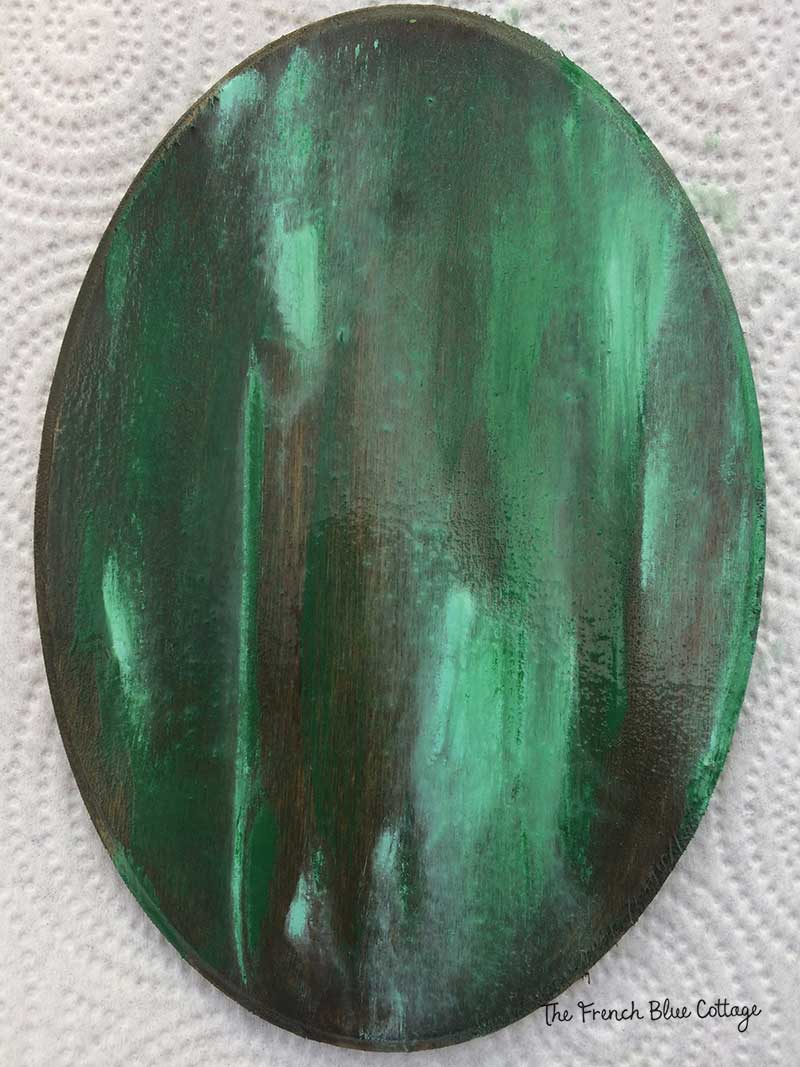
Step 2:
Using any paintbrush or foam brush, paint random stripes in one direction (in varying lengths and widths) of the dark green and the turquoise…
Step 3:
Spray the surface with water and tilt the item you are painting until the colors run vertically. The chargers were more slick and they needed much less water to make the paint run. This wooden plaque required a lot more water and even a little help with a wet paint brush to make it run. Allow to dry…
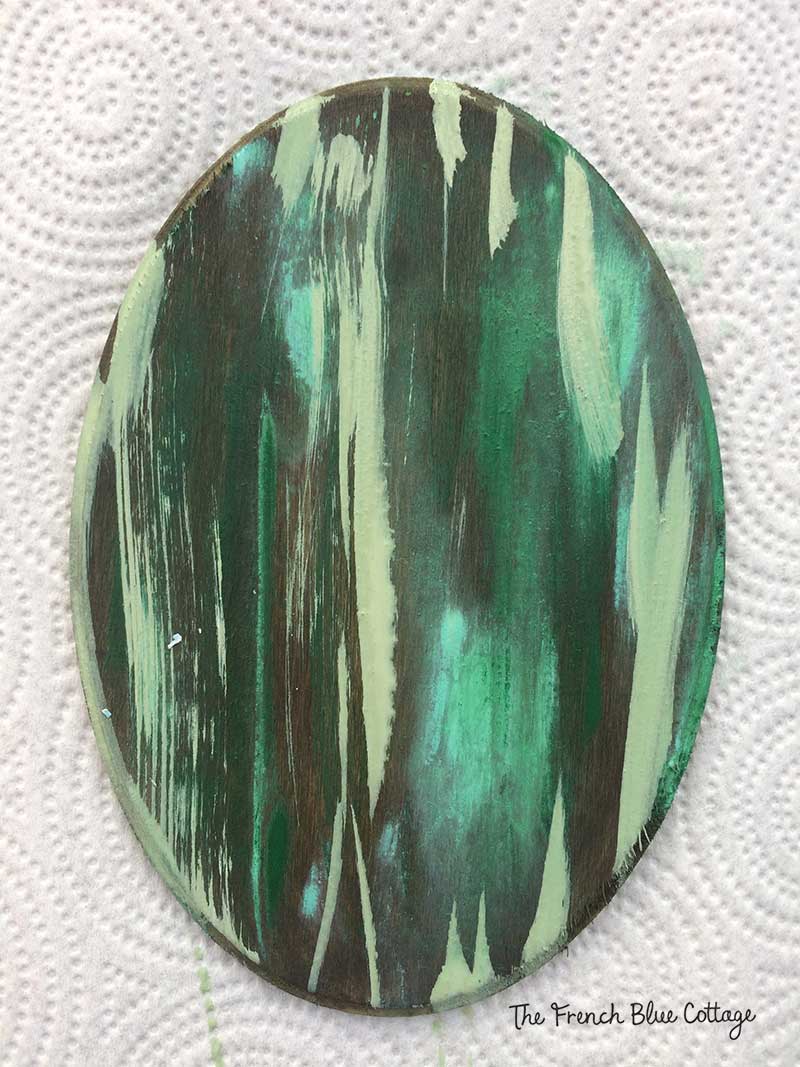
Step 4:
Repeat step 2, but with the mossy green color…
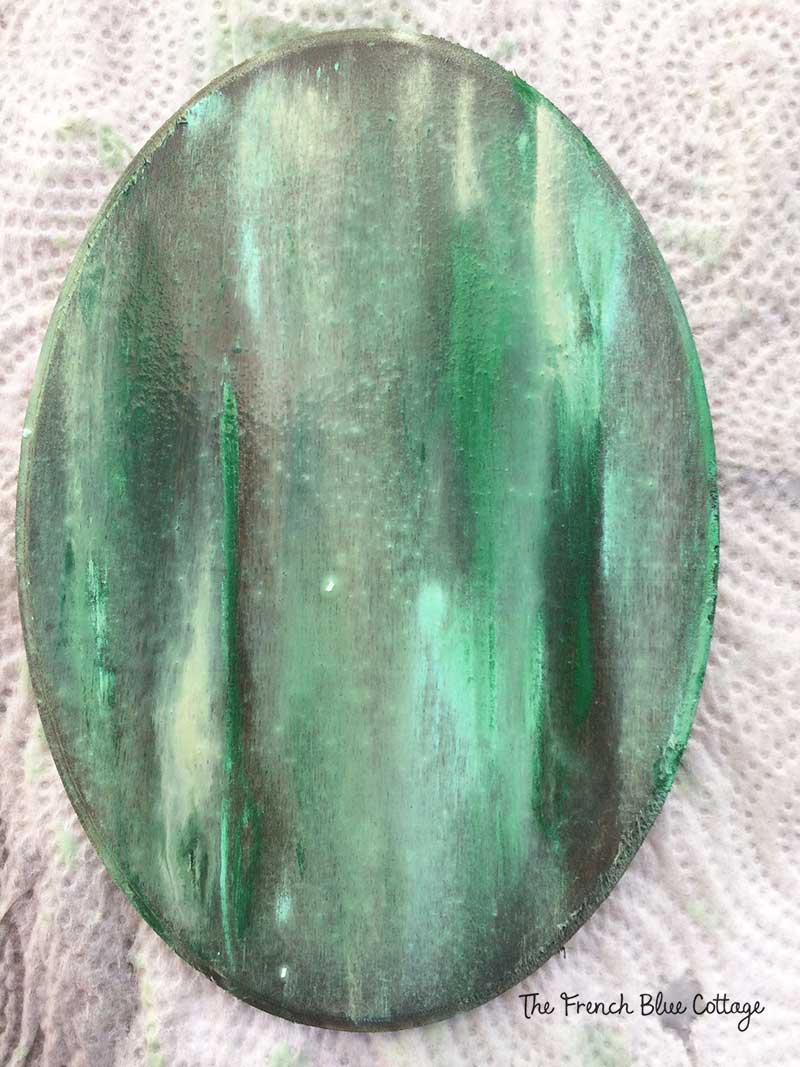
Step 5:
Repeat step 3 by spraying with water and then allow to dry…
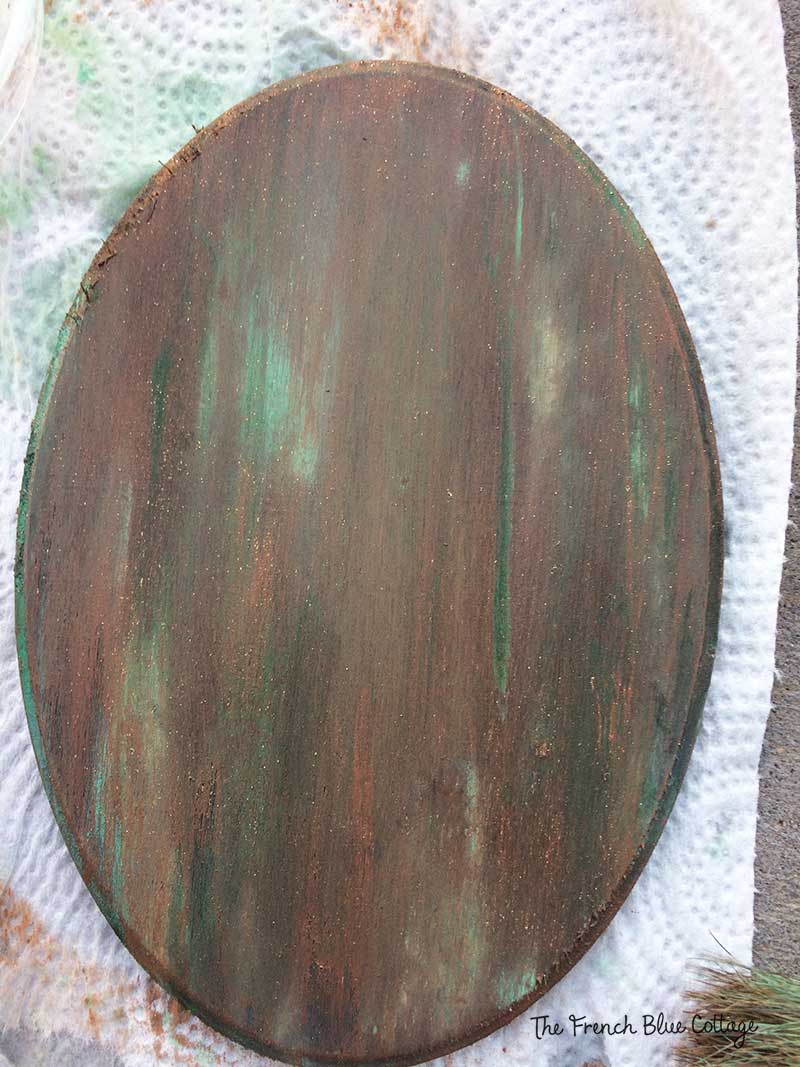
Step 6:
With a chip brush, paint on some vertical swaths of copper paint. I used Anita’s brand Metallic craft paint from Hobby Lobby in a color called “Tin Roof Rust”…
As an aside: If you’re a child of the 80’s, are you singing “Love Shack” now after I told you the name of the copper color? 🙂

Step 7:
Spritz with a little water and wipe it back with cheesecloth or paper towel. If it seems too coppery, you can also add some dark brown paint, spray with water, and wipe it back to tone it down. Allow to dry…
Step 8:
Dip a chip (now that’s funny) brush into the turquoise paint and wipe almost all of it off onto a paper towel. Dry brush the turquoise lightly over the surface until it looks the way you want it to…
Step 9:
Seal the surface with spray sealer. I used a matte finish, but glossy would be nice too.
Any paint that dripped onto the back of the surface can be cleaned with denatured alcohol.
Tips:
- This is an imperfect finish, so don’t try to be too precise. Each item you paint will turn out a little bit different.
- This is also a very forgiving finish. If you don’t like the way something looks, add another color. If it’s too brown/copper, add more of the blues and vice versa.
- The copper I chose had metallic flecks in it. It’s pretty, but I didn’t realize it when I bought it. On the wooden plaque, the copper looked a bit glittery.
Here’s how the chargers ended up looking with my fall place setting…

You can see the whole fall tablescape here.
This verdigris paint finish is fun, quick, and easy.
If you use this technique, I’d love it if you’d send me a picture!


Beautiful! What a change from gold to Verdigris. Thanks for the steps to follow to get this look:
Thank you! You should definitely try it:)