Paint Aging Techniques
Sometimes it just takes a little extra effort to take an ordinary finish to something special. This is easy to accomplish with a paint aging technique.
Do you remember my table that I updated with a new “vintage” color?
It started like this…..
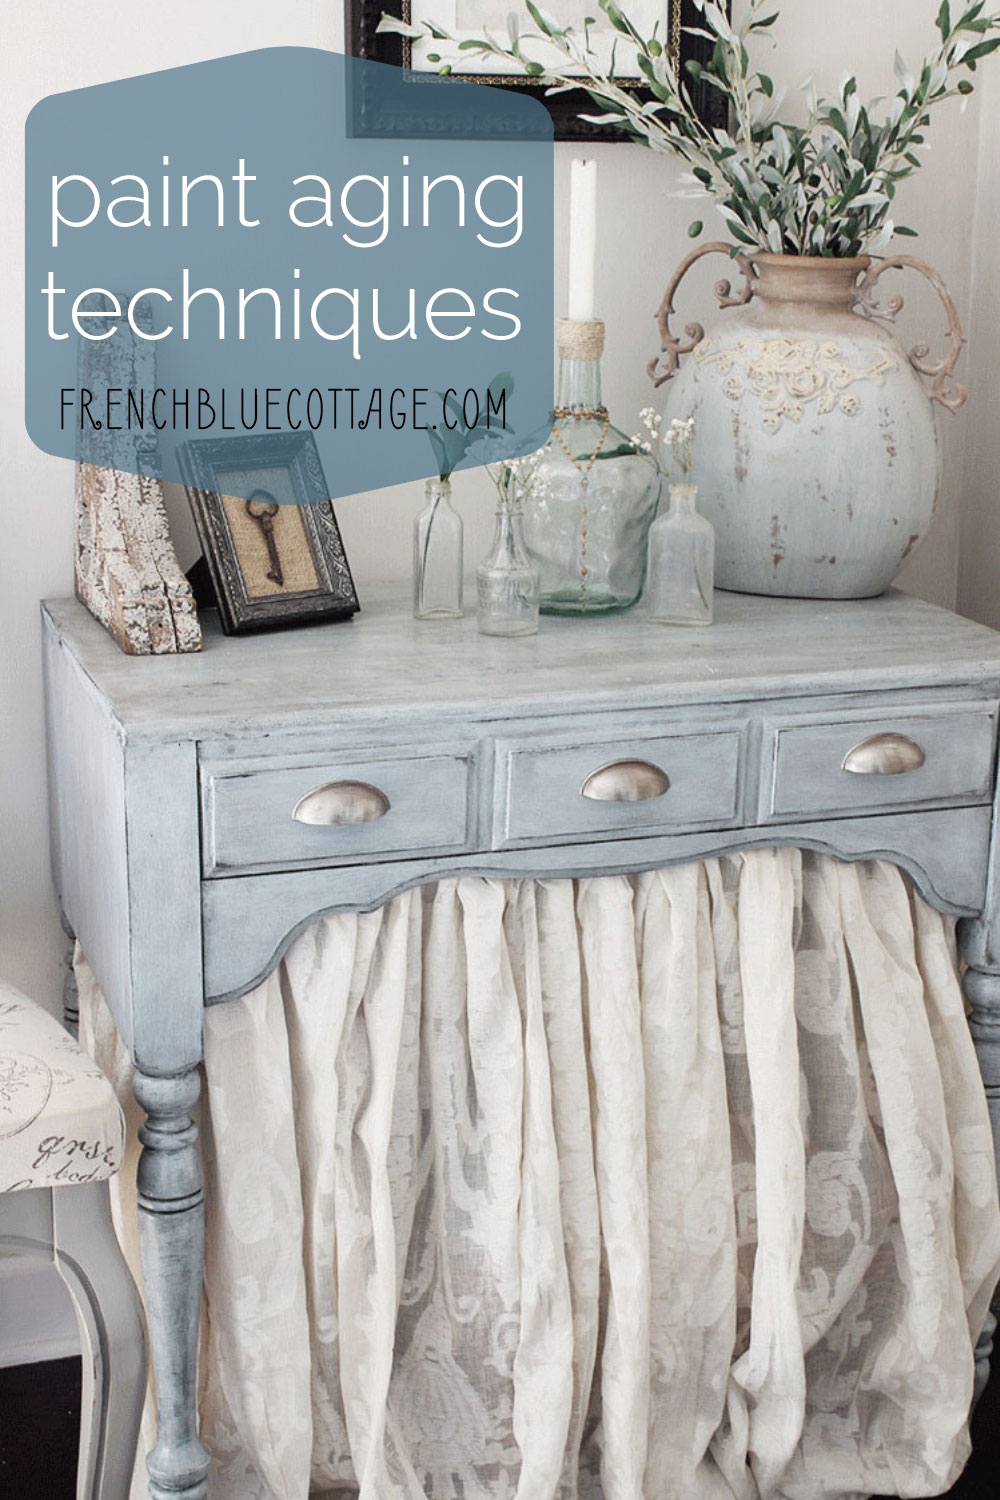
And ended up looking like this…..
I went over how I achieved the finish in this post about the new “vintage” color.
I promised some extra tips on painting an aged finish and here they are…
You may have noticed the new pulls.
They are just basic, brushed nickel bin pulls from the hardware store (Home Depot, I think).
I liked the shape, but they were a bit too shiny looking for me.
Paint Aging Tip #1
To age the metal pulls, I simply spritzed a tiny bit of dark brown spray paint on them and then wiped it back immediately with a piece of cheesecloth.
If you are unfamiliar with cheesecloth, you can usually find it around the staining products at the hardware store. Cheesecloth is great for techniques like glazing.
It just took a bit of the “newness” off of the pulls.
And if you don’t like the look, just remove it with a quick swipe of acetone or paint thinner and start over.
*One thing I’d like to mention is that these are “dummy knobs” and these drawers don’t actually open. If you used this technique on knobs that you used all of the time, you’d probably want to topcoat them with a spray on sealer that works on metal.
Paint Aging Tip #2
To add extra depth to your glazed paint finish, accentuate the edges. Once the finish is dry, go back in with a flat artist’s brush and some acrylic paint in black or brown and run it along some of the corners and edges.
I add just a little paint to the brush, wipe some of it off on a paper towel, and then use the flat side of the brush and lightly skim what I want to add “age” to.
You can see that technique on the corners and edges of the drawers below….
And on the corner edge of the table here….
It’s amazing how much that little extra step adds in taking your “aged” finish to the next level.
I hope this helps you with a future painting project!

P.S. I know I’ve been away for awhile. Ok, a looong while. We’ve added a toddler to the family (I’ll share more about this soon) and the blog had to take a back seat for a bit. But I’m ready to start sharing again and I hope you’ll join me:)

Looks gorgeous. Congrats on the baby!
Thanks, Amada!
Hi Carrie,
So glad you are back! Love your post!
Where did you get that lovely handled vase/container with the greenery in it?
Thanks for your reply,
Arlyne
Thank you, Arlyne!
I have had that handled vase for several years and I just can’t remember where I bought it.