A Fake Fruit Makeover
Can walking the aisles of the craft store be considered therapy? It is for me!
Ok, second question… Do you have any of those papier mache or foam fruits/vegetables; like maybe a pear, an apple, or a pumpkin?
I had a boring pear that I have no idea why I continued to hang onto. It was large, yellow, and very fake.
For obvious reasons, I didn’t display it. But for some weird reason, I kept it. Maybe that should be a post all on it’s own; why we hang onto stuff that we don’t use:)
Anyways, back to the craft store/therapy.
Every once in awhile, I’ll go to Hobby Lobby or Michael’s or JoAnn’s with no particular purpose; just to “see what I can see”. Sometimes I find that not having a specific plan or idea can actually open up my creative mind a little and a good idea will strike. This happened one day at HL in the aisle with these packaged feathers. There are all kinds of feathers…neutral colored feathers, peacock feathers, and all kinds of wildly-colored ones.
This is the one that I chose…

And here are a few more….
They even have long pheasant feathers….

Voila! A good idea struck at the craft store and I figured out what to do with that boring pear.
It was just meant to be painted and feathered:)
This is truly the easiest type of project.
First, I simply painted the pear with white chalk paint.
Then, I removed the fake leaf that was on the stem.
Lastly, I attached the peacock feather to the pear’s stem with brown wire.
And that’s it…
Right now the craft stores are packed with foam pumpkins.
Wouldn’t they be so cute with a feather “leaf”?
I’m sure I’ve got some pumpkins in the attic just waiting for a makeover.

As a matter of fact, I’ve got a pumpkin in mind….
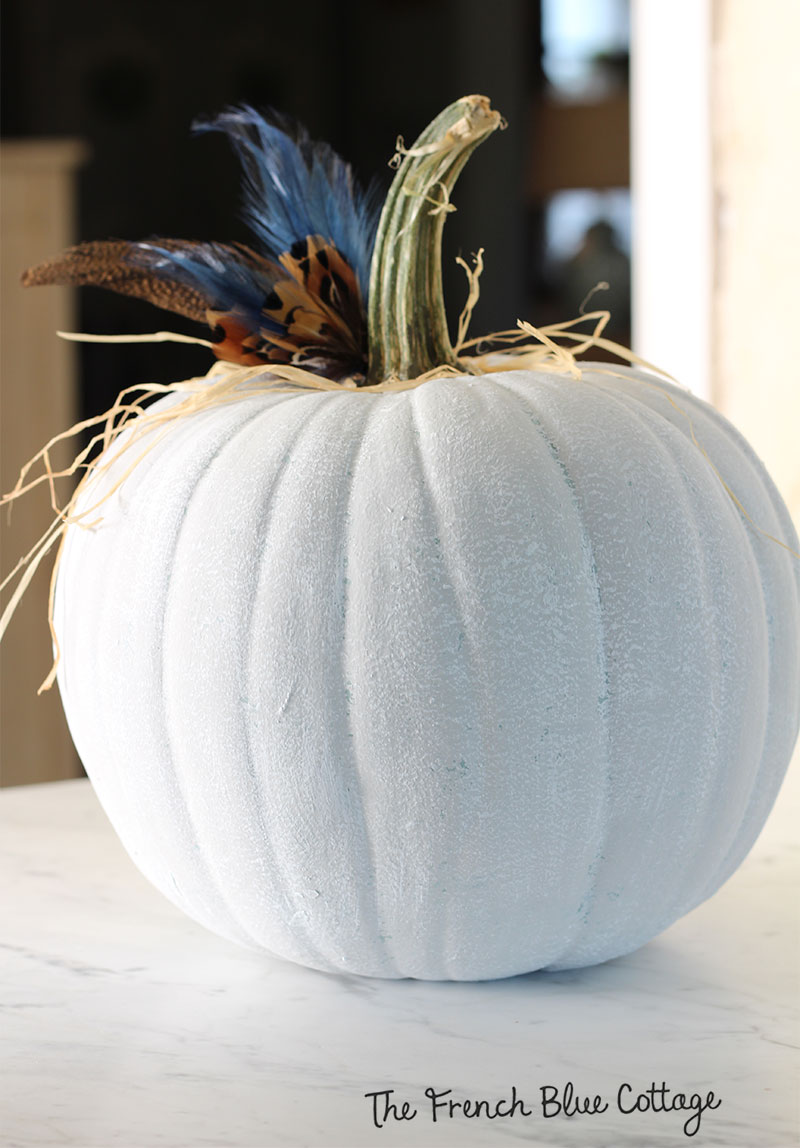
This one started out in life as a plain orange pumpkin, but a couple of years ago, I painted it blue. And then this year I painted it gray.
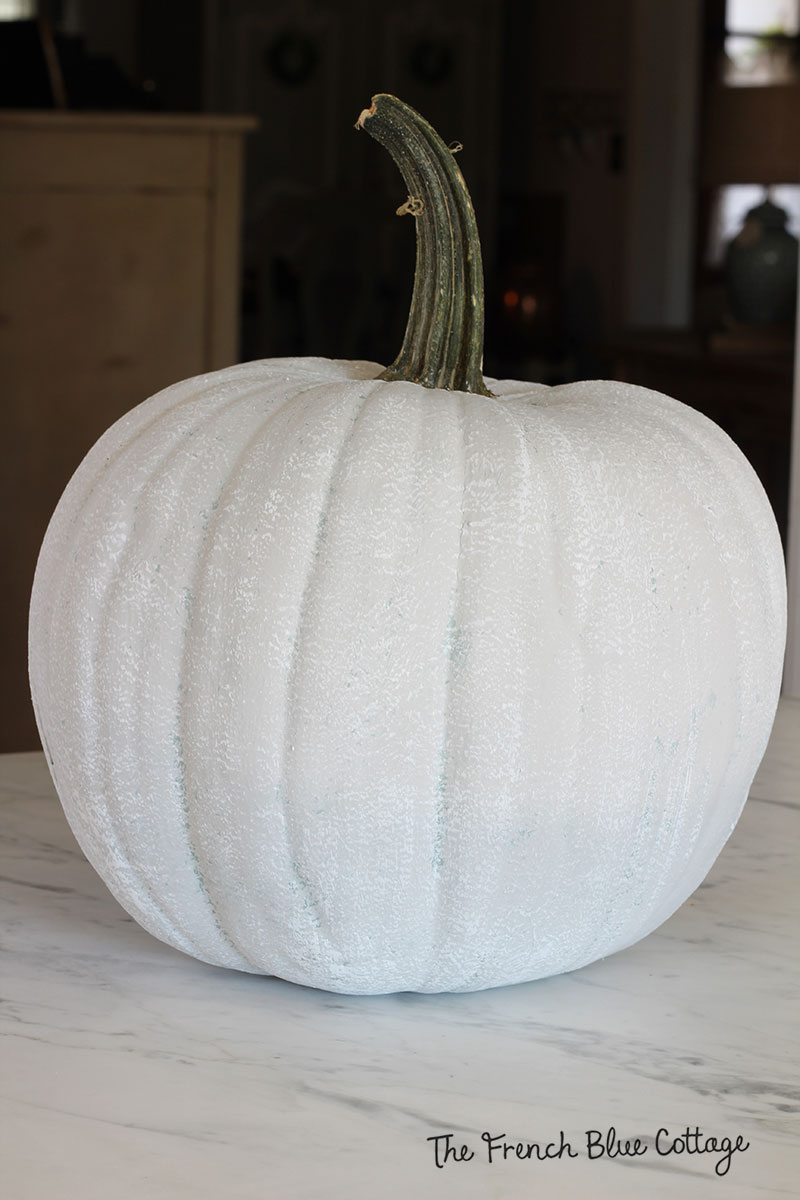
To get it’s current look:
First, paint it a light gray color. I used Amy Howard’s At Home paint in Luxe Gray.
I applied the paint with a sea sponge and just pounced it on to give some texture. I left just a tiny bit of blue peeking through. After it dried, I used a chip brush to dry brush on some white chalk paint.
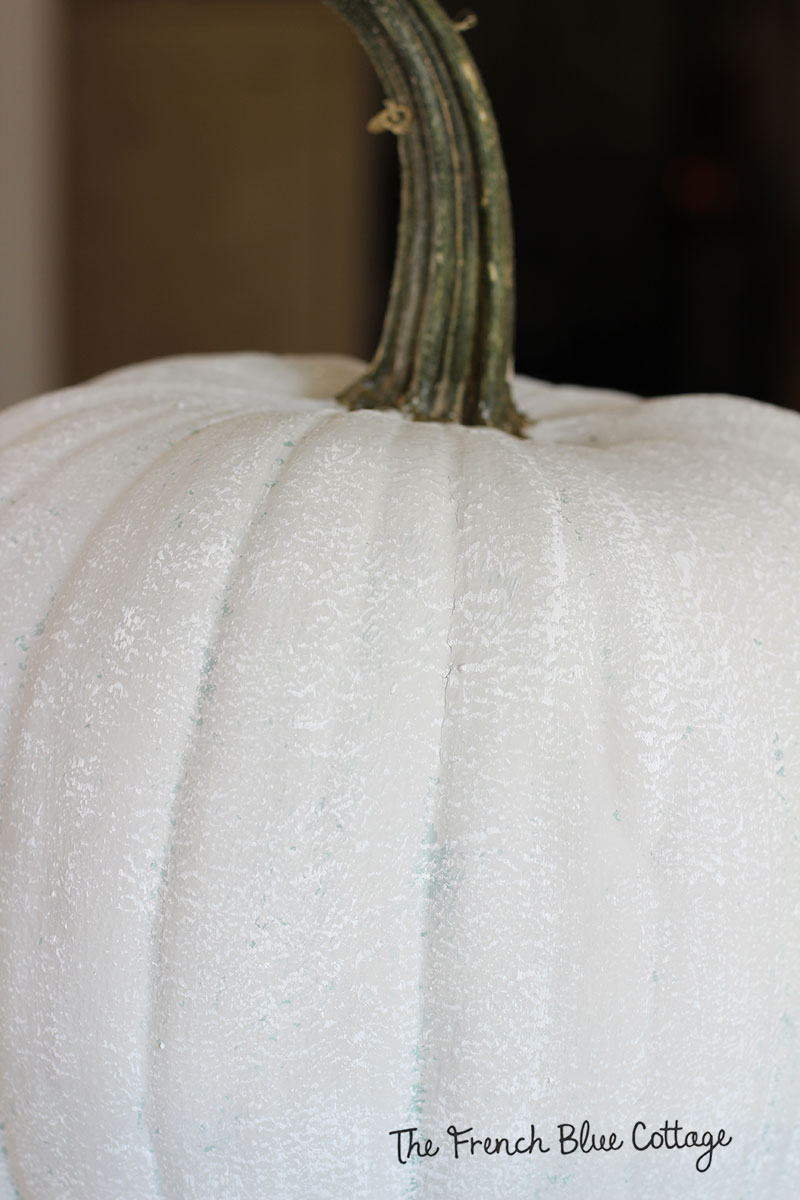
Next, I took a box knife and cut off the fake stem and replaced it with a real pumpkin stem that I had leftover from last year. I glued it in place with gorilla glue and filled in the gaps with paintable wood putty.
Then, I used some greenish-brown craft paint to cover up the wood putty.
This doesn’t need to be perfect.
Seriously, this pumpkin has feathers instead of a leaf, so I don’t think we’re going for realism here;)
Finally, I just hot glued some feathers to the side of the stem. I didn’t use wire for these like I did for the large peacock feather on the pear because these feathers were small.
Here’s a couple of quick tips:
Be sure to glue the feathers to the side of the stem. When I first tried it, I glued them sort of to the back of the stem and it didn’t look right.
I also glued on a little bit of raffia to help cover the ends of the feathers where they meet the stem. The raffia looks a lot like the dried vine pieces that are naturally coming off of the top of the stem.
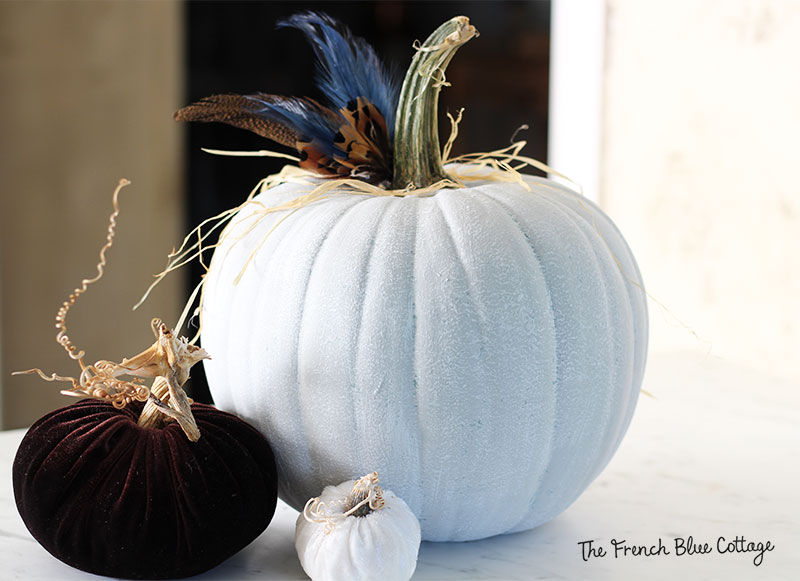
I know this is not my usual style (pretty fancy, right?), but I think it turned out so cute:)


Ok, these are really cute! I would never have thought about using feathers! Love this!
Thanks! Just something a little bit fun and unexpected:)