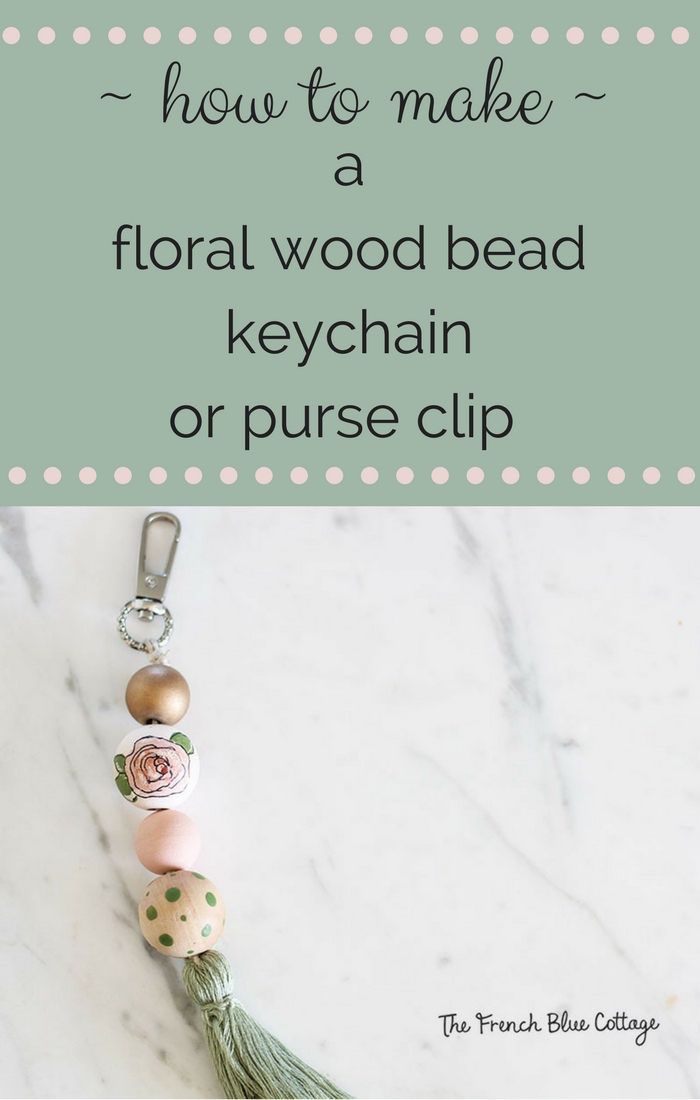
DIY Floral Wood Bead Keychain
You might remember this DIY tassel keychain tutorial that I showed here on the blog in February.
You might also remember that I could not make up my mind about the design, so I created three different keychains.
So today, I’ll share the second DIY design: a floral wood bead keychain.

![]()
wood beads (I used 1-inch and 3/4-inch) (both of them had a 1/8-inch hole)
craft paint
super glue
swivel clasp (similar clasp here; also found in the jewelry section at most craft stores)
embroidery floss
fine tipped permanent marker
Some affiliate links used to help you find the products I used. See full disclosure here.
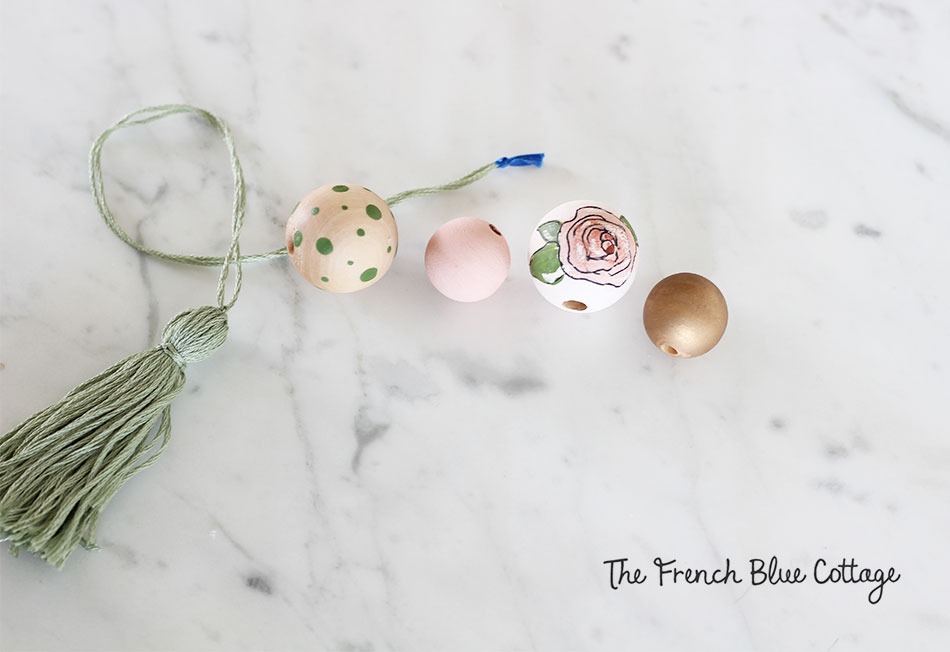
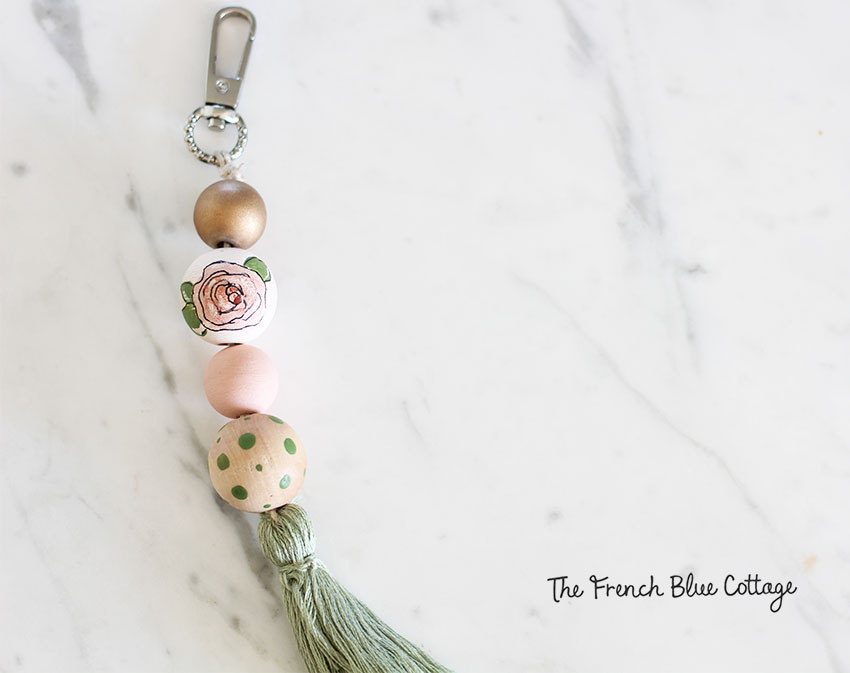
The beads for the keychain:
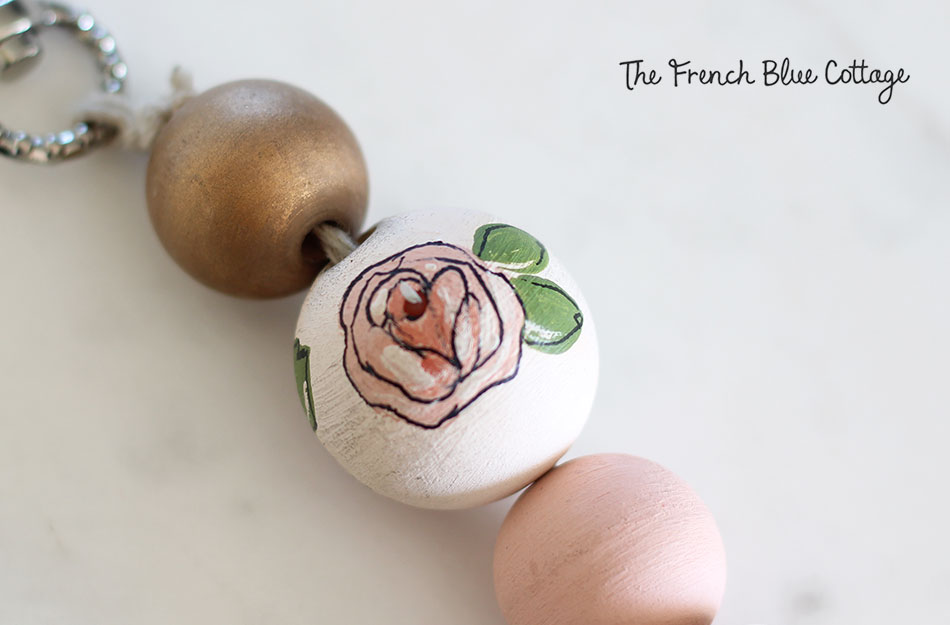
I painted the 3/4-inch beads in solid colors. For one of them, I used a blush pink and for the other, a metallic gold.
I left one of the larger (1-inch) beads with a natural finish and just added some green polka dots. The end of a lollipop stick and the end of an artist’s paintbrush made the two different sizes of dots.
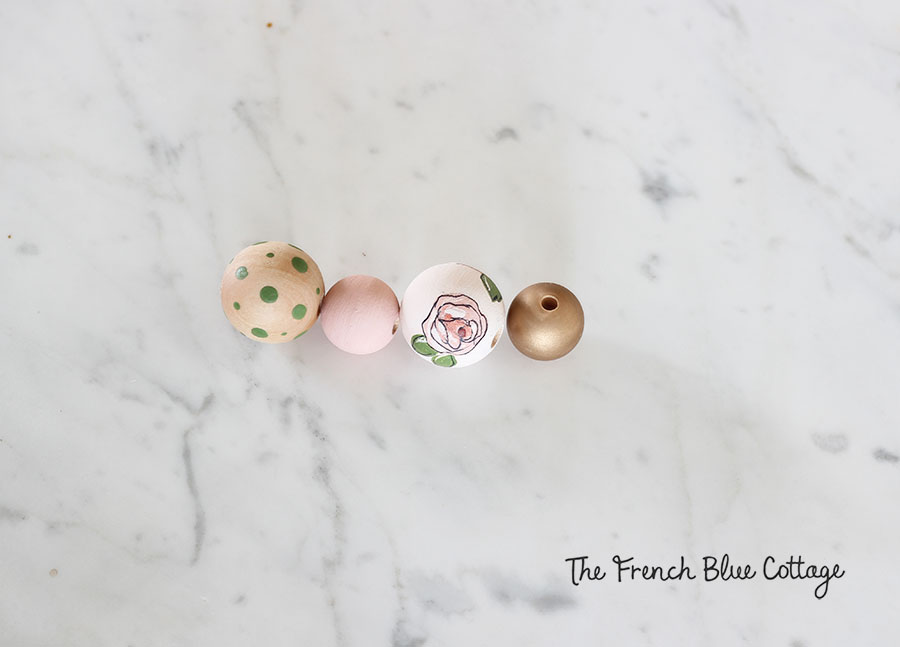
The other 1-inch bead got the special treatment.
Trust me, it’s actually much easier than it looks.
Here’s how I did it:
- Base coat the bead with a creamy white craft paint.
- Paint a irregular circle shape with light pink.
- Make a small, brush-stroke oval with medium pink.
- Dot a bit of dark pink or red in the very center.
- Draw a couple of basic leaf shapes to the side of the rose.
- Let dry and then use a fine point permanent marker to outline the rose and leaves. Notice on mine below that I didn’t follow exactly along the outside edge, but I really like the way this looks.
- Draw a sort of heart-shaped center and some lines for the petals.
- Add a few swipes of white paint for some highlights.
- Repeat for a second rose on the other side of the bead if desired.
I gave all the beads a light coat of spray sealer once the paint was dry.
The tassel part of the keychain:
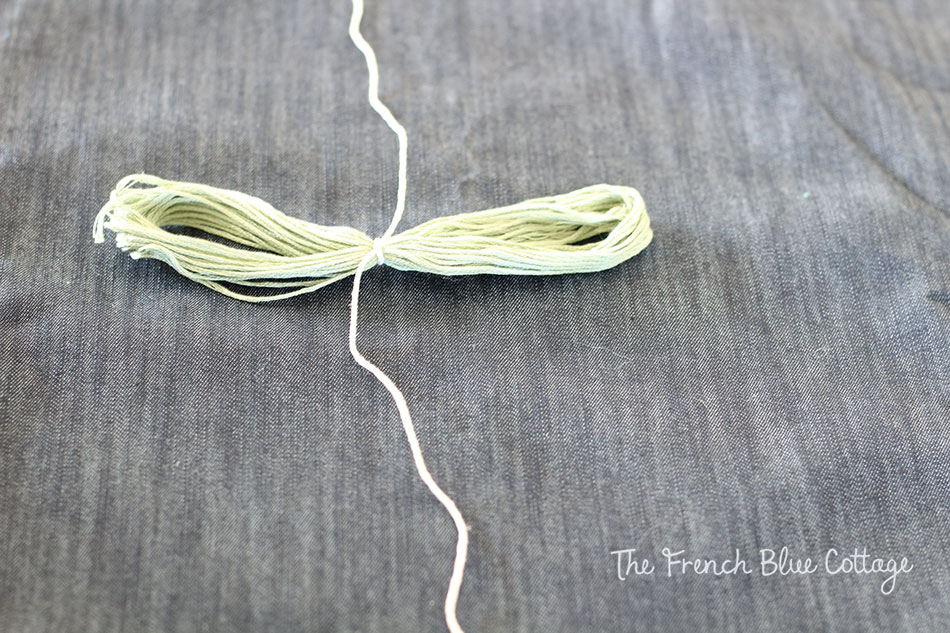
Choose 1 small skein of embroidery floss in the color of your choice…
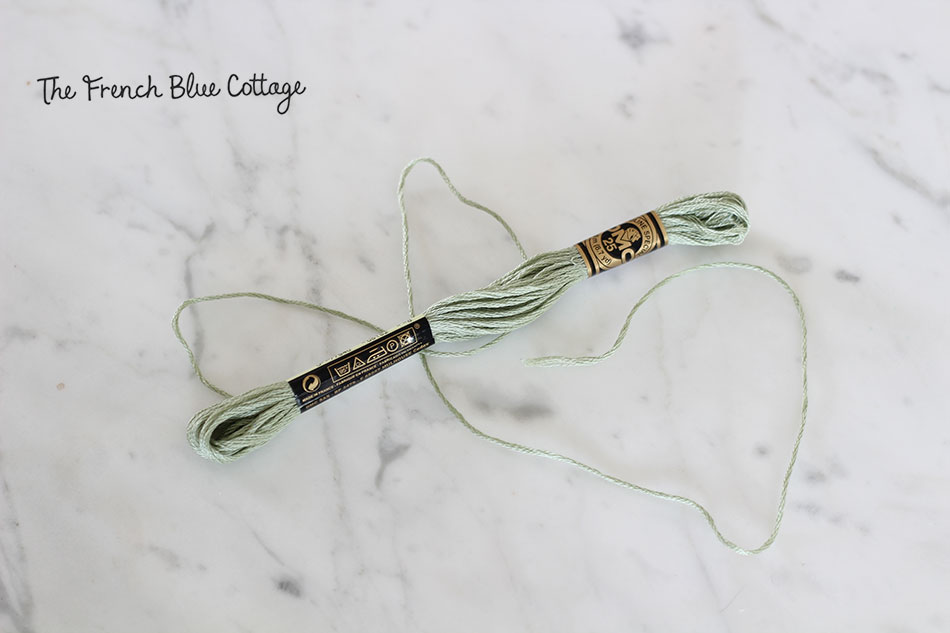
Cut one strand of the embroidery floss about 10 inches long.
Cut one strand of hemp cord about 20 inches long.
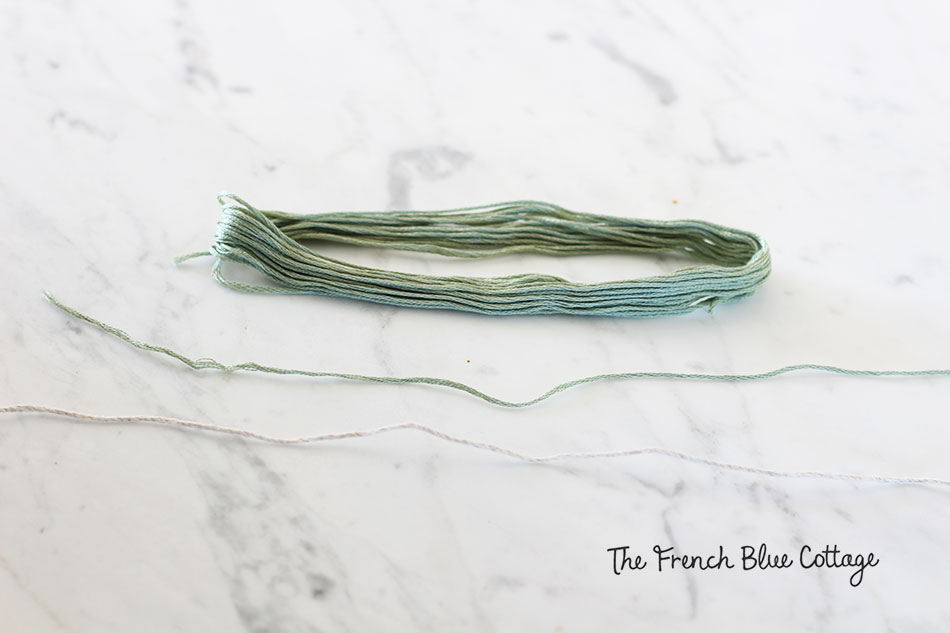
(For the next few photos, I changed the background so the thread would show up better.)
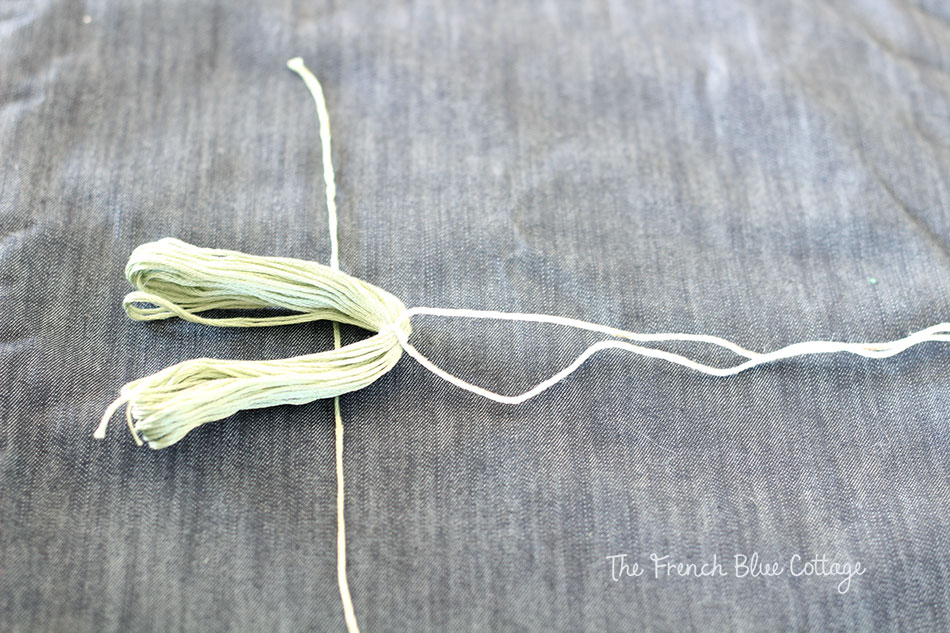
Tie the hemp cord around the center of the embroidery floss and knot it…
Fold the floss in half and stretch the hemp cord out to get it out of the way. Then, take the cut piece of embroidery floss and tie it in a knot about a half inch from the top. Wrap it around again and tie another knot. The ends can become part of the tassel, so there’s no need to trim them.
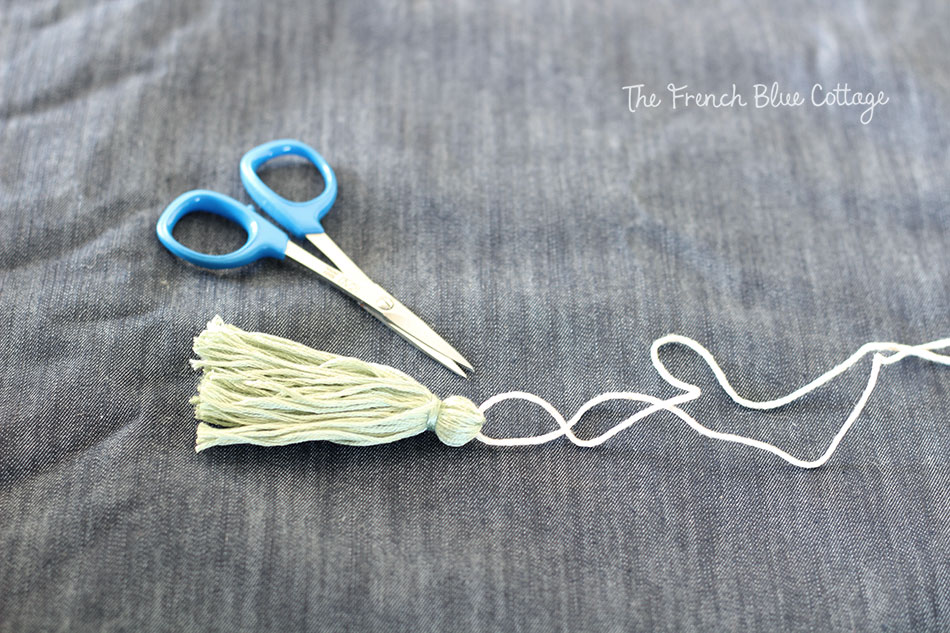
Take a small pair of scissors and cut the looped ends of the embroidery floss and then trim the tassel to your desired length.
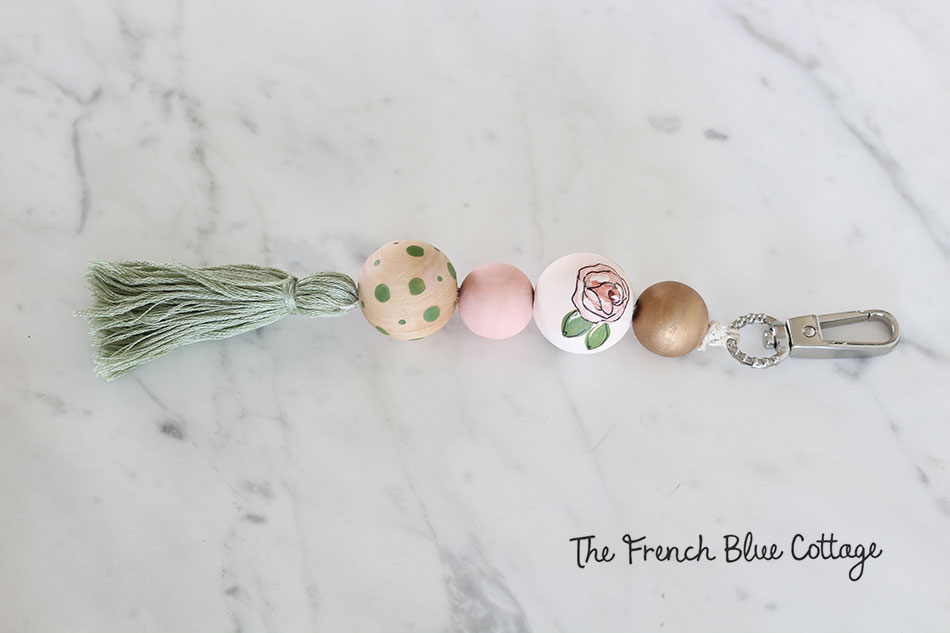
Putting the floral wood bead keychain together:
Put a tiny piece of tape around the ends of the hemp cord and thread them through your painted beads.
In the photo below, I had used the embroidery floss for the long tie part of the tassel and then I realized that it wasn’t strong enough. So I made another tassel using hemp cord instead, but forgot to photograph that part. Just pretend the long string on the tassel is hemp cord instead of floss…
I used this video tutorial to learn how to make a snake knot for the top to attach it to the swivel clip.
Finally, trim the ends of the hemp cord and add a tiny drop of super glue to the cut ends to give it extra hold.
And that’s it!
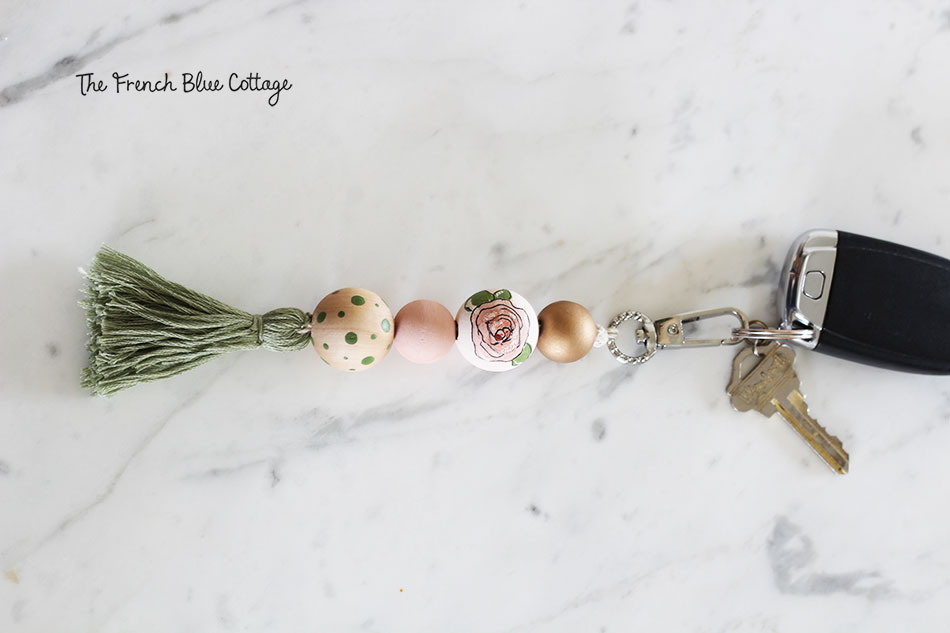
It makes a really cute keychain…
Or a unique purse clip…
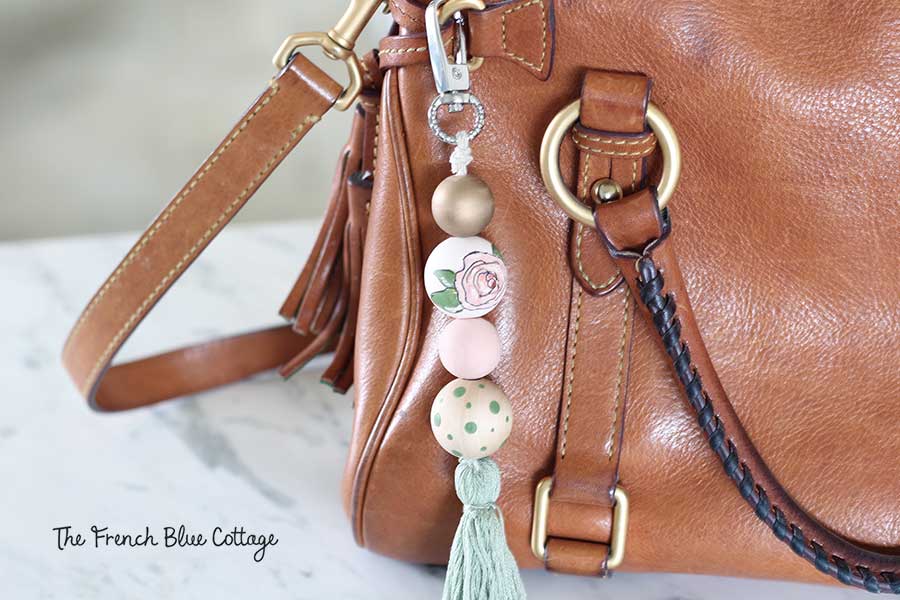
I have been using this floral wood bead keychain a lot and have had quite a few compliments on it. Plus, by keeping it attached to my purse, it’s kept me from having to dig through in search of the car keys.
Anything that looks cute and helps keep me organized is a win-win in my book:)

P.S. If you like this tutorial, I’d love for you to pin it for later!

This is so cute! The tassel seems easier to make when it’s broken down like this. Great step by step directions! I hate digging through my purse looking for my keys so this will not only help me to easily find my keys but will also be a cute decoration for my purse.
Thank you! And, yes, this tassel is quite easy to make and I think it could be used for other types of projects too.