Adding Age to Candlesticks
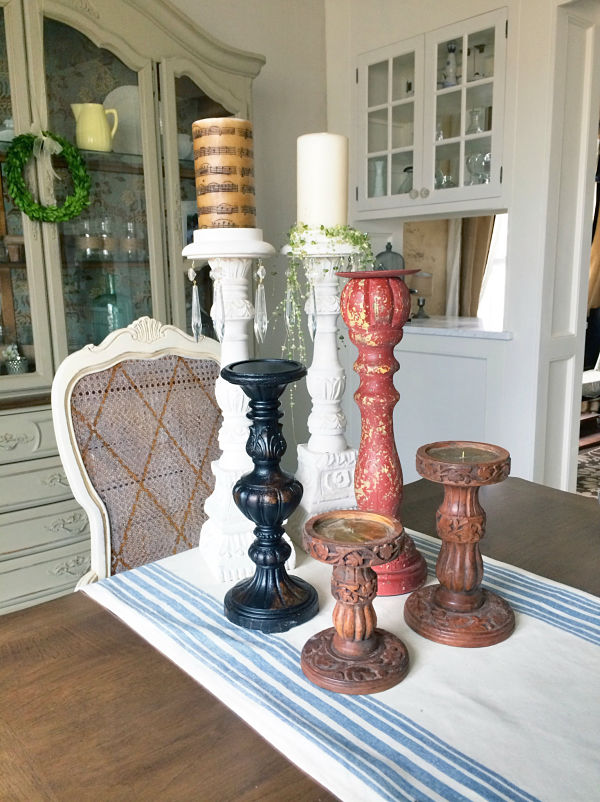
I want to do a spring tablescape with a series of candlesticks and I needed them to be staggered in height. I had a few around the house and went to Hobby Lobby to purchase two more. They worked together by size, but the problem was that they didn’t match.
And I wasn’t aiming for them to be “match-matchy”, but these didn’t play well together at all….
I knew I needed to paint them and remembered a technique that I had found on Pinterest. I followed most of the directions and you can check out her original post here.
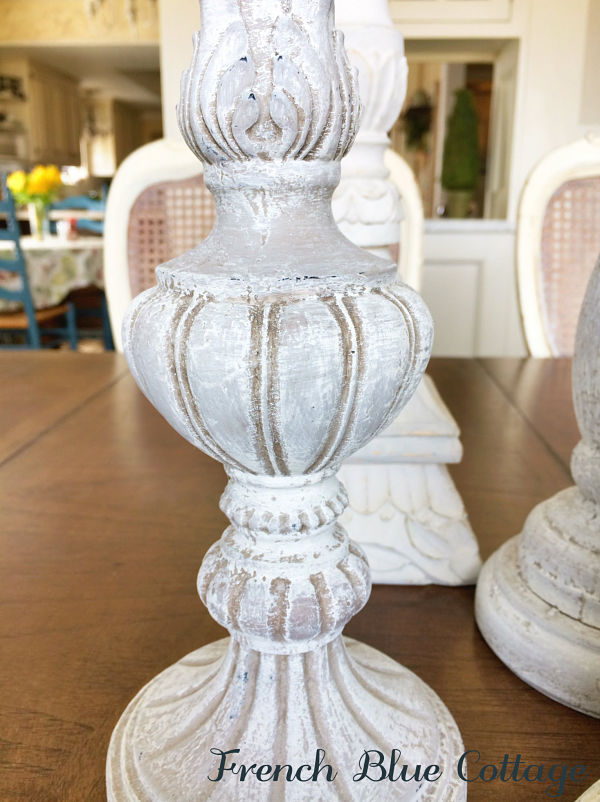
First, I painted the candlesticks (except the ones that were already white) with Annie Sloan chalk paint in Paris Grey…..
Next, I mixed up some glaze to act as a toner. I used clear glazing liquid, an earthy brown acrylic paint, and a little bit of the Paris Grey chalk paint. You don’t need very much of this mixture as a little goes a long way.
I used a stiff brush (I think it was a sort of stencil brush) to push the glaze down into all the grooves. Then I immediately wiped off the excess with a dry cloth. I also like to keep a spray bottle of water handy so I can spritz the piece if it seems too heavy or gets dry as I’m working. I also found that if I rubbed too hard with the cloth, some of the chalk paint wore away and gave me more of a distressed look. I like this look, but if you don’t want to see any of your original color showing through, then either rub softly or let your chalk paint layer set up longer.
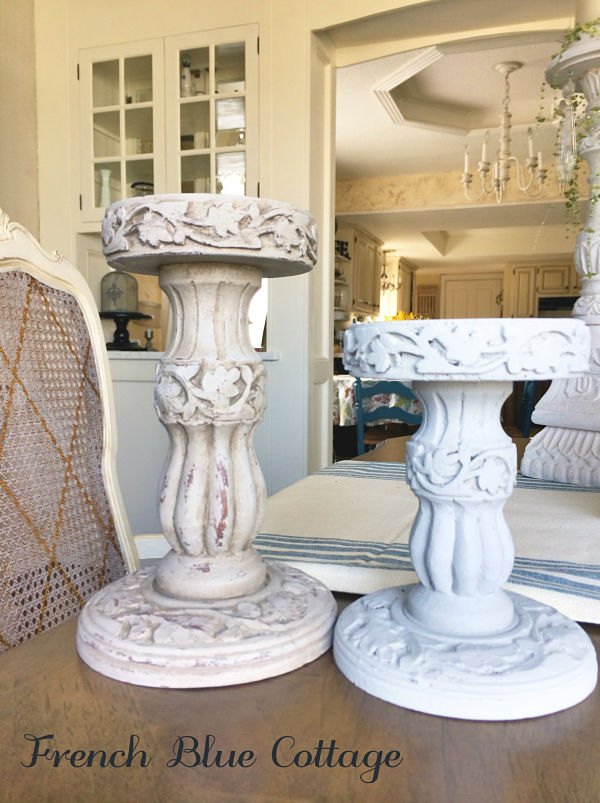
You could stop here at this stage. It’s pretty like this, don’t you think?
But I needed the painted ones to blend better with the tall white candlesticks, so I went on to the next step, which is dry brushing. To dry brush, I used a chip brush and Annie Sloan chalk paint in Old White. I simply folded up a paper towel into a square, dipped my brush lightly into the paint, blotted most of it off onto the paper towel, and dry brushed it onto the candlestick. I started off lightly and kept adding layers of white and occasionally rubbing it in with a cloth, until I was happy with it….
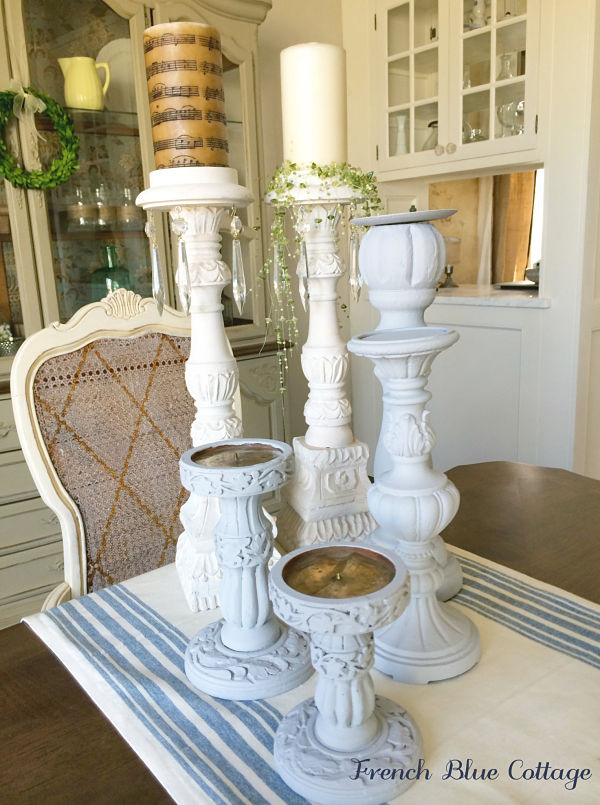
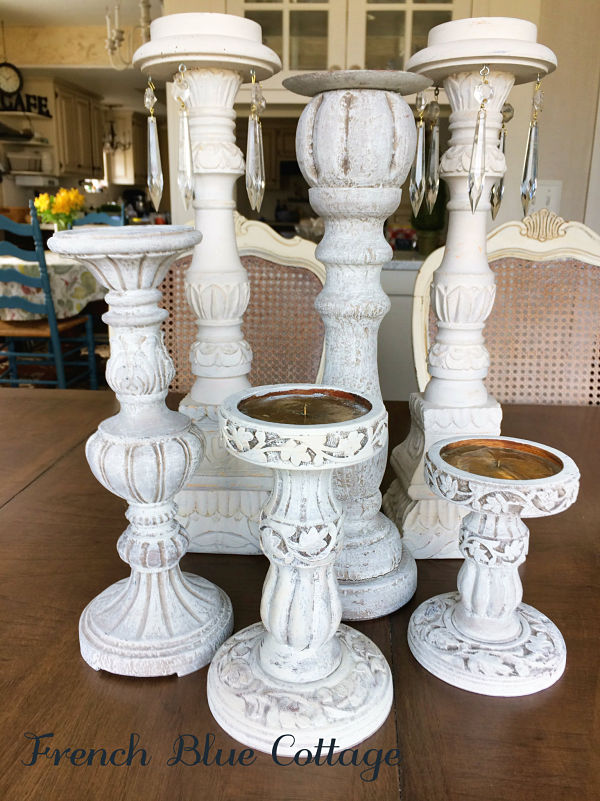
I stopped at this step. I decided not to add a coat of wax or anything at this point. They have a kind of chalky look that the white candlesticks already had, so I think I’ll leave them this way.
Here’s a shot of all of them. I had considered painting the white candlesticks with the same technique, but once I saw them all together, I kind of liked that they weren’t all exactly the same. In fact, even the ones I used the technique on don’t look exactly the same. Isn’t that the fun part of painting something yourself? You never know exactly what you’re going to get….
Wait til you see the fun candle rings that I’m making for these candlesticks! It’s a fun “knock-off” project that I’m almost finished with.


Wow! These are beautiful and what a difference! Can’t wait to see more!
Thanks! Now if I could just find the right shade of white for the candles!
These turned out so great! Thanks for the inspiration:)
Thank you! I like this new technique and will definitely use it again.
Hi Carrie
I’m from England and we don’ have anything sold as “glazing liquid” would this be a matt varnish?
Hi Victoria,
Glazing liquid is not the same as varnish. It may be sold as “glazing medium”. You would find it in smaller quantities at craft/hobby shops and in larger quantities (used for glazing walls) at home improvement stores in the paint section. It can be used to give paint more “open” time so it doesn’t dry so fast while you’re working with it. It also thins the look of the paint, making it a bit more translucent (depending on how much you add). Just be aware that water-based glaze should go with water-based/acrylic paints and oil-based glaze should be mixed with oil paints. Hope this helps!