A Winter Wreath Tutorial and Simple Porch Décor
Whew, it’s cold outside! I can’t stand it when it’s super hot, so given the choice I’d usually pick colder over hotter. But parts of these last couple of weeks have been an altogether different kind of cold!
Thankfully, (around here at least) we had a nice break from the arctic air for a couple of days, so I was able to go out and take a few pictures of my winter décor on the front porch.
And I’ve included a quick tutorial for a cute winter wreath:)
*Affiliate links used below. Click here for my full disclosure.

I kept things VERY simple this year.
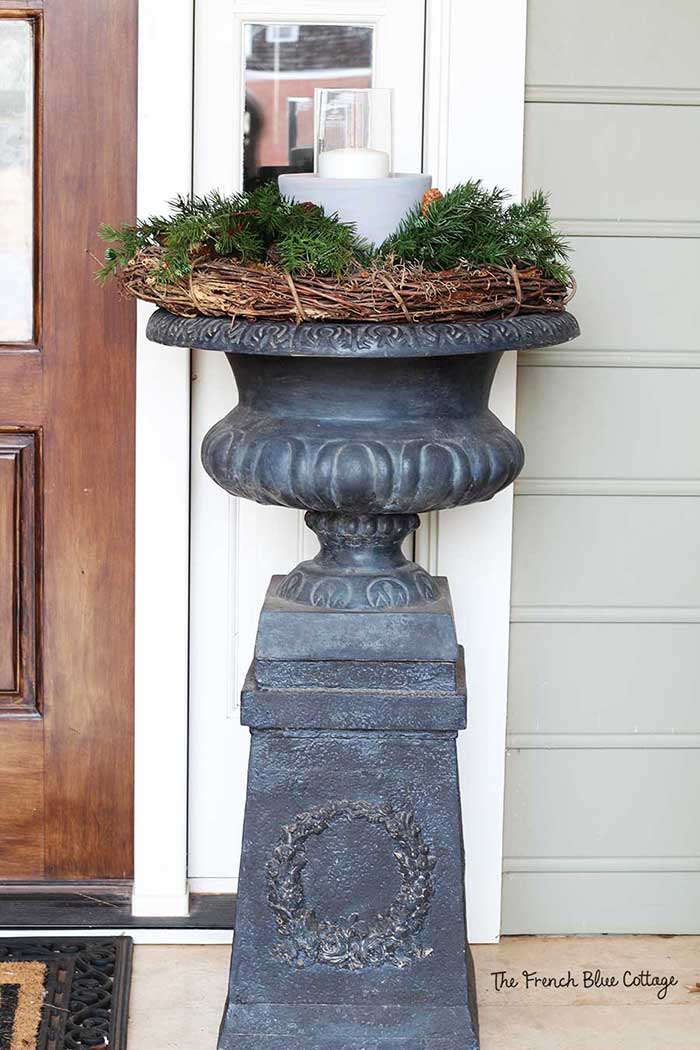
The urns to the sides of the front door each have a grapevine wreath sitting around the rim. I used some wire to create a sort of platform by connecting it back and forth across the wreath and then placing a thick layer of flat newspaper and a layer of sheet moss over the wire. I whitewashed (gray washed?) some very inexpensive clay pots and placed a tall, glass cylinder and a white candle onto the center “platform” in each urn. Next, I dressed them up with a few faux evergreens.

My chalkboard box got a few snowflakes drawn on the front and a large pinecone placed on the top of the real greenery that was already there for Christmas.
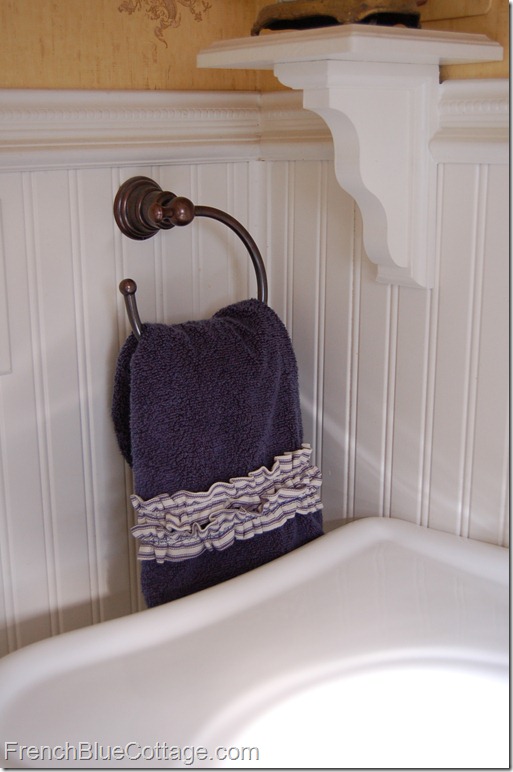
I tied a strip of navy gingham fabric around the lantern…

I’m not too fond of this dinky lantern and I’m in the market for a really large one for the front porch but am having trouble finding just the right size and style.
My statue also got some gingham. I think he looks quite dapper in his little “scarf”….

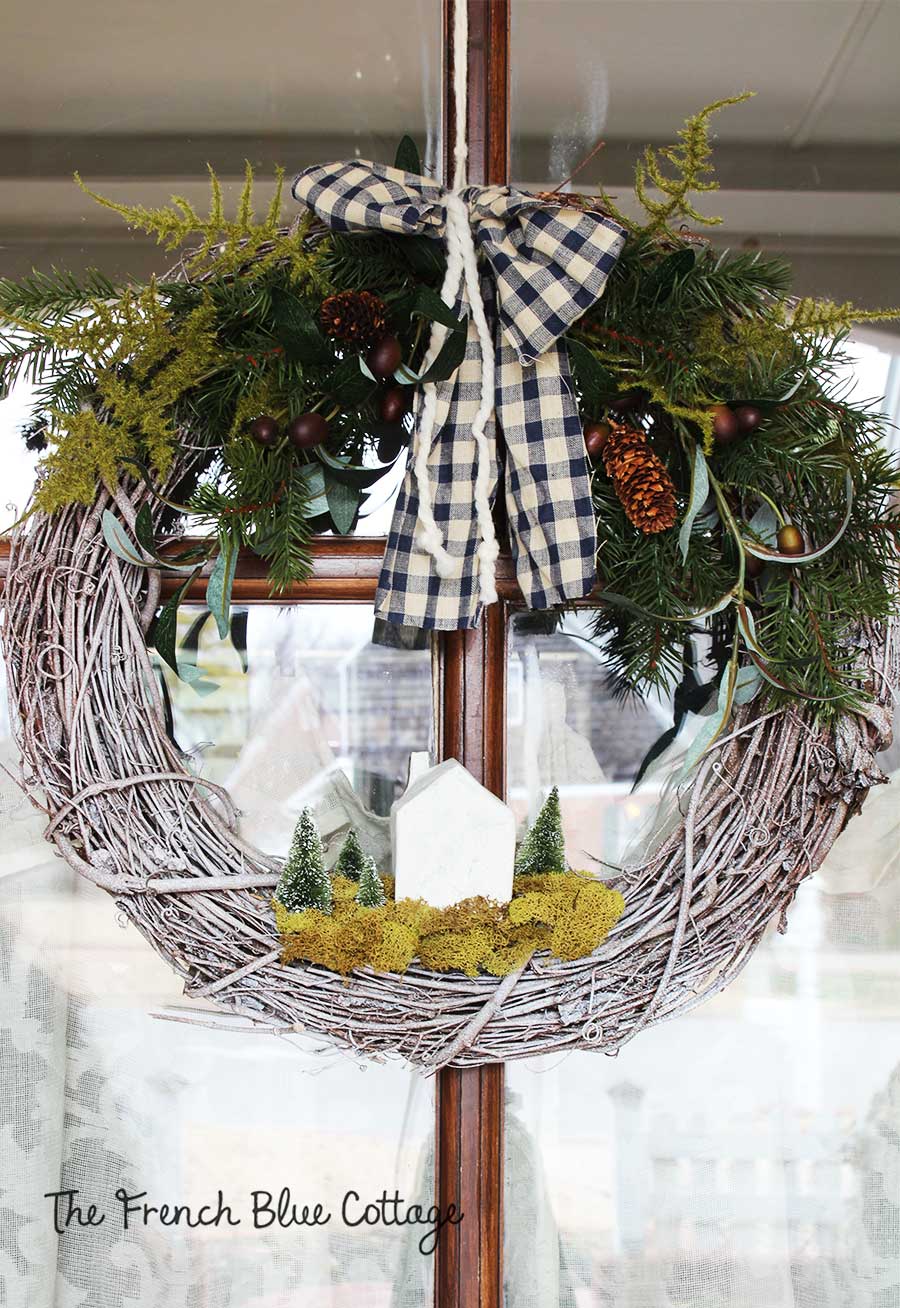
But my favorite part of the porch décor is the winter wreath that I made….

![]()
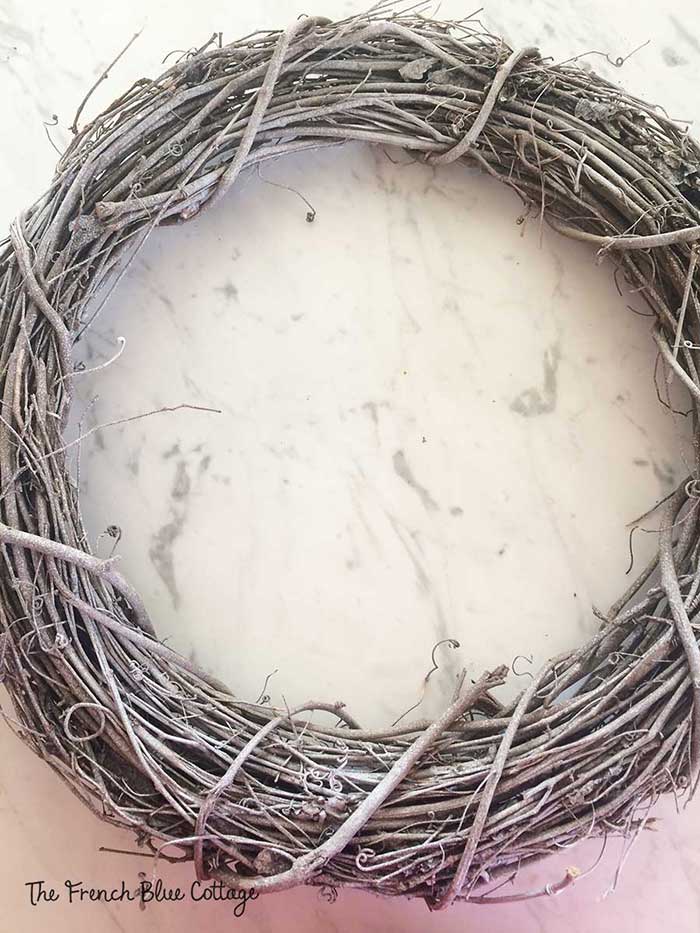
grapevine wreath
white spray paint
a few greenery stems
a strip of fabric or a bow
a length of thick yarn
small bottle brush trees
small cardboard house or paper printout
 – paint the wreath white –
Lightly spray the grapevine wreath with white paint…
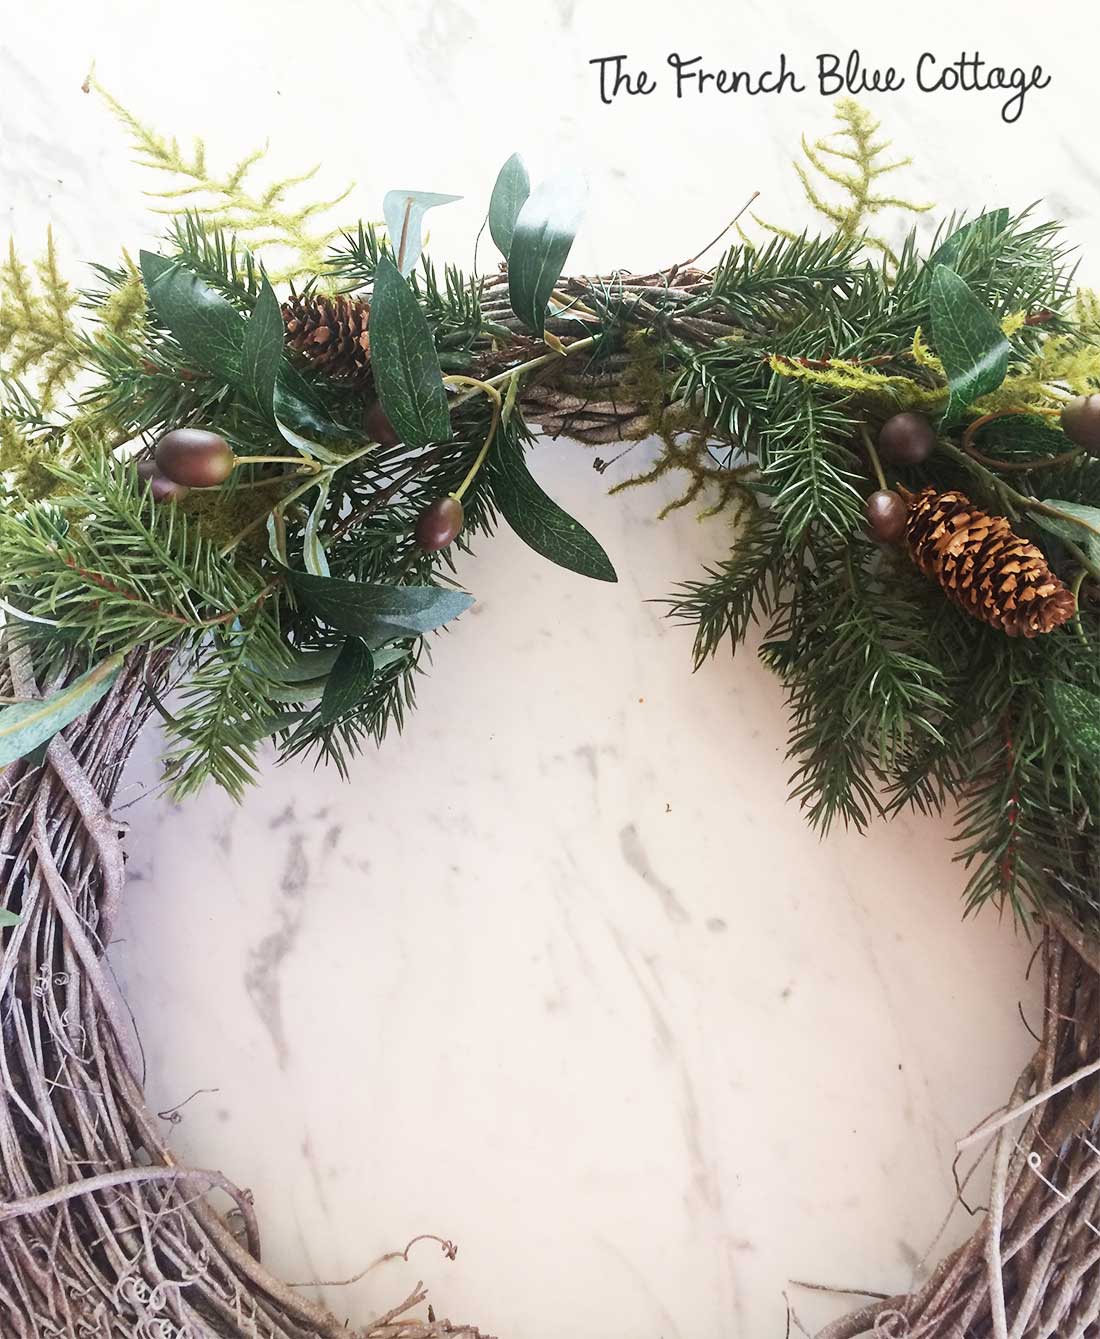
 – add greenery –
Next, I used a long olive stem, a couple of evergreen stems, and a fuzzy fern stem….

I cut or pulled pieces off of the stems and wired them together to make two sections like this…

I wired each sprig separately and then together to the top center of the wreath. Don’t worry about the wire showing because it will get covered by the bow.

– make a tiny house –
I really wanted a little cardboard house, but could not find a budget friendly option. So, of course I set out to make one:)
I found a cute house template here and printed it out on white card stock…
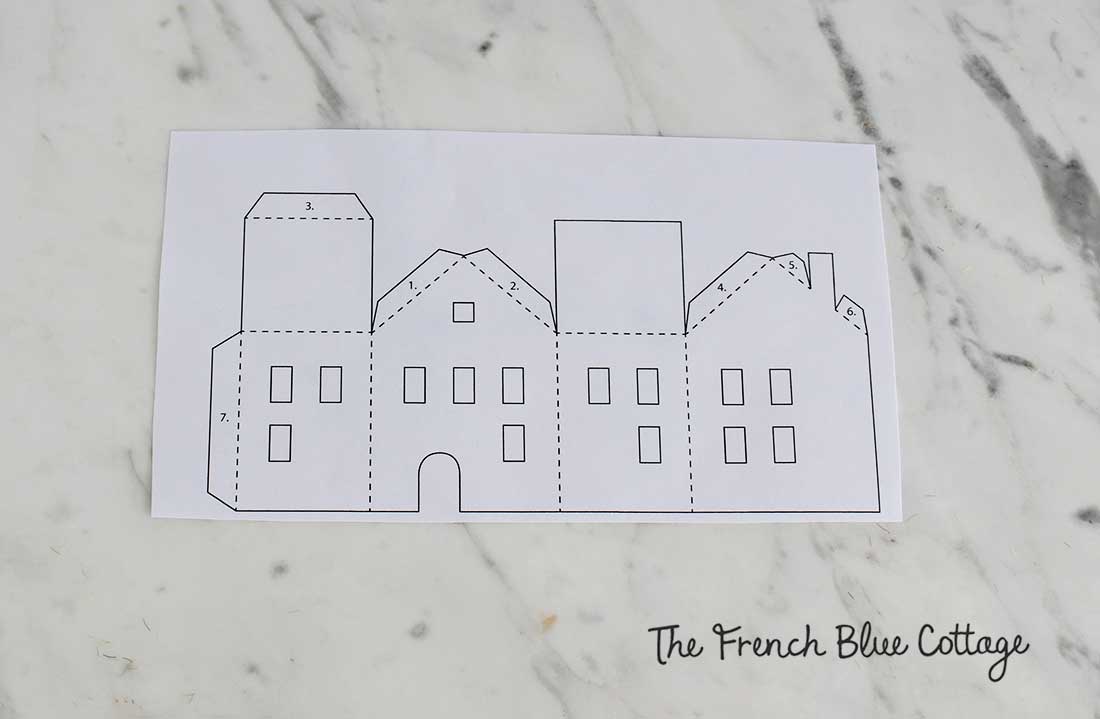
I cut out the house but did not bother with the windows and doors, although if you have the patience, it would look so cute with them cut out and a little battery operated tea light inside. Unfortunately, I do not possess this much patience, so mine is much simpler:)
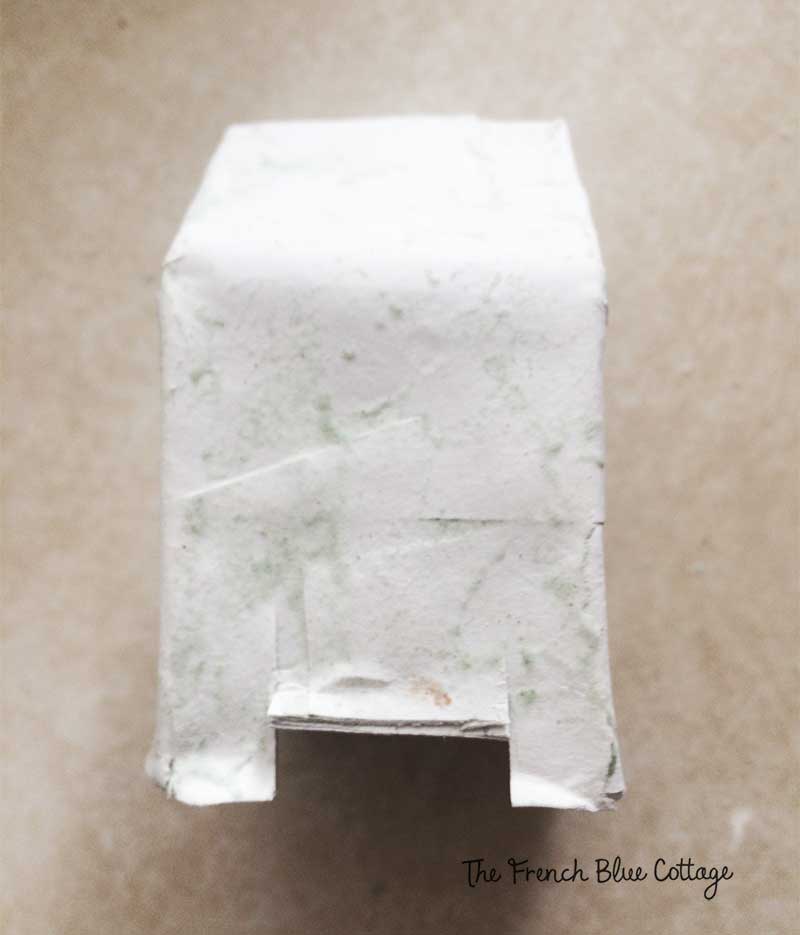
After your house is cut out and taped together, it’s time to do some paper mâché. Do you remember doing these projects as a child? Well, it’s as easy (and sticky) as ever!
But don’t be afraid of this step because it literally took maybe 10 minutes to make the paste and to glue on the ripped paper.
As a side note: paper mâché is actually “papier- mâché” and means “chewed paper” in French. Gross!
Anywho, to make the paper mâché paste, I made a mix of 1 part flour to 2 parts water plus one drop of green food coloring. I used one sheet of plain white paper, ripped into strips and dipped in the mixture, to cover the little house. I wasn’t quite sure what the green would look like because it was splotchy when I was putting it on. Once it dried, it took on a mottled texture that I really like.
Once dry, you could always paint your little house whatever color you choose. I liked mine plain, so I left it alone.
After it dried, I cut a notch out of each side so it would nestle into the wreath better..

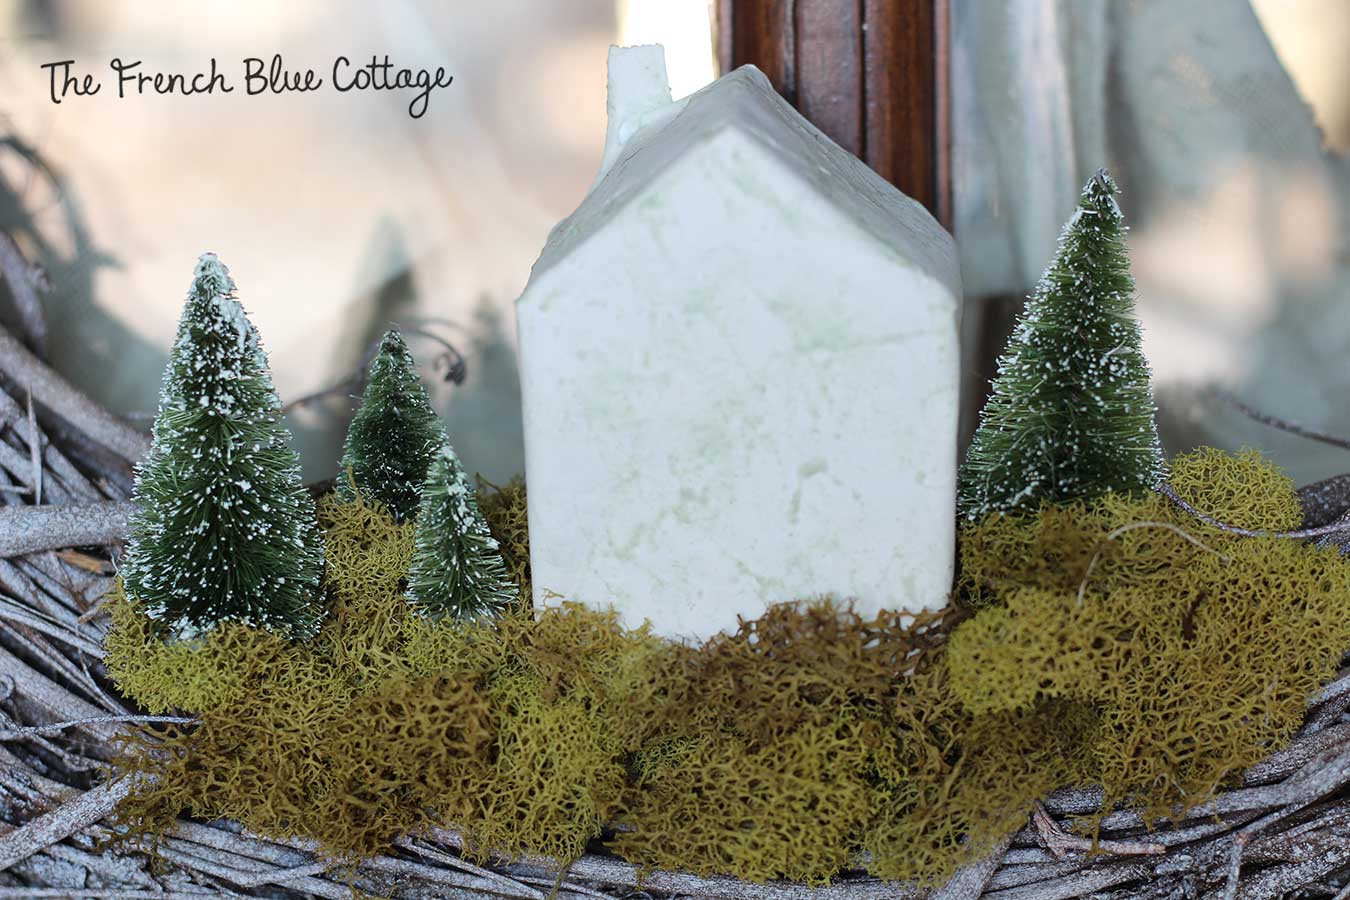
– break out the hot glue gun –
The little house doesn’t have to be perfect because the next step is to hot glue some reindeer moss to its edges. Then, I hot glued my paper house to the center of the wreath. Next, I glued some of the same moss to the wreath all around the house and then placed some tiny bottle brush trees to the sides of the house.

– tie it with a bow –
For the last step, I cut a wide strip of gingham fabric and tied it into a bow around the top of the wreath to cover the wire. A little piece of ivory yarn tied around the bow, gives it a little more texture and acts as a wreath hanger.

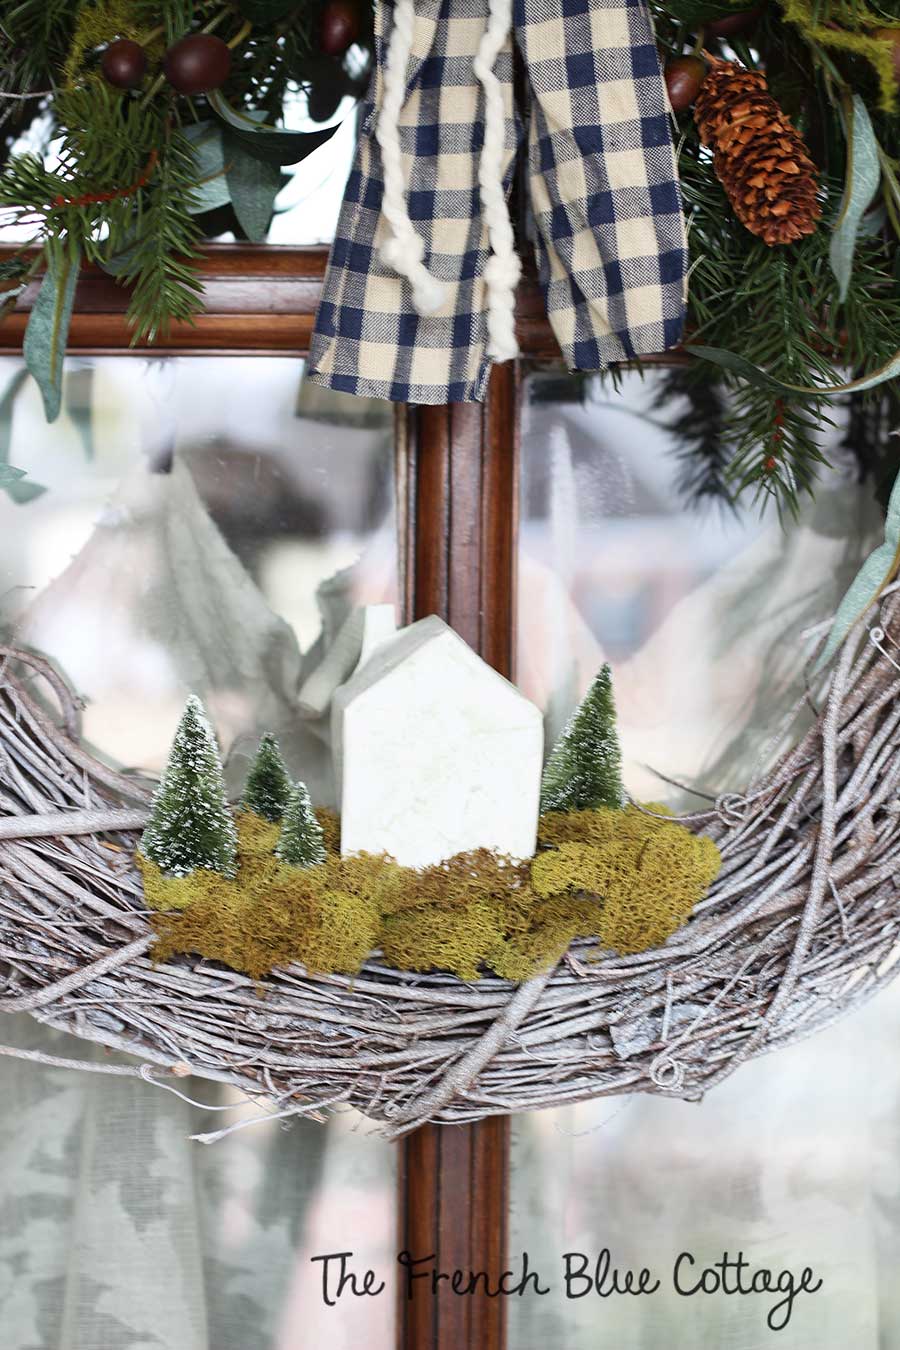
Pretty cute, right?
Well, I hope you enjoyed the simple porch and the winter wreath tutorial.
Have a great week and try to stay warm!


Love the wreath! So cute!!
Thank you! It was a fun one to make.