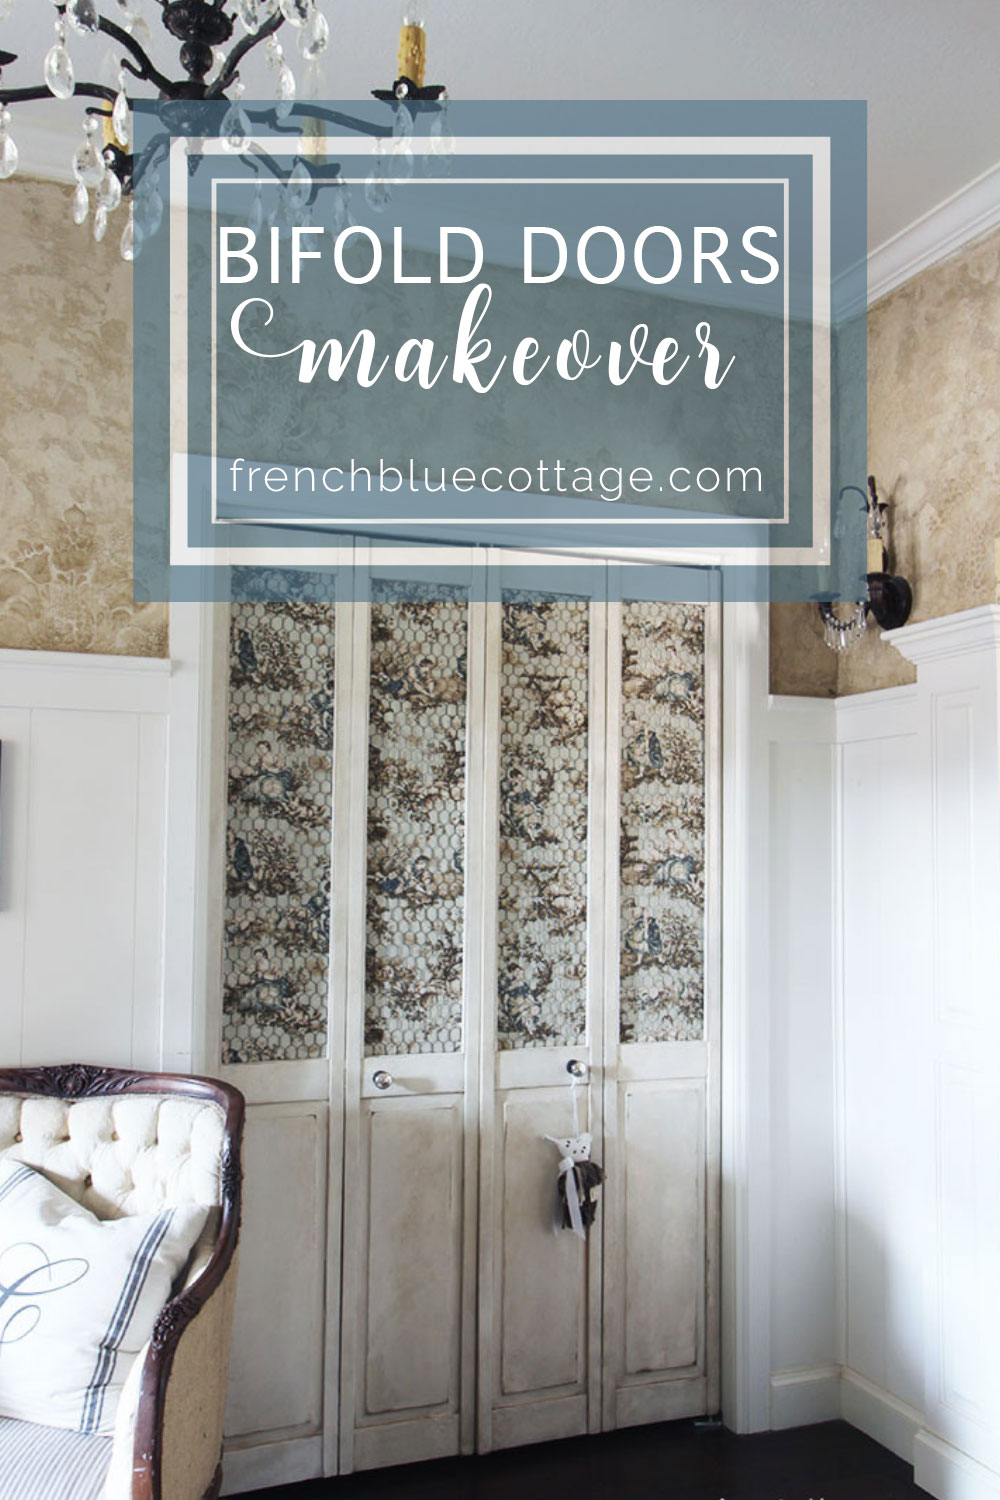
Prettifying My Plain Bifold Doors
Some things have the function that you need, but not the form that you want. That was the case with my entryway closet doors. They were perfectly functional, but not my style. My doors were “paneled on the bottom and louvered on the top” and just didn’t fit the look of the room.So, I decided to work with what I had and came up with a bifold doors makeover.
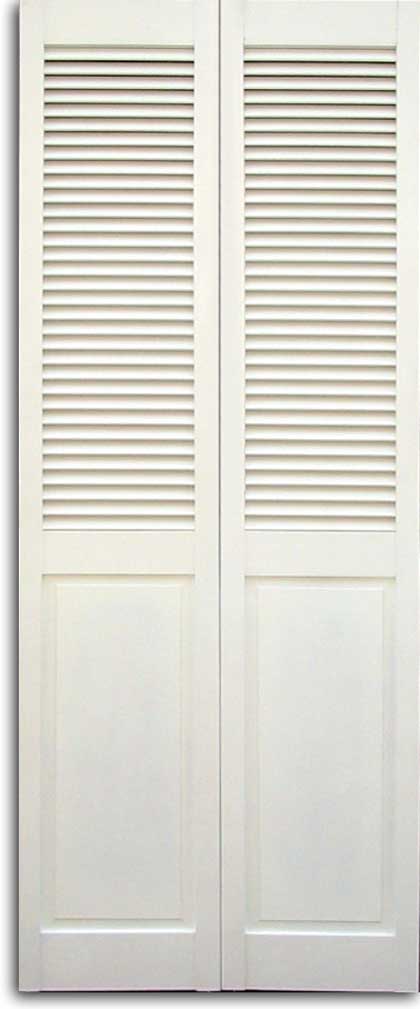
Nothing against these bi-fold doors, but they were just…..boring.
Something like this…..
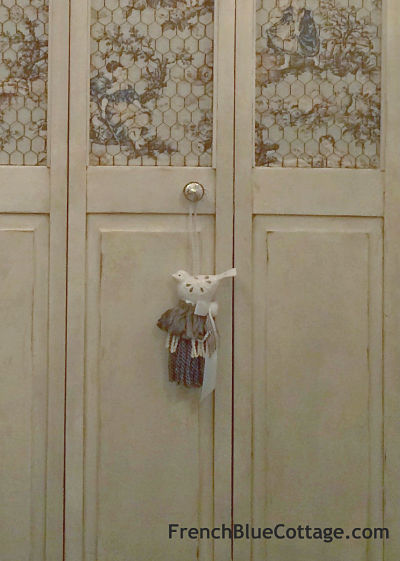
I couldn’t decide what to replace them with, so I decided to prettify what I had and came up with this….
Definitely not boring now!
Here’s how I gave these bifold doors a makeover:
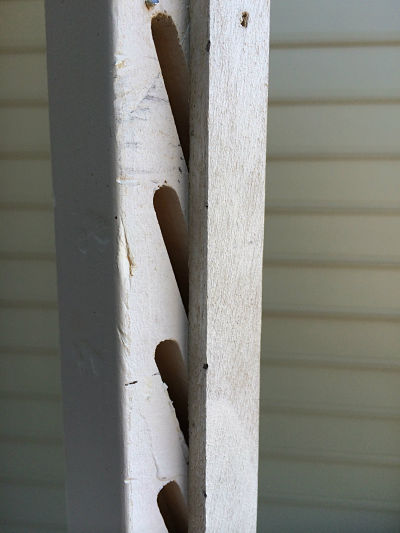
1). First I knocked out the louvers with a hammer. They came out pretty easily. You will be left with some holes down the sides where the louvers were attached, but we’ll fix that later.
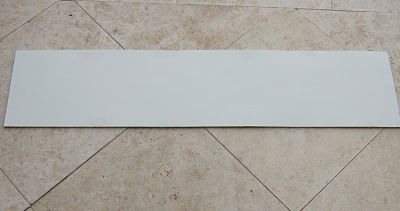
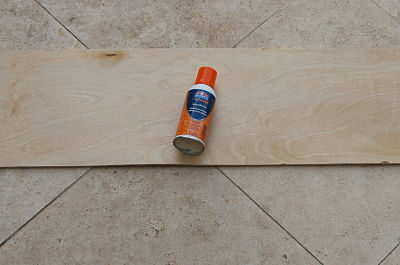
2). Next, I measured and cut out a 1/4 inch thick piece of plywood to fit each opening. I painted one side of each plywood panel in the same color that I planned to paint the rest of the doors….
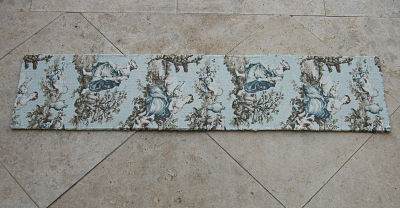
3). Then I cut out a piece of fabric to fit and attached it to the unpainted side of the panel with spray adhesive…
4). I also cut a piece of chicken wire for each door that was slightly larger than the plywood panel. I sprayed each chicken wire panel with a light coat of dark brown spray paint….
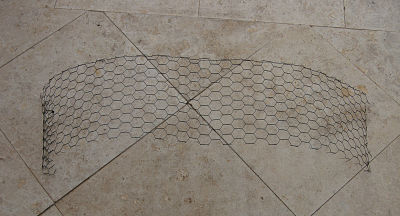
A word to the wise: If you haven’t ever worked with chicken wire, be careful. It is VERY SHARP! Use gloves!
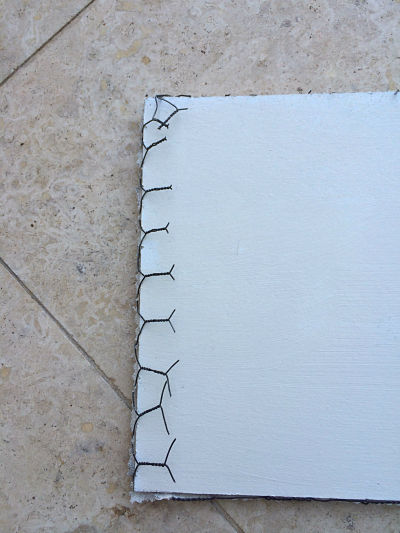
5). Place the chicken wire on top of the fabric side of the panel, then flip it over and stretch it as tightly as possible. I used a hammer to tap the edges down firmly and a pair of needle nose pliers to pull the edges taut….
Then I turned my attention back to the doors themselves.
6). Each one got a coat of water-based paint in a creamy white color. I also added some areas of crackle and dabbed on some thicker plaster to give the finish some texture. Then I glazed each door. See how the glaze catches in the crackled parts?
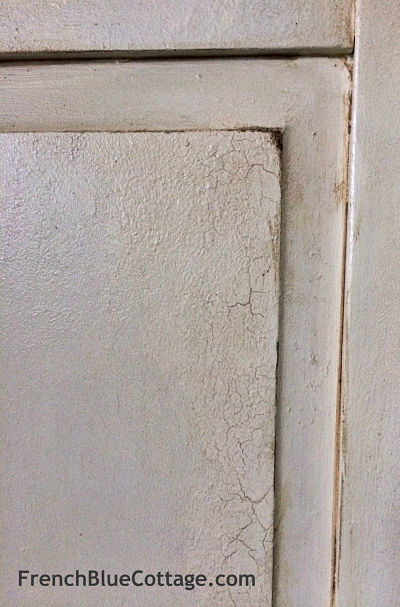
Painting tip: You can use a dark colored paint or water-based stain to darken the corners and/or edges of wood to give it that “burned” look. Check out the top right corner of the panel above 🙂
Related: paint aging techniques
Can you see the bit of texture in the paint?

7). Next, I put the panels back on the doors and held them in place with small finishing nails.
8). Then I used wire cutters to snip off the excess….
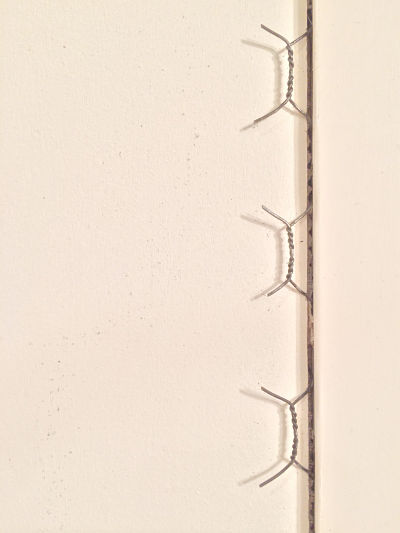
Please wear some sort of eye protection for this step because the little pieces of chicken wire sometimes go flying!!!
9). To cover the holes left by the louvers, I used small strips of wood cut to size. You could use any small wood trim that you like. I had to take a panel out to adjust the wire. This picture was taken before I put the panel back in, but you can see the wood strip in the front…..
10). I wanted to cover the edges (on the back of the doors) to shield any remaining sharp edges. All I had on hand was corded edge trim; like what you use to sew around cushions. So that’s what I used. I just hot glued it around the edges. On a closet, you will never see this part, but I didn’t want it to snag any coats or fingers! Sorry, no pic of the corded trim. I already put the doors back on and can’t take a good photo in a dark coat closet!
And that’s it!
With a little elbow grease, you can take plain bifold doors from this…
to this…
Just a couple more details: The knobs are from Anthropologie….

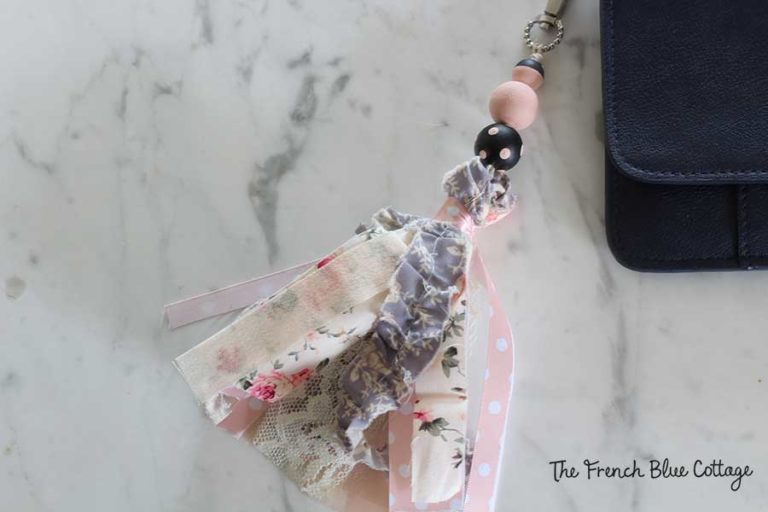
And I also had to add a little bird tassel that I made…
I hope you enjoyed this tutorial!
If you decide to “prettify” your own bifold doors, I’d love to see a pic!

![]()
Sharing at:

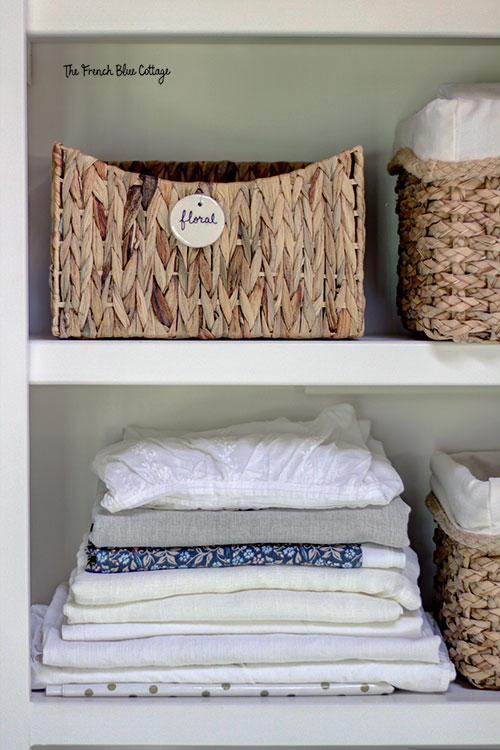
It sure is nice to look at these doors every time I get my coat or the boy’s hat and gloves. These doors really make the room.
Thanks for the added touch Carrie.
Wiley
Very cute! What a difference that makes!
Thank you! I think it makes a big difference, too.
Carrie,
This is a really wonderful creative idea. I’ve never seen anyone do this before. You did a beautiful job of finishing it all to make it look professional. This is impressive!
Ginene
Thank you! They weren’t bad before, but they fit better with my style now.
I have never loved the basic standard bifold doors in our kitchen, but I didn’t hate them enough to do anything about them sooner.
I agree! There’s nothing wrong with the plain ones, they’re just a bit boring. Mine are in the entryway to our house and are one of the first things people see. I’m glad you stopped by and thanks for taking the time to comment:)