DIY “Metal” Garden Spheres

Have you seen those metal garden spheres?
They look like this….
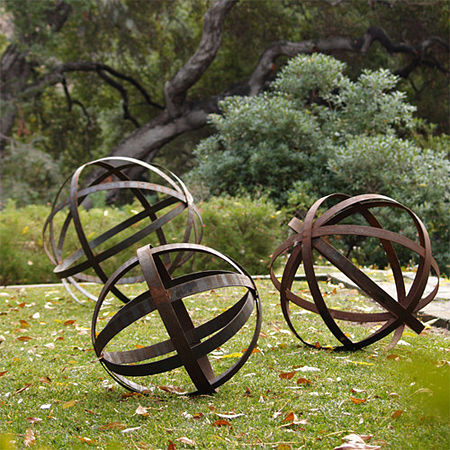
I love the look of them, but not the price. So, I’ve been trying to find a metal that I could use to make them. It had to be thin and flexible. And not too expensive…otherwise, I might as well buy the real thing!
Problem was, I could’t find any metal that would fit the bill.
Then, one day as I was leaving JoAnn’s Fabric store, I passed by a display and did a double-take.
Embroidery hoops! And they were half off!
*Some affiliate links used in this post. See my full disclosure here.
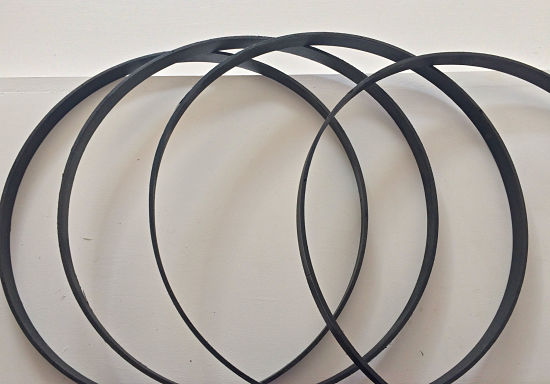
These embroidery hoops are 14 inches in diameter. I purchased this size because I thought it would fit best in my front porch urns. If you plan to use a smaller or larger vessel, then I would suggest using that as your size guide.
I bought 8 of them at JoAnns’s and just used the center hoop of each one. I’m sure if you are resourceful, you could figure out how to use the outside hoop, but I didn’t feel like hassling with that one 🙂
If you prefer online shopping, I found some similar 14 inch embroidery hoops here. I could not find the listed width/thickness of this online version. The ones I bought at JoAnn’s are 3/4 inch thick.
I painted them all with black spray paint and, once that dried, a very light mist of a metallic bronze.
In hindsight, I could have painted them brown first and not black. They would have looked more like rusty metal that way. Oh, well.
Then, simply put one hoop inside the other….
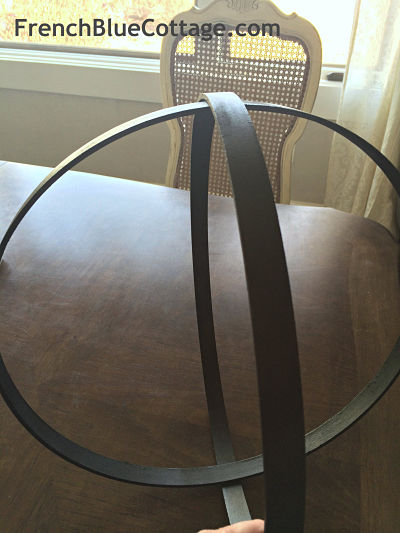
And add another….
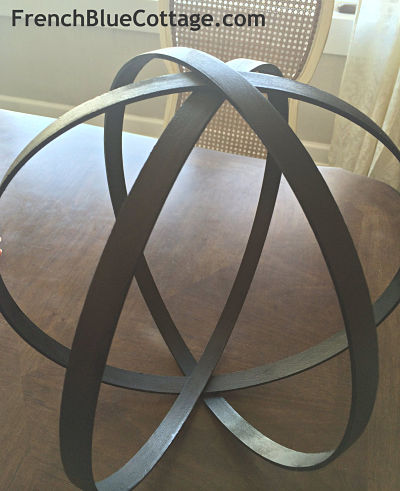
And a final hoop going around the opposite direction….
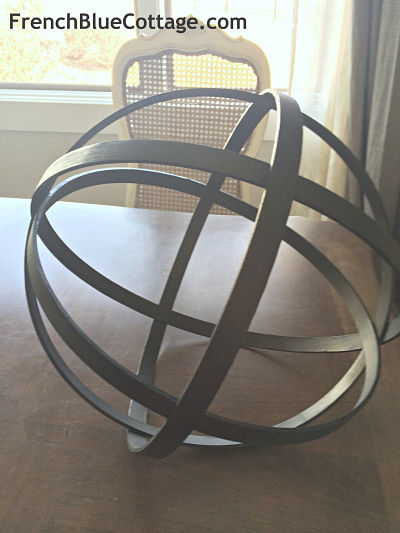
You could attach them, but I love that they stay together on their own and will store flat when I’m not using them. Plus I can take them apart to add larger decorations to the center if I’d like. How convenient is that?
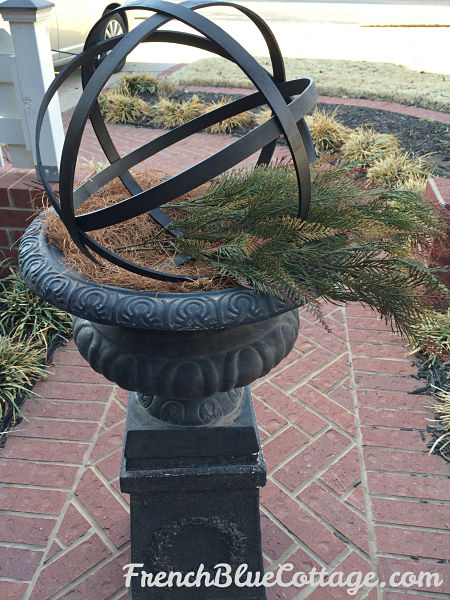
I put the spheres on my porch in the urns that flank my front door.
It’s still pretty cold here and I wanted to give them a “wintery” look, so I used mostly evergreens and some dried magnolia leaves and made an asymmetrical arrangement…

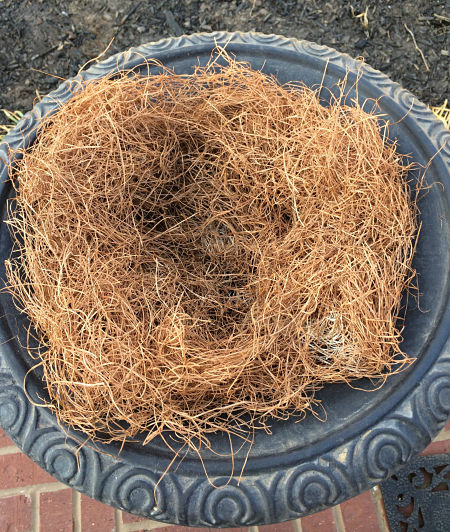
I started with a layer of moss…
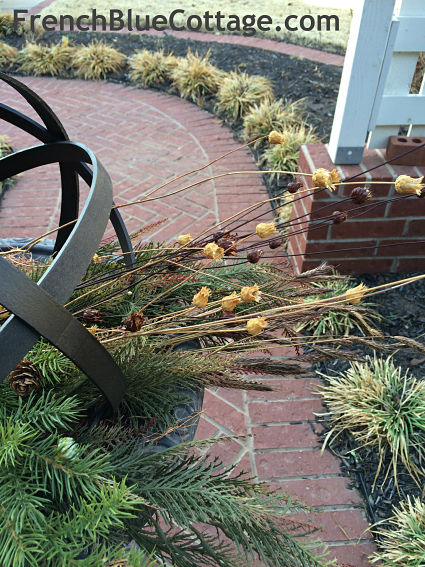
Then I put each sphere in an urn and began layering. I used some faux greenery….
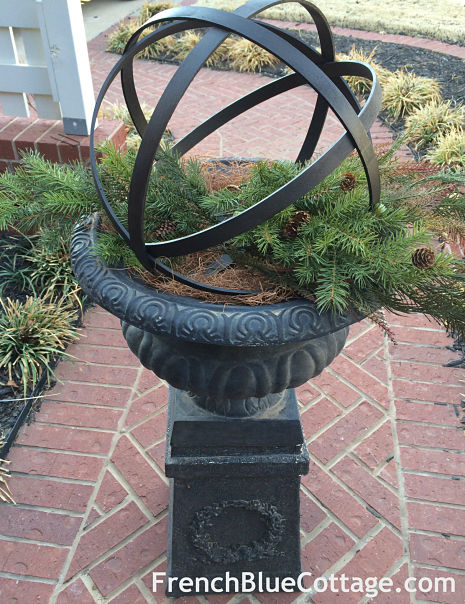
And added a little more faux greenery with little pinecones….
Next, I bundled some dried wheat….
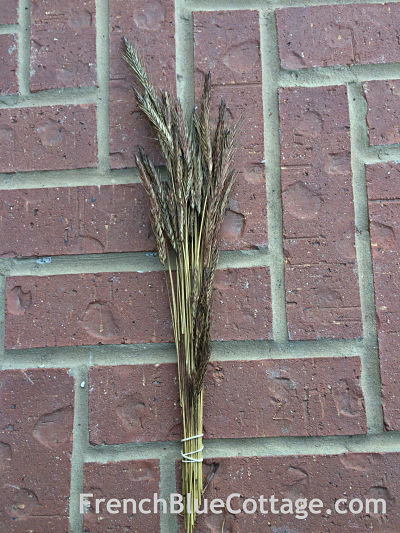
And added the wheat to the spheres plus some little dried…well, I don’t know what they are….twiggy flower things?
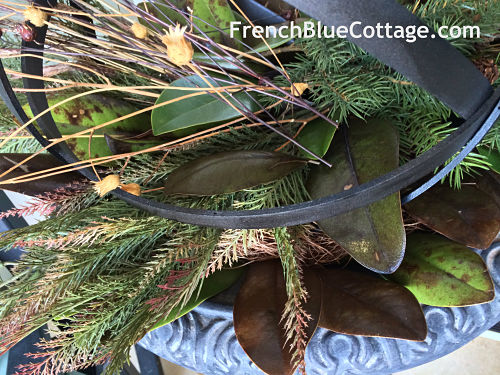
Finally, I put a layer of dried magnolia leaves around the edges, plus some in the center to cover up the faux stems…
Mine are under a covered porch, but if you want to put them out in the elements, you probably need to get the real metal ones.
FYI: In the picture below, the spheres look a little squashed. Must have been a weird camera angle, because they look perfectly round in real life!
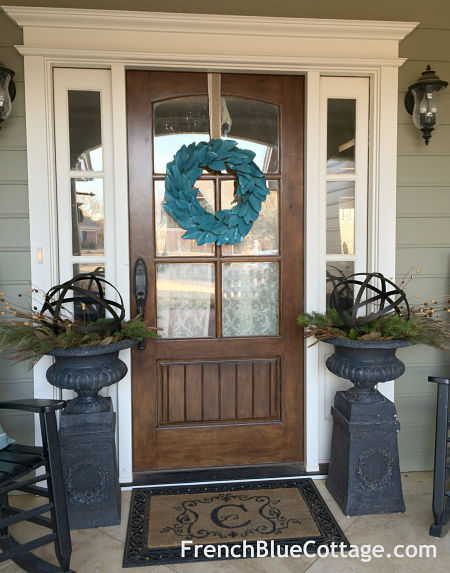
You can click here to see how I made the lacquered magnolia wreath.

All in all, I’m quite happy with how my garden spheres turned out.
It was a fun and easy project that cost a whole lot less than buying the real thing.
And that’s always a good thing!

Sharing at:

These are sooo awesome!!! Pinning them to my board! Thanks for linking them up at Monday Funday!
Thank you, Katie! I love Monday Funday!
GORGEOUS! and GENIUS!!! I have always admired these as well, wanting something gorgeous and versatile for the entire winter season for my urns! I am excited to try this project. Thank you so much for the tutorial. Hope to share my finished product with you!!
Jeanne
Thanks! If you make these, I’d love to see what you come up with!
Carrie – this is brilliant!! I love them in your urns, and you could bring them in, too! I used some not long ago on a client’s bookcases. Thanks for sharing your great diy with everyone at Best of the Nest!!
Thanks, Pam! I might try making a smaller one and using it inside. Great idea!
I absolutely love these! Such a great idea for an urn! Thanks so much for linking up with us for the Best of the Nest!
I’m glad to be a part of the first “best of the nest” link party!
Lovely and clever idea! I must try this… love how you shared how you used them once complete. Brilliant!
Thank you, Debbie!
It looks gorgeous. I can’t wait to try this myself!
What a wonderful idea!!….I will be trying this for sure. Could you please share the size hoops you purchased/used for this project. Thank you very much!
Thanks Emily! I used 14 inch hoops for these.
How wide is each loop
Hi Carolyn,
The hoops I used were 14 inches in diameter.
For larger and outdoor orbs I have used the metal bands off of old barrels, To keep together, I drilled a whole and used an nut and bolt.
I love yours.
Great idea! I’ll have to keep a look out for old barrels:)
Okay, I am sorry if I missed this any where but are the embroidery rings all of the same size or are they all different?! I think these would look great for my wedding!
Yes, they are all the same size. It makes a tight fit that holds the sphere together nicely. I hope you have a beautiful wedding!
I used quilting hoops, on sale. I bought 3 hoops and made two garden spheres. I just hid the adjustment screws on the bottom.
Great idea! The quilting hoops with the adjustment screws are probably easier to put around each other, too:)