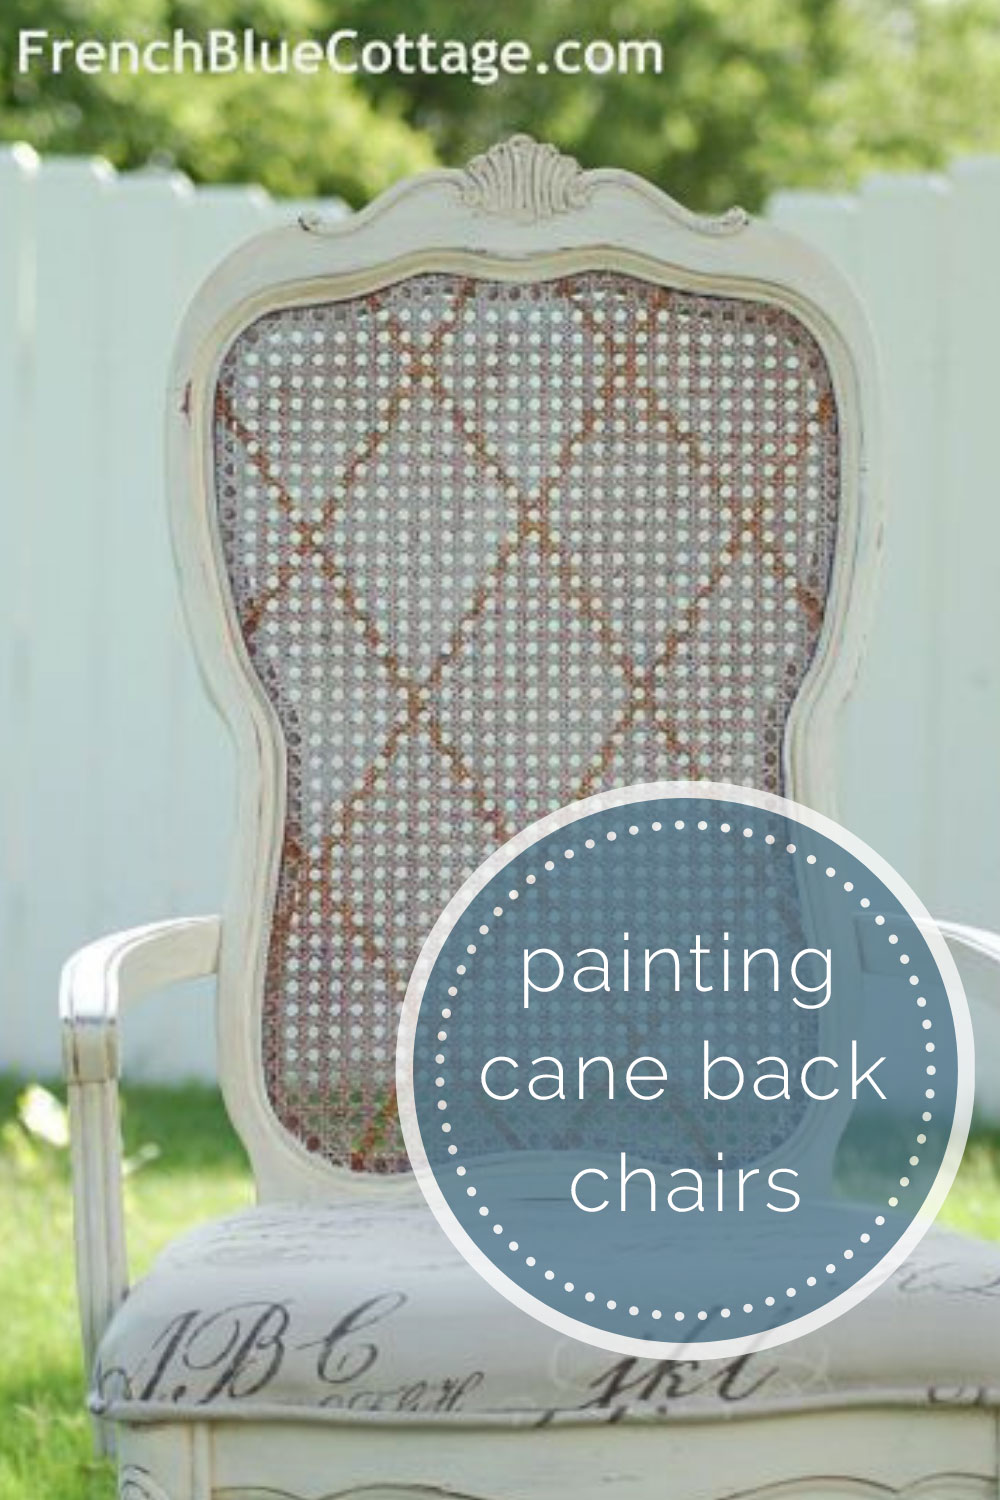
Cane-Back Chairs
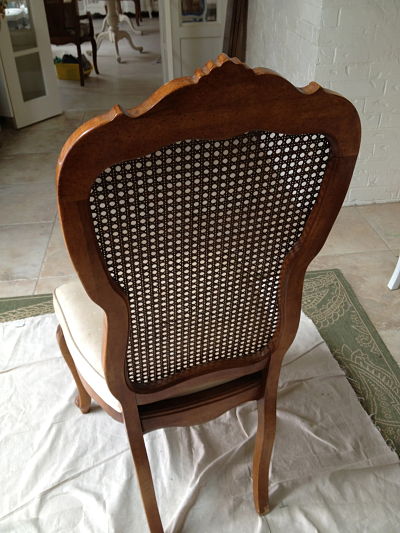
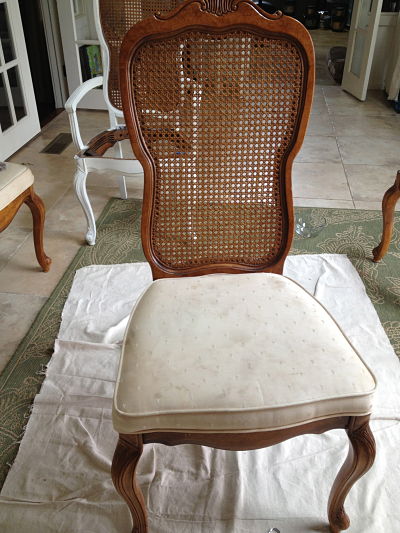
These are the cane-back chairs that I bought, along with a table and china hutch, off of Craigslist.
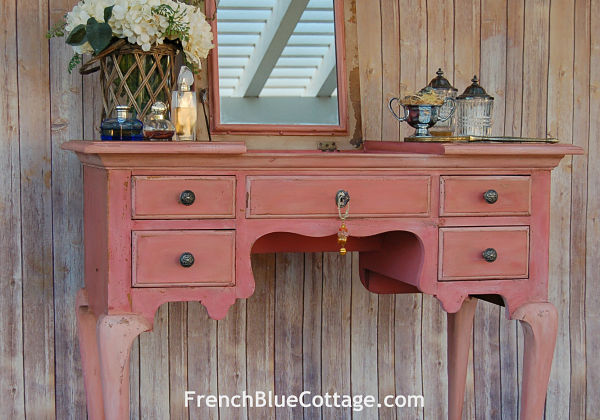
You can see how I refinished the matching table here.
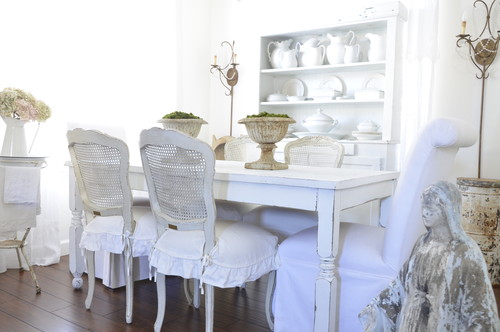
I love the style of cane-back chairs. Open a copy of Country French magazine and you will most certainly find a dining set with this kind of chair. Like this…
I had been looking for cane-back chairs at estate sales and online for quite some time. I’d seen a few sets, but they were always too narrow or too boxy or they were not in good condition. I finally found this set and the price was right, so my husband and I drove to Tulsa to pick them up.
After loading them up, he said, “Is this really what you want? They look kind of 70’s style to me”. Oh, he of little faith!
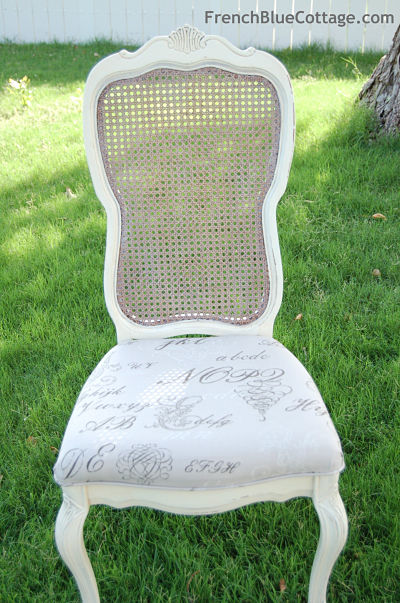
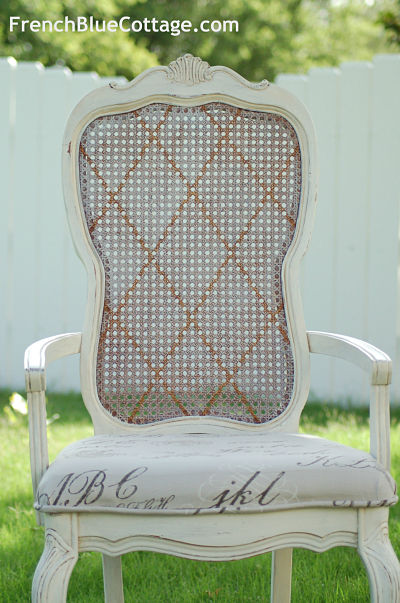
I assured him that they would not be “70’s” when I was through with them and look at these beauties now!
For the paint finish:
1. First, I took a plain white taper candle and rubbed it across parts of the body of the chair; the parts that would normally see the most natural wear. This creates a sort of wax resist for the paint (I left the cane backs alone at this point). I find that I have to be pretty heavy handed with the candle wax step, because if I just rub the candle across the surface lightly, the paint won’t resist very well.
2. Then, I painted the body of the chairs with 2 light coats of Annie Sloan chalk paint in Old White.
3. Next, I painted a very light coat of Miss Mustard Seed’s Milk Paint in Linen.
4. After it dried, I used a sanding block to lightly distress them.
5. As with the table, I wanted to tone the white paint and I used a glaze that I already had mixed up from a previous project. You can use a glaze or a wax to darken or tone this finish.
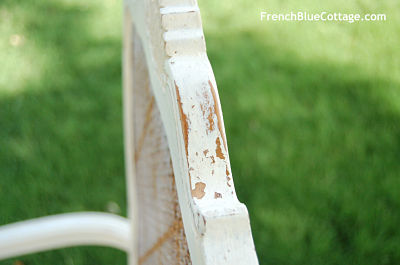
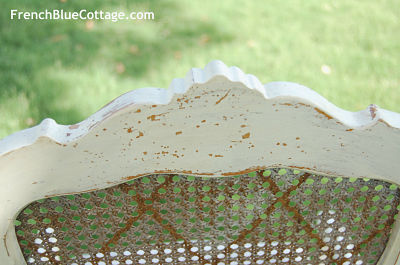
The next two photos are close-ups of the distressing. Some is the result of the candle and some is the result of using the sanding block.
Now for the cane-back part:
1. I wanted it to look whitewashed, so I made a very light mixture with the Linen milk paint using about 2 parts water to 1 part paint. I painted this thin wash across the surface of the front and back of the cane and wiped away any excess with a cloth.
2. For the backs of the two arm chairs, I decided to try something different. I took some 1/4 inch tape and masked off a pattern on the back. I did not really measure, other than to find the center point, and just moved the tape around until it looked right. It’s not perfect, but I didn’t expect it to be. Then I burnished the tape down lightly with my finger and applied the same light wash of paint that I had used on the other chairs, again lightly wiping away any excess.
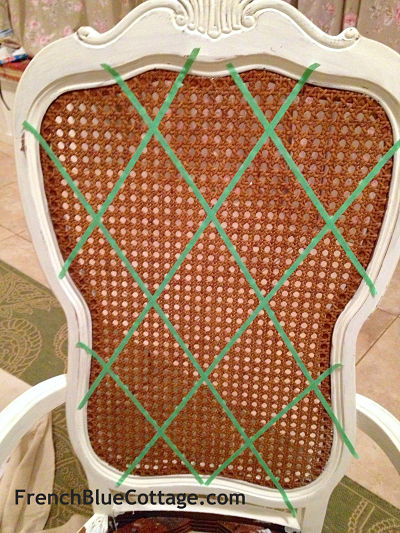
I immediately peeled the tape back, only because I couldn’t stand waiting and wanted to see what they looked like right away. I love the way they turned out!
For the topcoat, there was no way I was going to brush on a polyurethane or a wax onto all 6 chairs. So I took them outside and used my paint sprayer to coat them with my favorite topcoat, Varnish Plus Satin by Faux Effects.They were all done in 20 minutes. Gotta love a sprayer!
For the cushions, I took the staples out and removed the stained fabric. Luckily, the pads were in great condition and nothing smelled gross or smoky, so I could reuse them. I even recovered and re-used the piping. I found the fabric at Hobby Lobby and stapled it to the chair pads. I also gave them a couple of light coats of Scotch Guard. Then I set one of the pads on a chair to see where the piping should go (just a dry fit, not screwed back in). I took the pad back off the chair and I just hot glued the piping onto the cushion and then screwed the seats back on the chairs.
All finished and ready for a nice dinner. Now, if only I liked to cook!

I’m linking this post to :

These are beautiful! I never would have thought to tape off a pattern on the caning like that. Love it!
Just saw that you’re an Okie…me too!
Thanks for your sweet comment! I saw you on Savvy Southern Style and I just started following your blog!
Oh…love love love what you did to those chairs!!!
Love the script fabric too! So hard to get nice ones like that anywhere.
I have to stencil my own French script and motifs on plain fabric to get what I want.
Yours,
A kindred crazy French shabby chic nut!!
Thanks!
And stenciling fabric to get something just right sounds like the sort of crazy project I’d take on:)
So love what you have done with this set.
Your posts are inspiring.
Actually have exactly the same one standing in my dining room purchased via Kijiji with the idea to strip and paint as it is quite a yellow stain on it at the moment. Was not as fortunate with the chair cushions, took the seats off and threw them away, recut some wood and will have to re-upholster.
So here is my question…did you strip the chairs or just painted over top?
And do you have any idea if one can bleach the cane backs?
Thank you for these posts…the warning regarding waterbased stain for the table top saved me a lot of work!
Thanks, Anita! I did not strip the chairs…I just painted over the top. If you clean and prime them properly, there shouldn’t be a need to strip them. As for the bleach, I have not ever attempted to bleach any furniture. I’d probably just paint the cane backs a lighter color. Or you could paint them a light color and then glaze over the top with a water-based glaze to make it look a bit more like a lighter wood finish. Good luck on your project!
Thank you so much for your reply and info.
Excited to tackle the set.
These came out absolutely beautiful! I stumbled upon this blog post after finding cane back chairs like yours on FB market place. This has been absolutely inspirational. Hopefully they are in equally good condition when I go pick them up tomorrow. Have you experienced any yellowing with the top coat you used? And thank you for explaining the steps you took to transform these pieces. I never even knew about scotch guard! I was just going to purchase a sunbrella type fabric. Hopefully I will be able to transform my chairs into something as beautiful as yours.
Thank you so much! I have not had any yellowing with the top coat I used, but the paint color I chose is not completely white either. Best of luck with your chairs…I bet they’ll be beautiful!
P.S. I’m sorry I took so long to respond…I’ve been dealing with a personal tragedy in my family and have been away from my blog for awhile.